Starting a photography blog is exciting, offering a space to show your photos and a chance to earn money from your hobby.
Our courses have helped more than 15,000 people find blogging success – many of whom are in the photography niche.
In fact, the world’s #1 photography education blogger learned the secrets of blogging success from our courses.
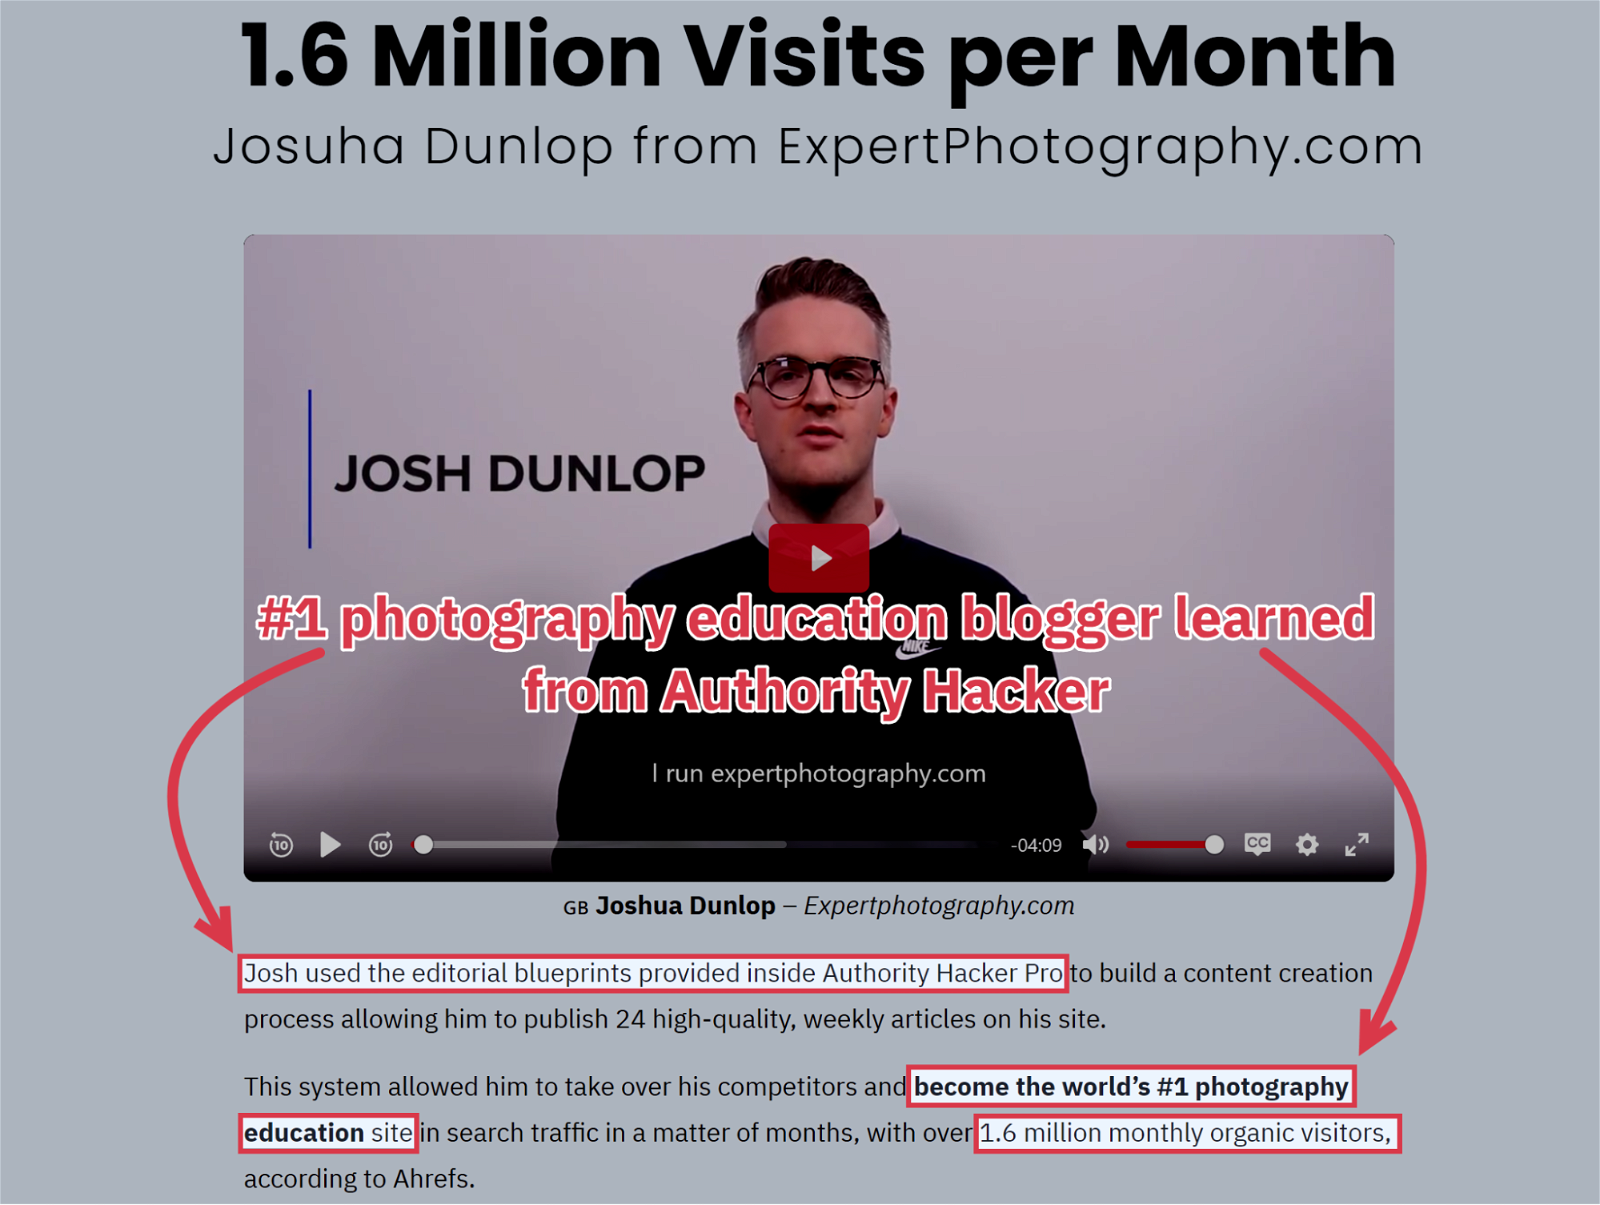
This 10-step guide will help you follow in his footsteps.
Why Start A Photography Blog
Whether you’re a seasoned professional photographer or you just enjoy dabbling in photography as a hobby, there are several reasons to learn how to start a photography blog.
One of the most compelling reasons? You can actually translate your passion for photography into making money with your photography blog. Websites in the education niche — which includes photography education websites — make an average of $15,551 per month.
Aside from making money, you can share your love of photography with the world and inspire and educate other photographers.
And for many photographers, starting a photography site is an excellent way to build your personal brand and promote your photography business to book clients or sell prints of your work.
Examples of Successful Photography Blogs
Before you start your own photography blog, it’s a good idea to familiarize yourself with what a successful photography blog looks like.
Here are three examples:
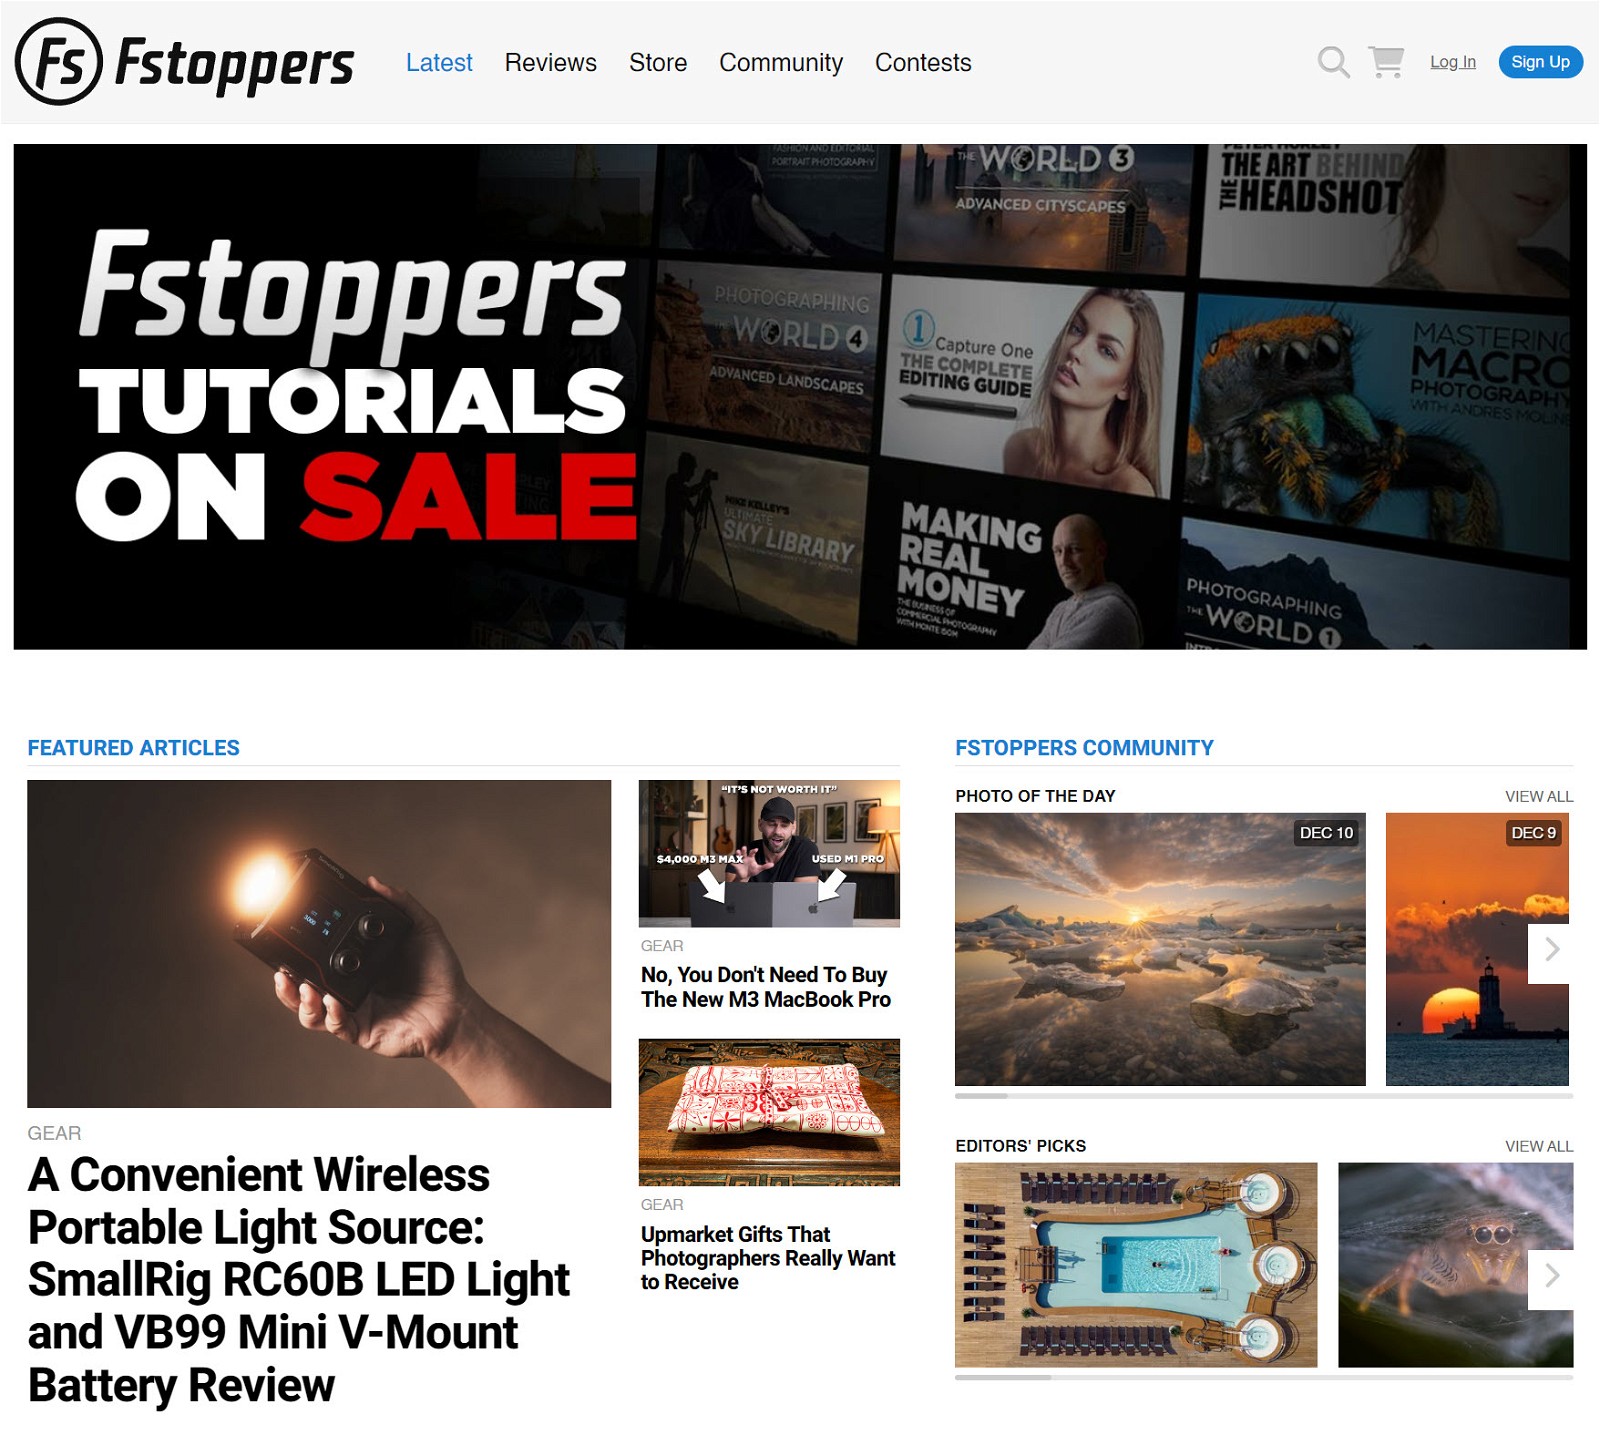
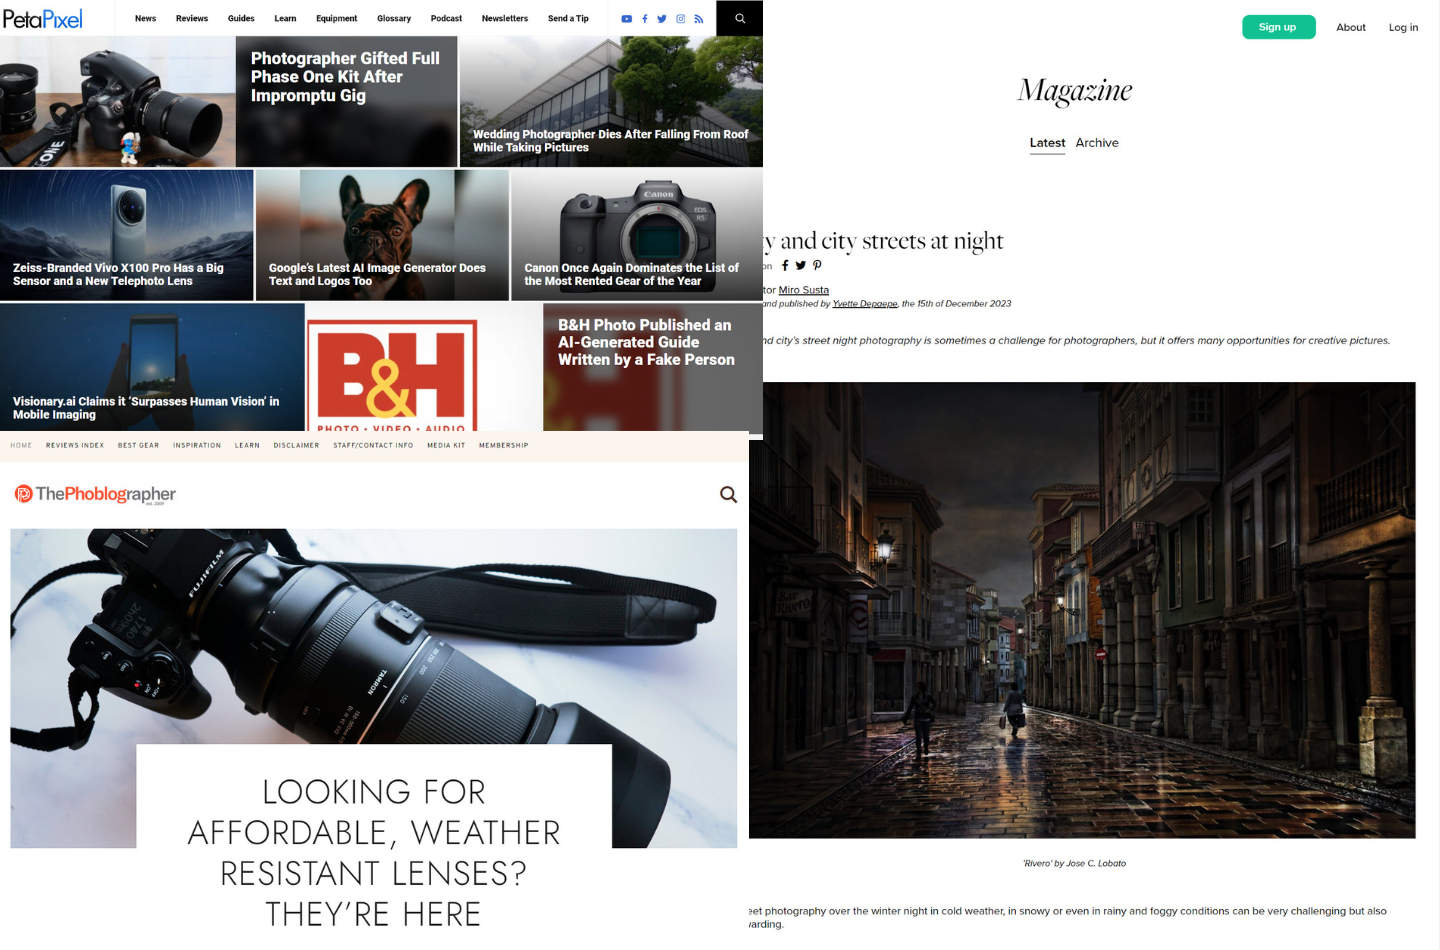
Fstoppers
Fstoppers, named for a setting on a camera lens, is a robust photography blog that offers reviews of photography gear and photography tutorials.
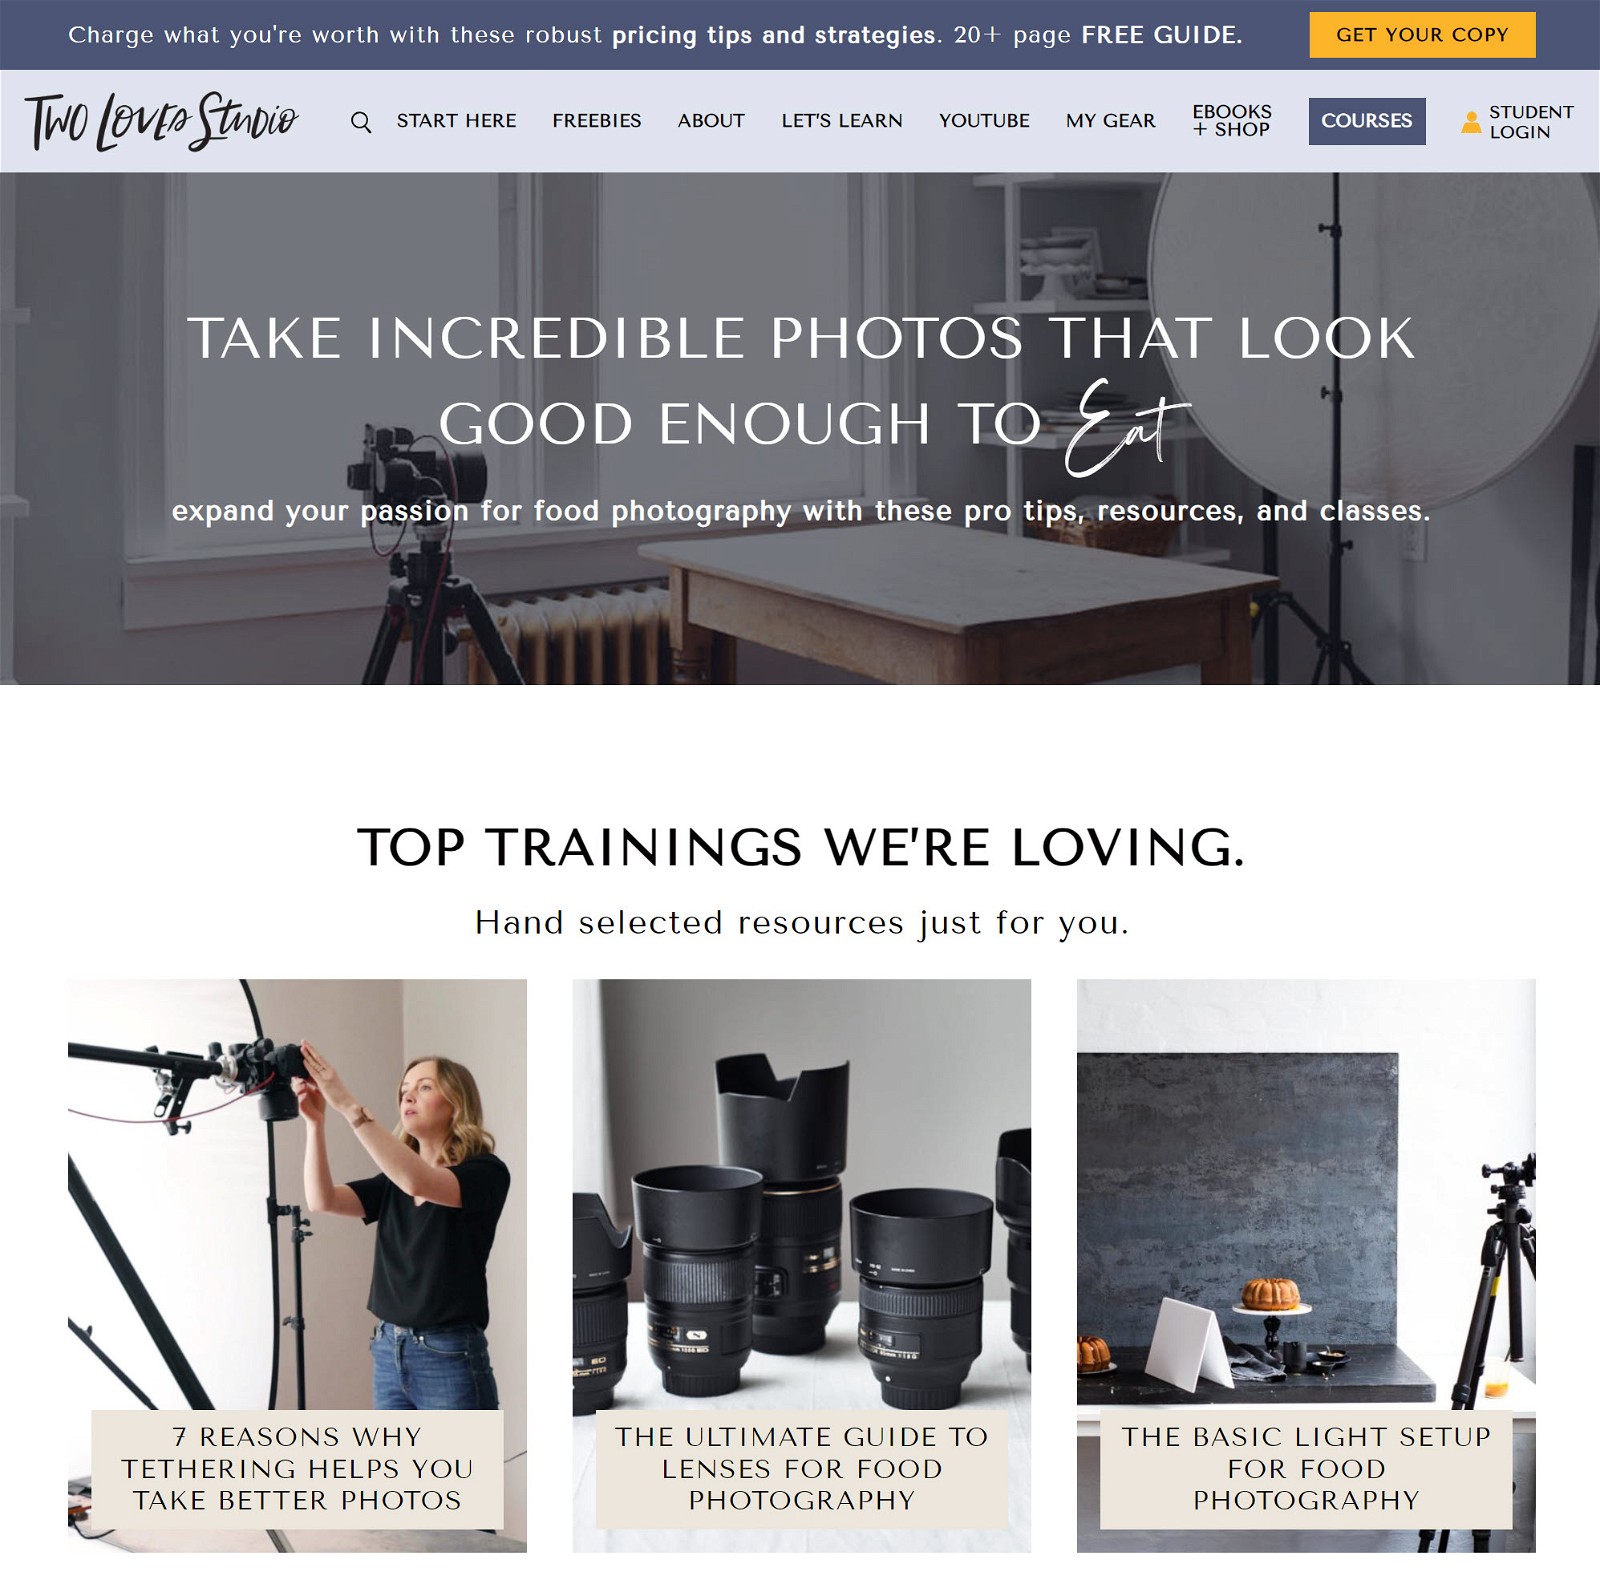
Two Loves Studio
Focusing specifically on food photography, Two Loves Studio is a blog that teaches aspiring food photographers how to capture images that look good enough to eat.
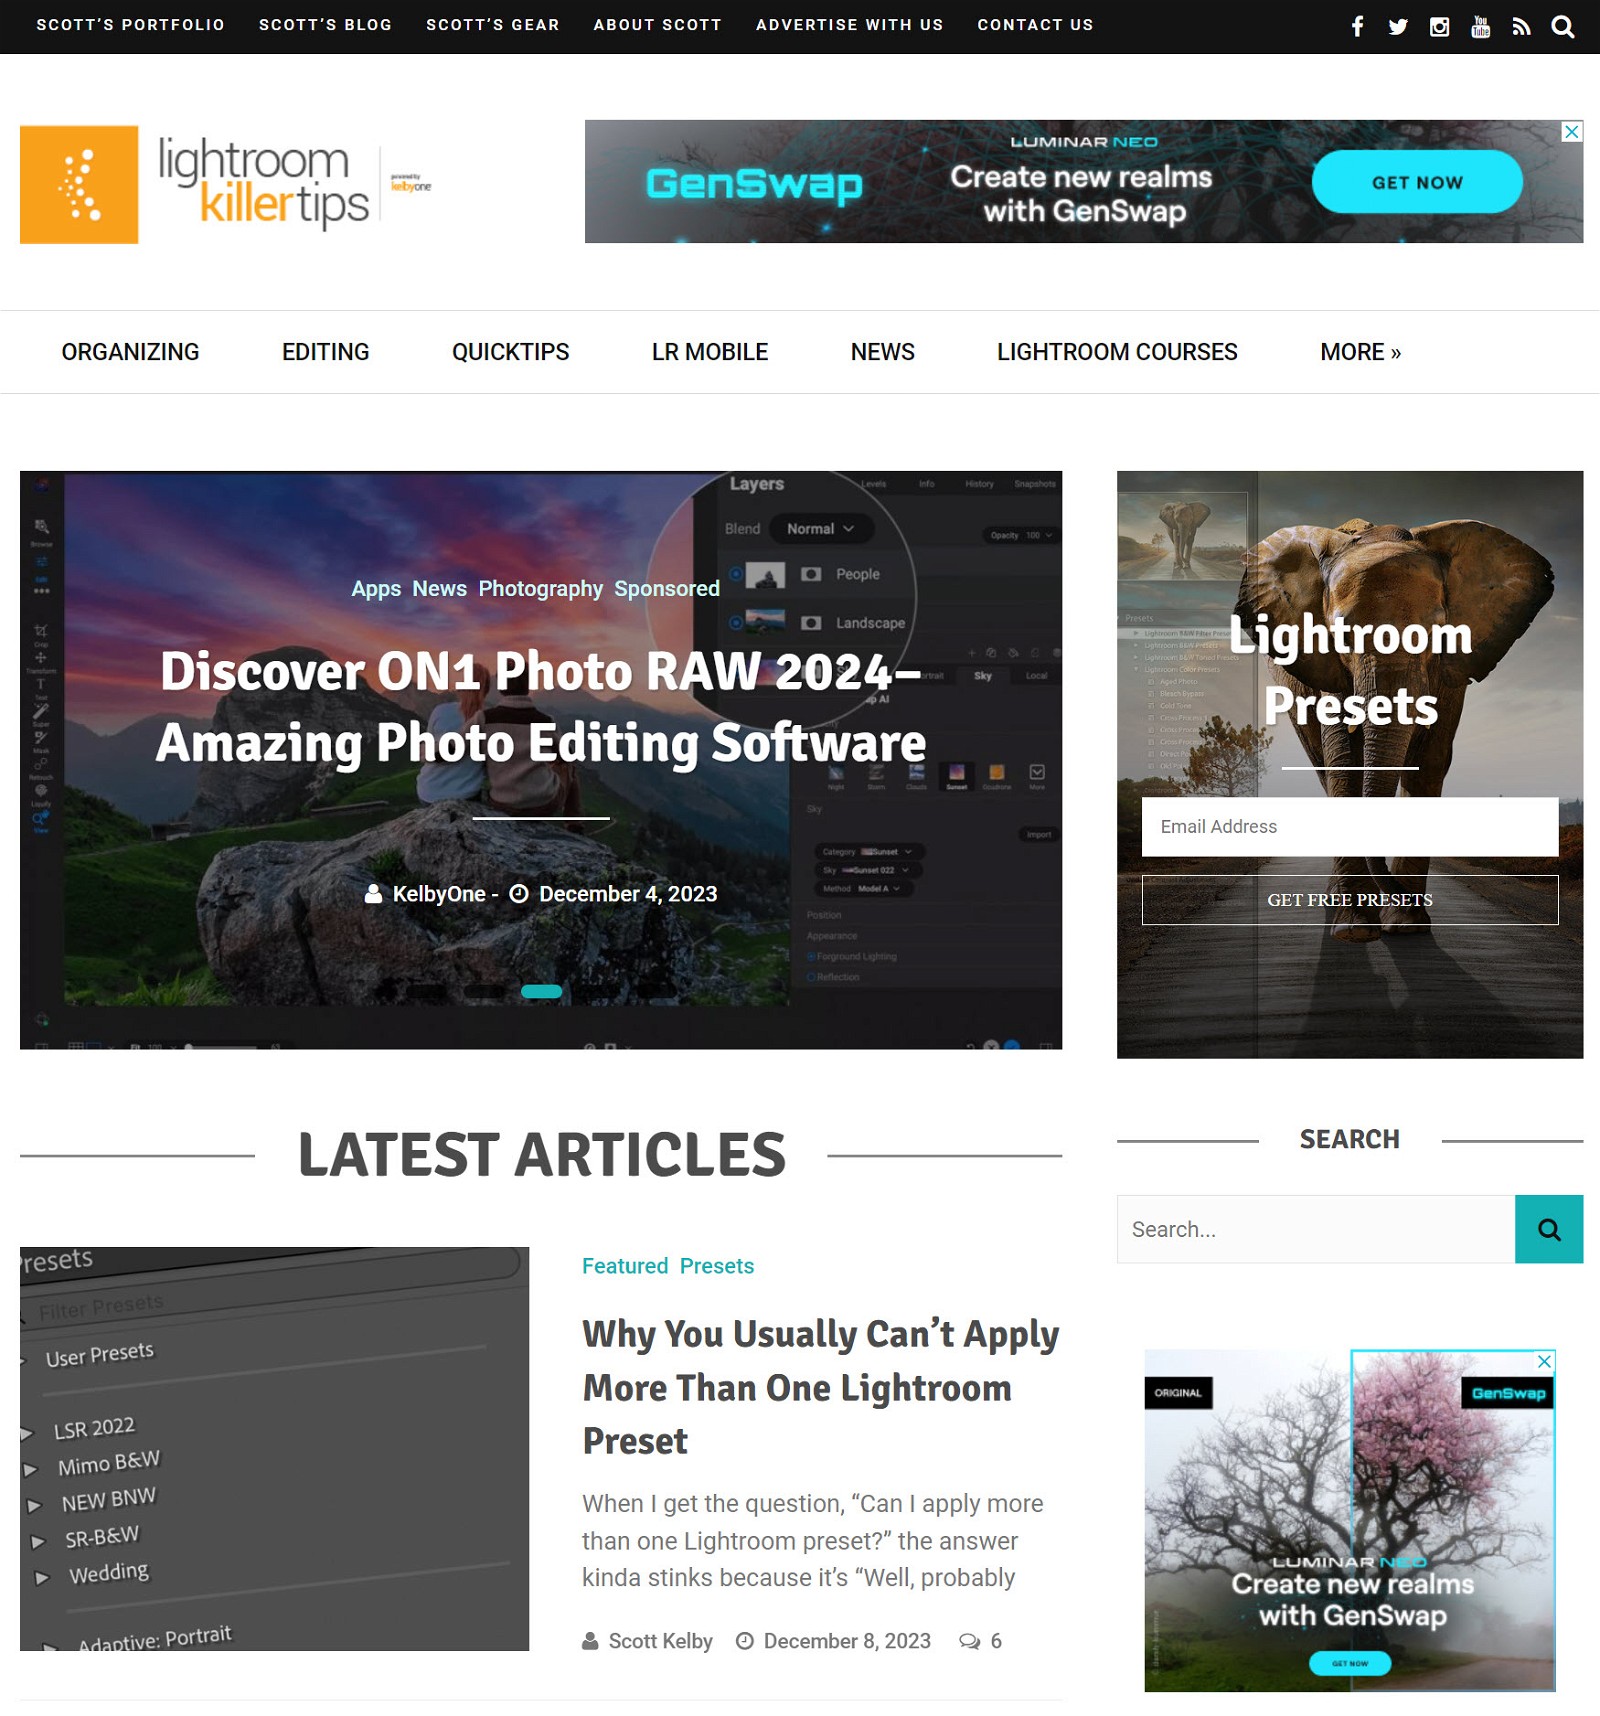
Lightroom Killer Tips
Lightroom Killer Tips is an example of a photography blog that focuses on photo editing. This website shares tips and tricks for editing photos with Adobe Lightroom.
How To Start A Photography Blog In 10 Steps
Follow this step-by-step guide to launch your photography blog.
1 Narrow Down Your Photography Niche
Photography is a broad topic, so choosing a specific focus for your blog is important. Having a narrow niche will allow you to establish yourself as an expert and gain your readers’ trust.
Think about it — if you’re an aspiring wedding photographer, wouldn’t you rather read an article from a website focusing solely on wedding photography instead of one covering landscape, food, product, and wedding photography?
You should also consider where your passions and strengths lie as a photographer. Enjoying what you’re writing about will make it easier to stay motivated, and writing about topics you’re already knowledgeable about will improve the quality and increase your chances of success.
To spark some inspiration, here are a few examples of photography sub-niches you can consider:
- Photo editing: Tips on editing with tools like Adobe Lightroom and Photoshop
- Landscape photography: How-to guides for shooting landscapes
- Portrait photography: Tips and tricks for taking portraits
- Food photography: How to perfect your food photography skills
- Wedding photography: Share tips on becoming a pro at shooting weddings
- Photography gear reviews: Review gear like cameras, lenses, and tripods
- iPhone photography: Tips for amateur photographers to capture amazing shots using only an iPhone
Before you settle on a topic for your photography blog, it’s a smart idea to assess the traffic and earnings potential of your niche. You won’t attract an audience or earn money if you write about something no one is interested in.
Here are a few simple steps to qualify your niche:
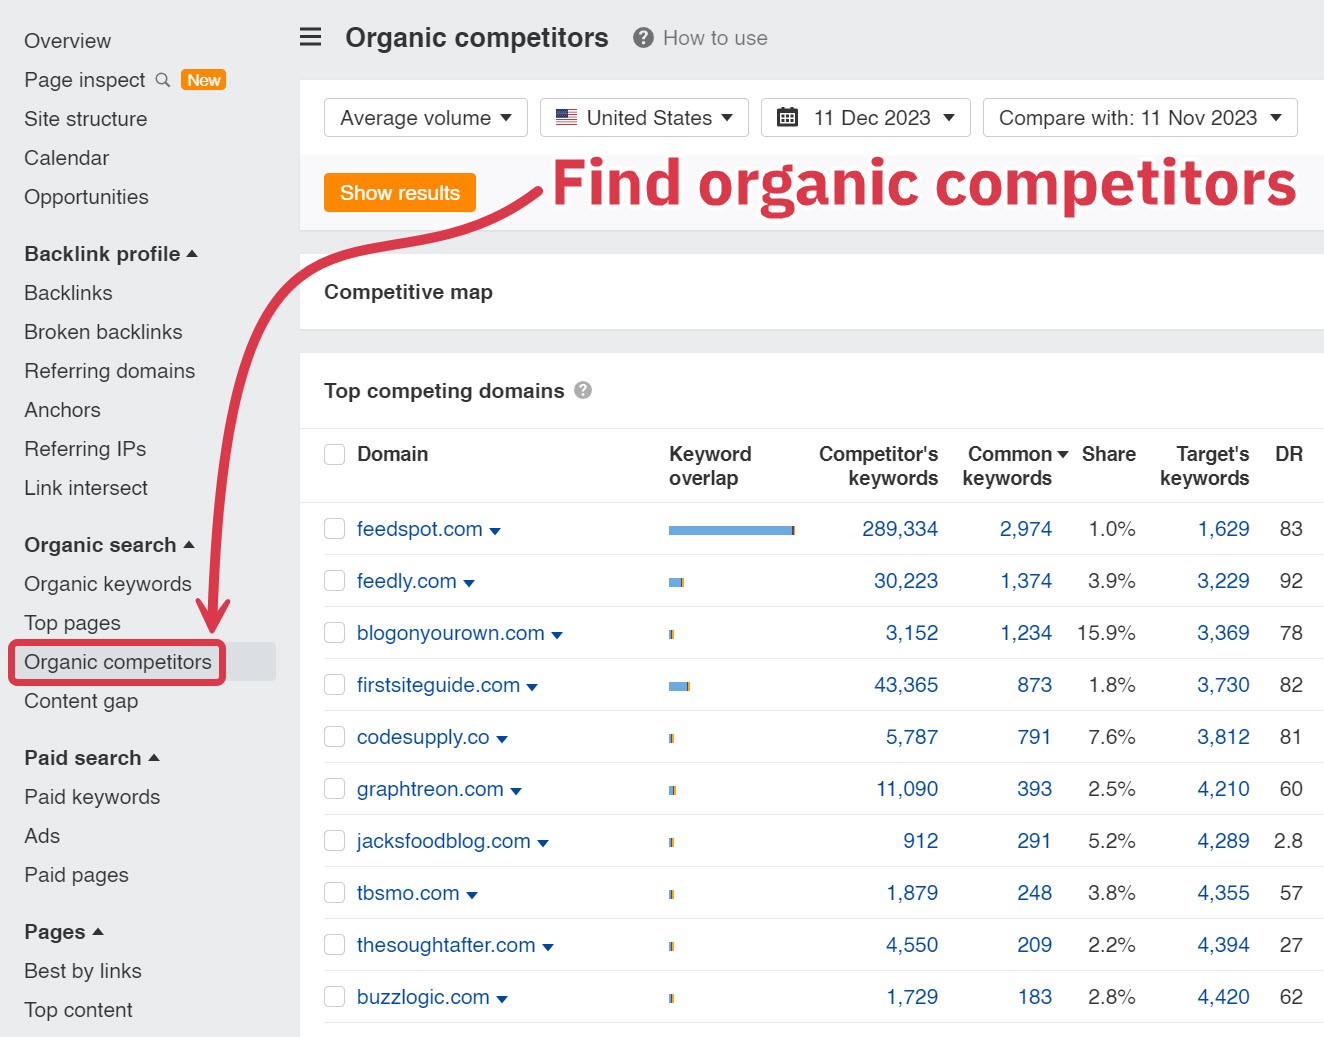
Make a list of successful blogs in your niche. To do this, you can use a blog aggregator like Detailed to see a list of the top websites in your niche. You can also plug in the name of a successful blog to the “Organic Competitors” section on Ahrefs to see similar websites.
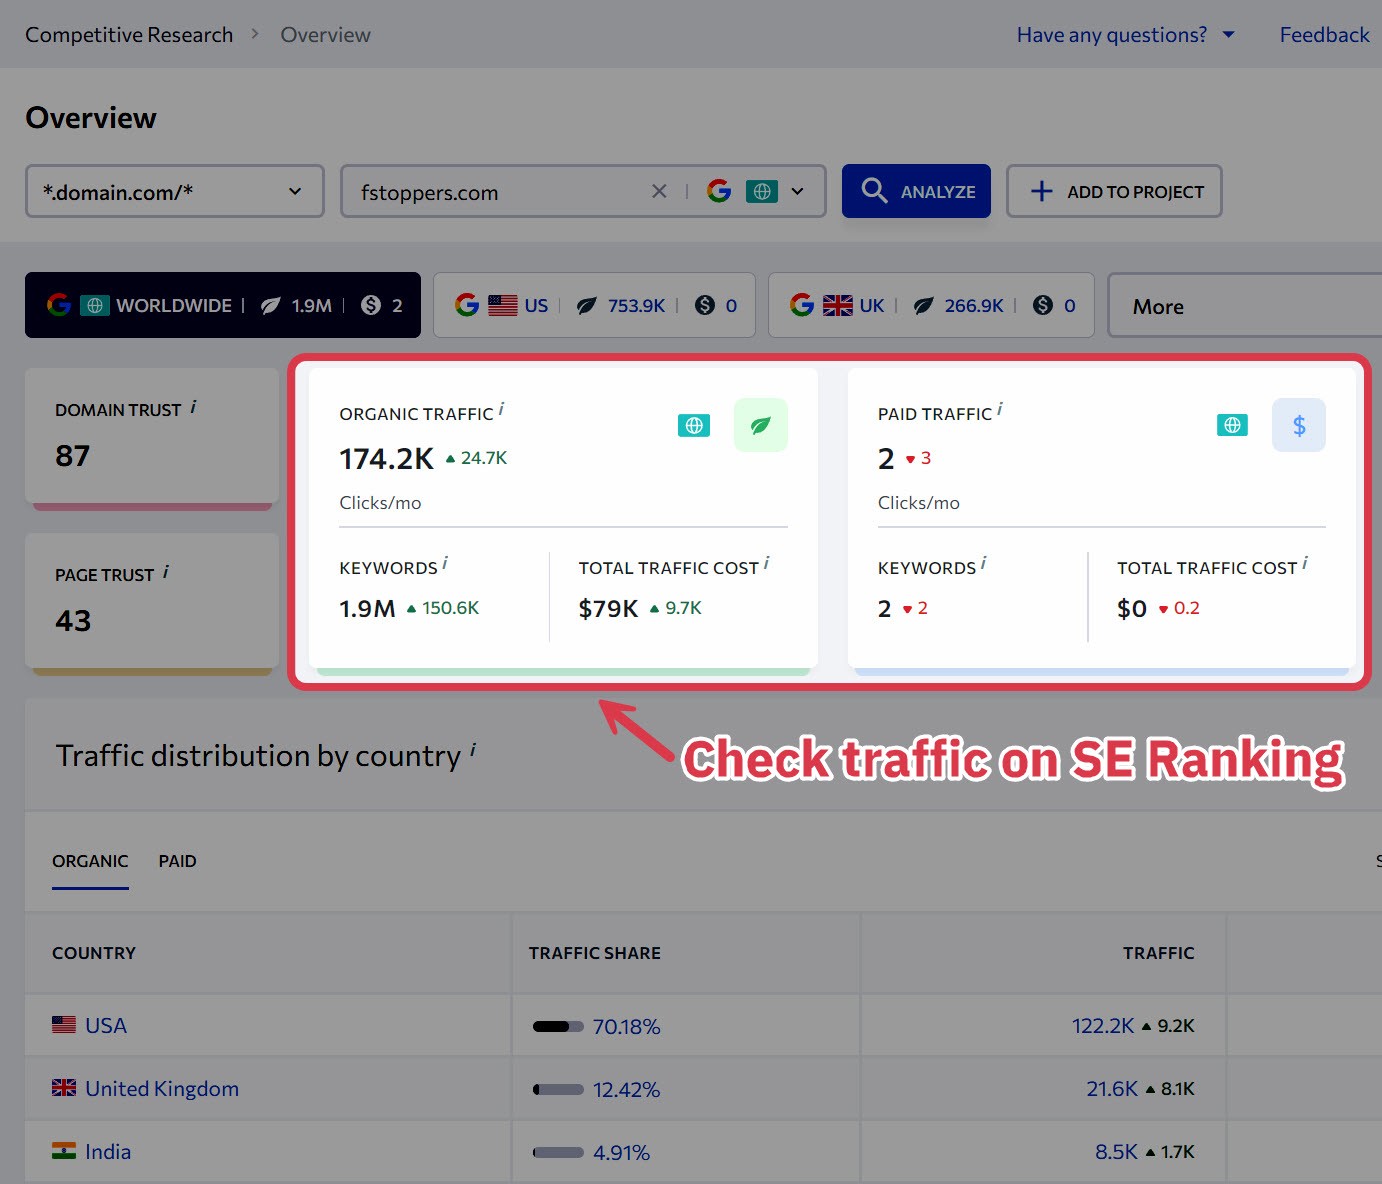
Analyze traffic levels. You can see if a photography blog is successful by how much organic traffic it gets. Sign up for a free trial at SE Ranking to check monthly traffic in the Competitive Research section.
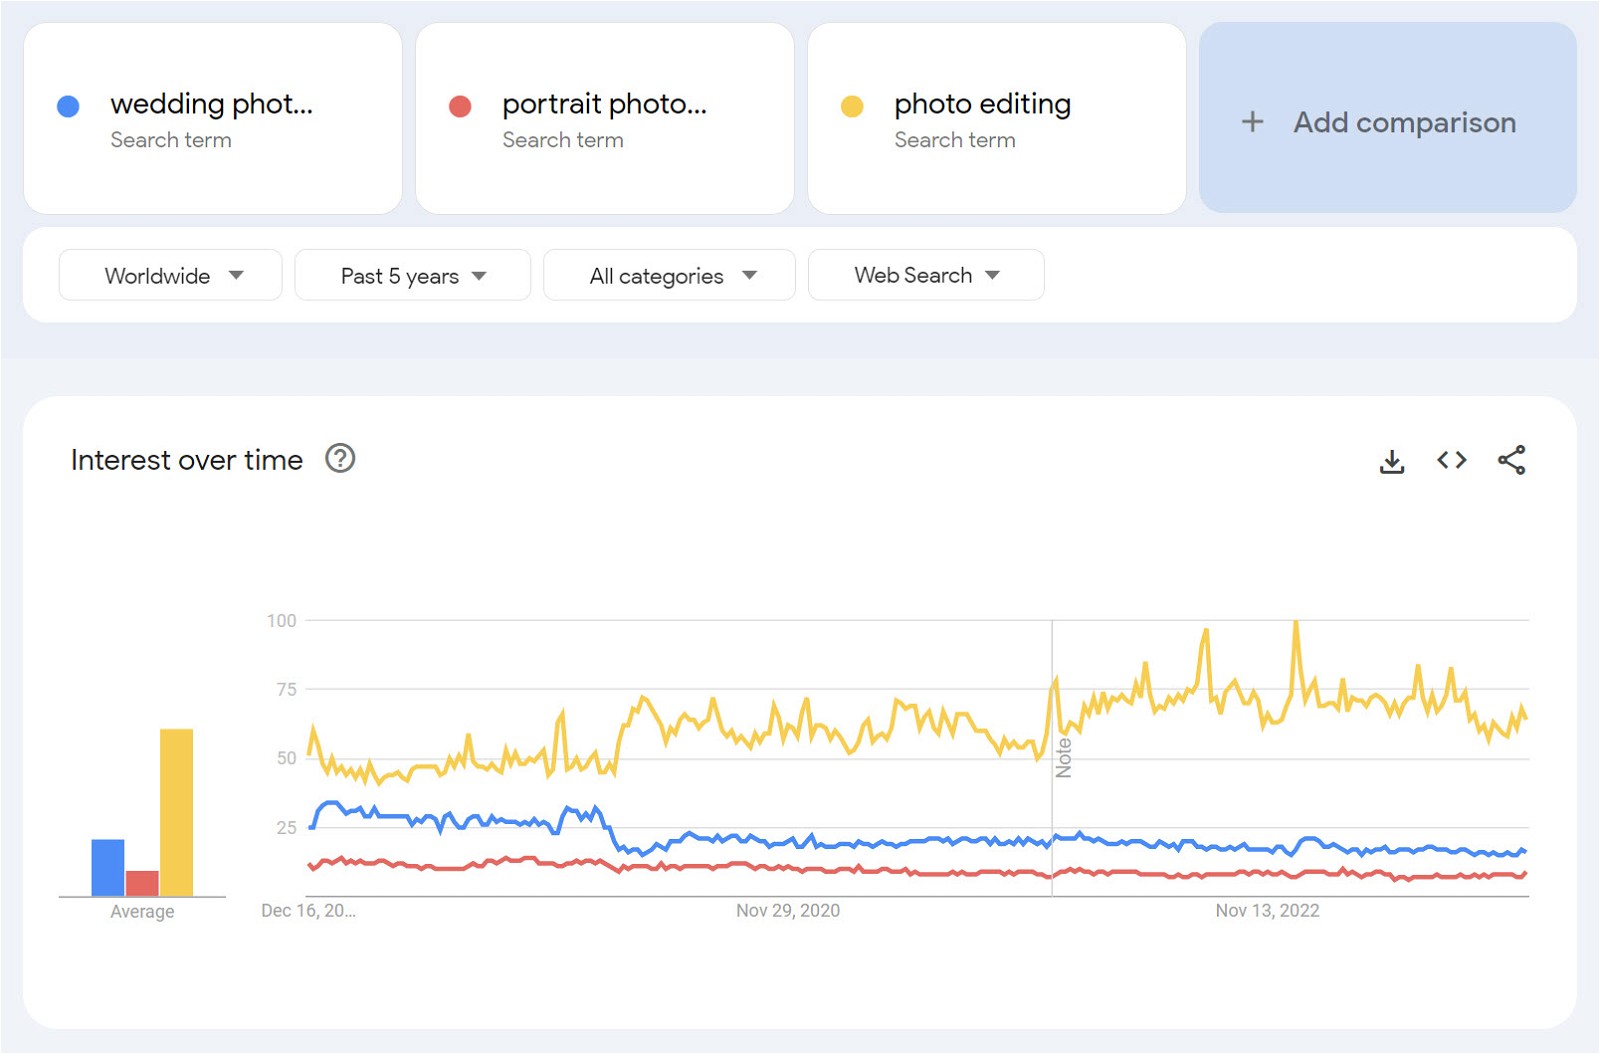
Compare prospective sub-niches with Google Trends. If you’re trying to decide between several sub-niches, use Google Trends to see which gets the most search traffic.
If you still need help deciding, take a look at our video on choosing a successful niche:
Don’t worry if you can’t narrow down your niche immediately — it’s okay to take a day or two to settle on a niche for your photography blog before moving on to the next step.
2 Choose a Blogging Platform
Once you’ve chosen a niche, you’ll need to choose a blogging platform.
A blogging platform lets you write, publish, manage, and share written content online.
Some beginner bloggers choose a social blogging platform like Medium or Blogger because these platforms are free.
However, free blogging platforms have a few downsides:
- You lack control over your content. The platform decides what you can post and how visible your content is.
- It’s hard to monetize a website on a free blogging platform.
- You’re limited in how much you can customize the design and functionality of your website.
Building your own website is the smartest option to avoid the downsides of free blogging platforms. Here are the pros of having your own blog:
- You have full control over the content you share.
- No one can shut down your blog.
- Compared to other platforms, monetizing your blog with affiliate products, display ads, and other methods is easy.
- You can use SEO and social media to drive traffic.
- You can build an email list to diversify your traffic sources and protect your traffic from algorithm changes.
If you’re worried that building your own website will be difficult or costly, there’s nothing to fear! Aside from a small time commitment of an hour or two and a nominal cost, setting up your own blog could not be easier.
I recommend using WordPress.org to build your blog (not to be confused with WordPress.com).
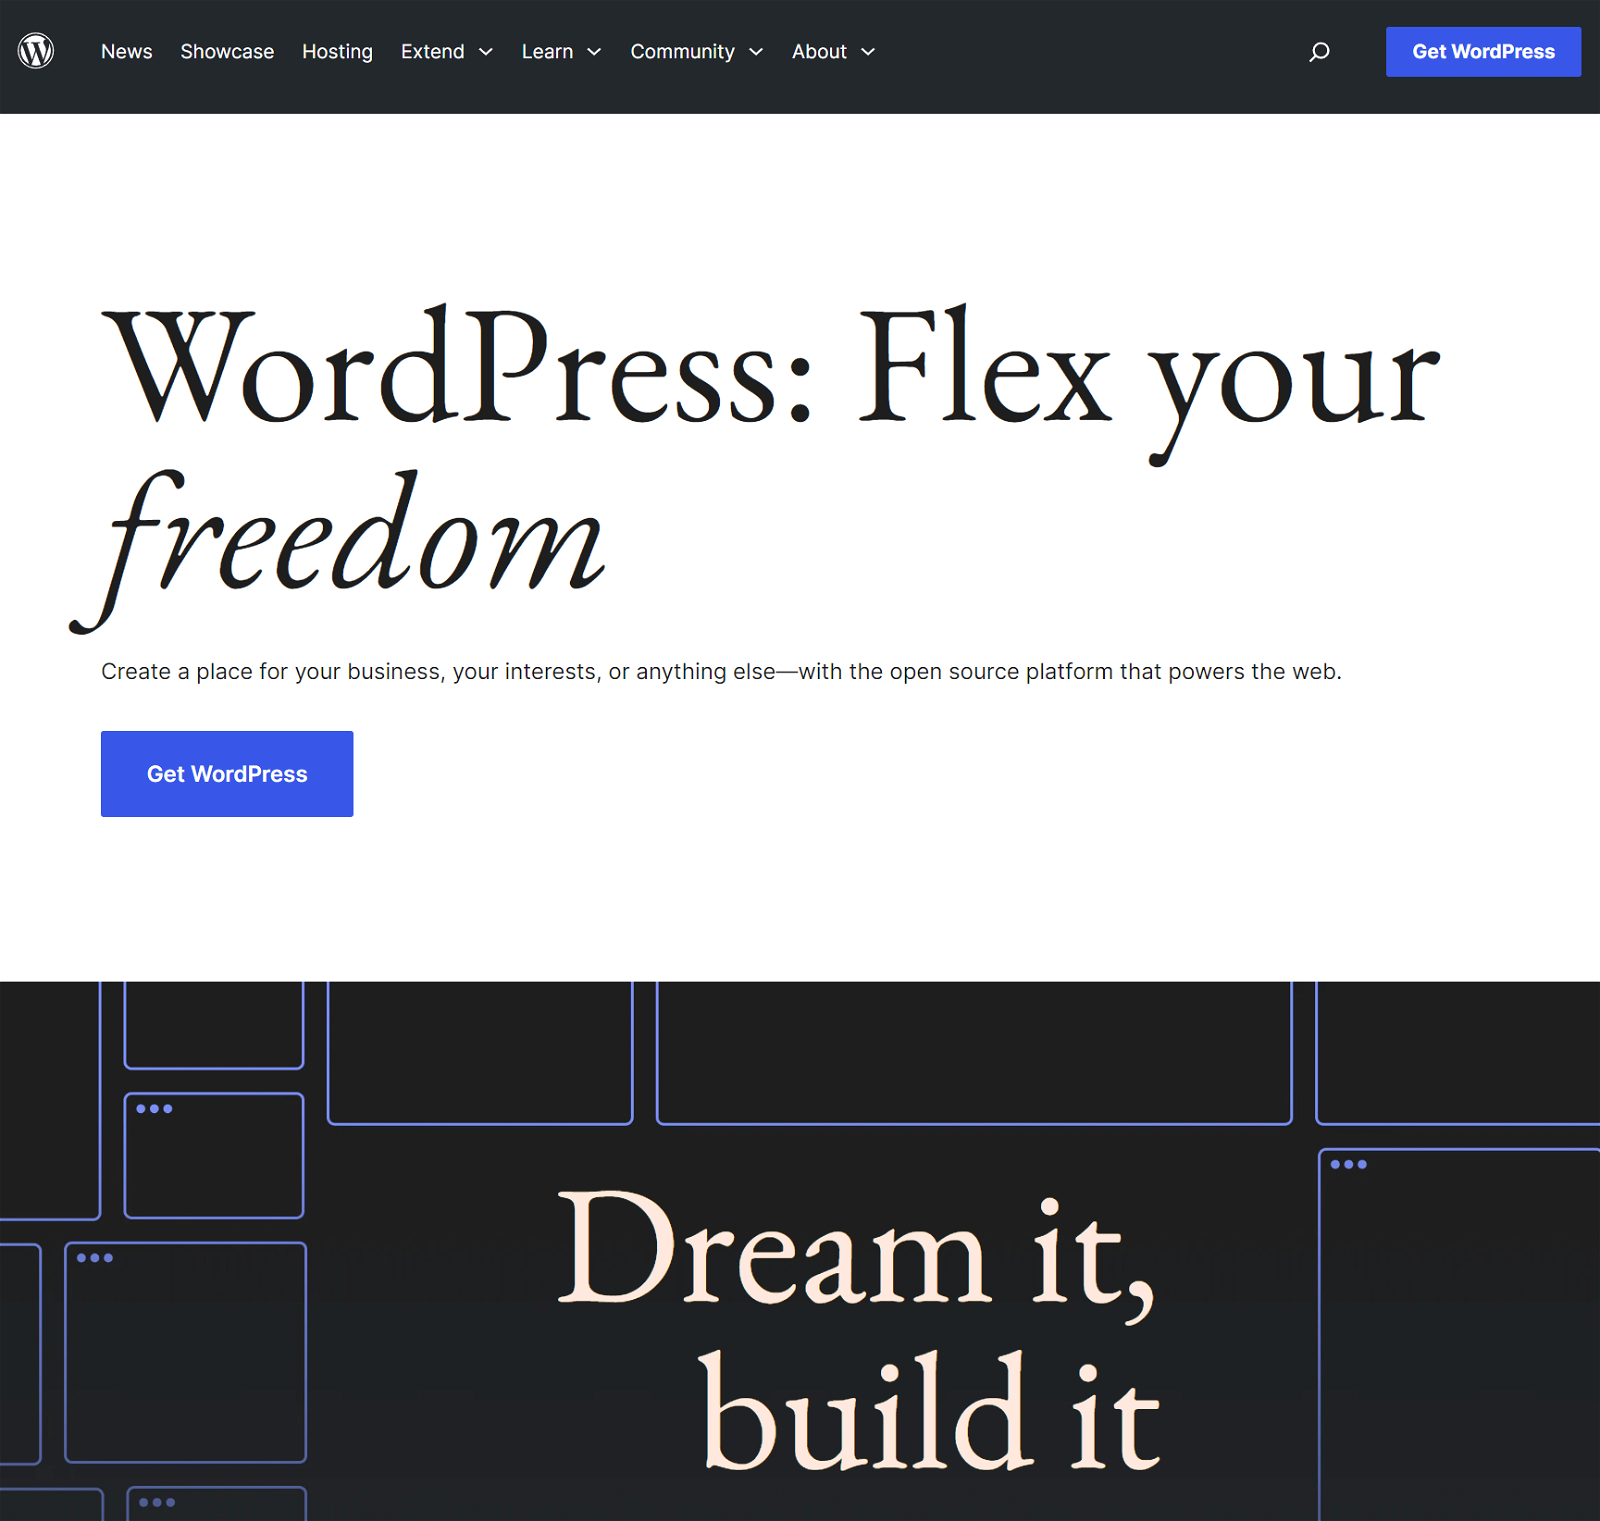
WordPress is easy to use, and you’ll be able to customize the look and functionality of your WordPress blog with thousands of themes and plugins.
It’s also completely free to use. However, you’ll have to pay about $45 annually – $10 for a domain name and $35 to host your WordPress site.
While WordPress is the best platform, it’s not the only option. Check out our list of the best blogging platforms to see what else is out there.
3 Choose Your Domain Name
The next step in starting your photography website is choosing a domain name.
Your domain name is your website’s address. It includes the name of your website and a domain extension like .com.

Choosing a good domain name for your photography blog is important because it’ll form the foundation of your brand, and often the first thing visitors see on your website.
Here are some tips to help you choose a great domain name for your photography blog:
- Choose a .com domain name. This is the most common domain extension. It carries a level of trust and authority that less common endings don’t have.
- Keep it brief. Try not to choose an overly long blog name. Instead, keep it under 15 characters and two or three words.
- Make it easy to spell and pronounce. You don’t want to choose a domain name that uses hyphens, numbers, or purposefully misspelled words.
- Relate it to your niche. For example, photoeditingwizard.com for a blog about photo editing tips and tricks.
- Avoid a trademarked name. Use this trademark search tool to ensure the blog name you want hasn’t been trademarked by someone else.
- Don’t overthink it. Much like choosing a niche for your blog, you don’t want to spend too much time on this step and delay starting your blog.
If you need additional help finding a domain name, you can use Brandsnap – an AI domain name generator – to find additional ideas.
Pro tip: If you’ve come up with the perfect name for your website, but the .com domain extension isn’t available, check out our guide to the best .com alternatives.
Once you’ve found a domain name, you’ll need to register it. Buying a domain name is approximately $10 per year on Namecheap.
4 Buy Web Hosting
After you’ve bought your domain name, you will need to choose a web hosting provider.
Web hosting is a service that makes your website accessible on the internet. Your web host will offer the necessary infrastructure to store and manage your website files and serve your website to visitors.
There are tons of choices when it comes to web hosting providers. Bluehost is one of the most popular companies because of its cheap prices. However, SiteGround is only around a dollar more and offers a much better service.
Here’s an easy step-by-step guide for starting your website with Siteground:
Step 1: Go to Siteground’s WordPress hosting page.
Step 2: Choose the StartUp plan. This is the cheapest hosting plan, and it has everything you need as a beginner. Note that the discounted introductory price for your first year is lower than the annual rebilling price.

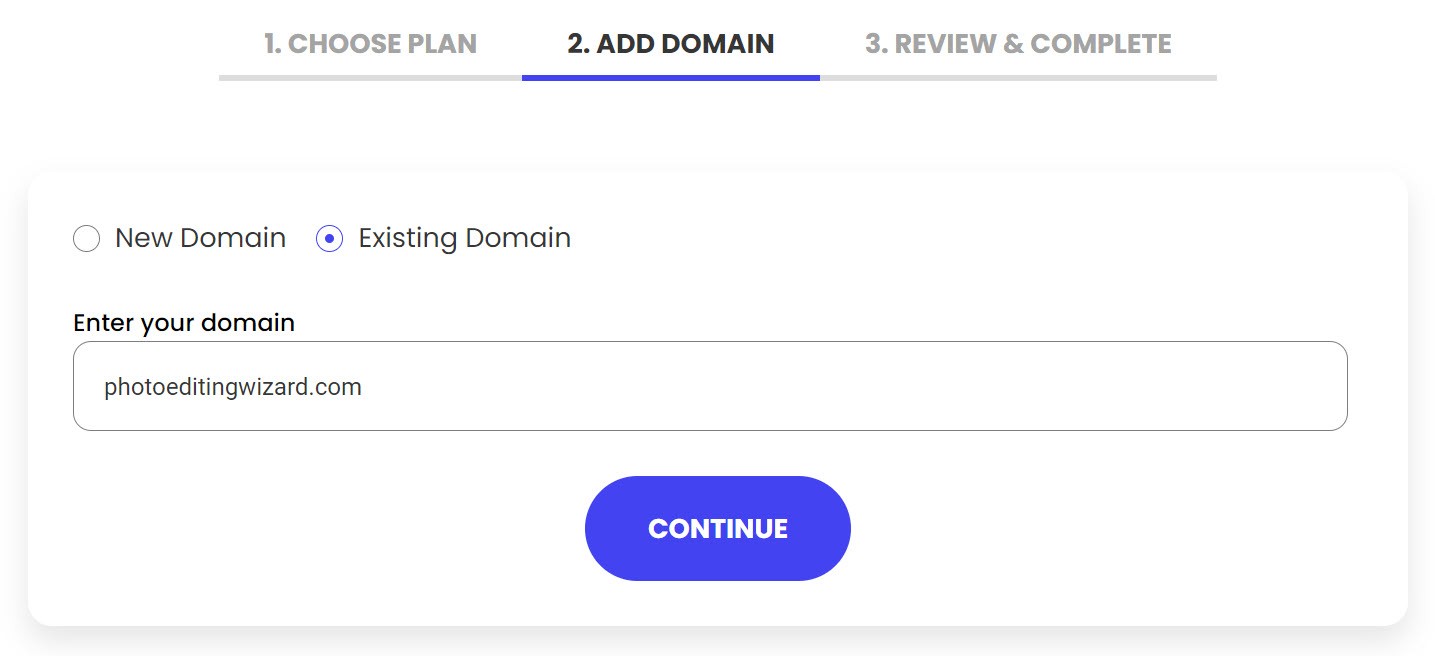
Step 3: Select “I already have a Domain” and enter the domain name you registered with Namecheap. (You can also register a domain name with Siteground, but it’s more expensive.)
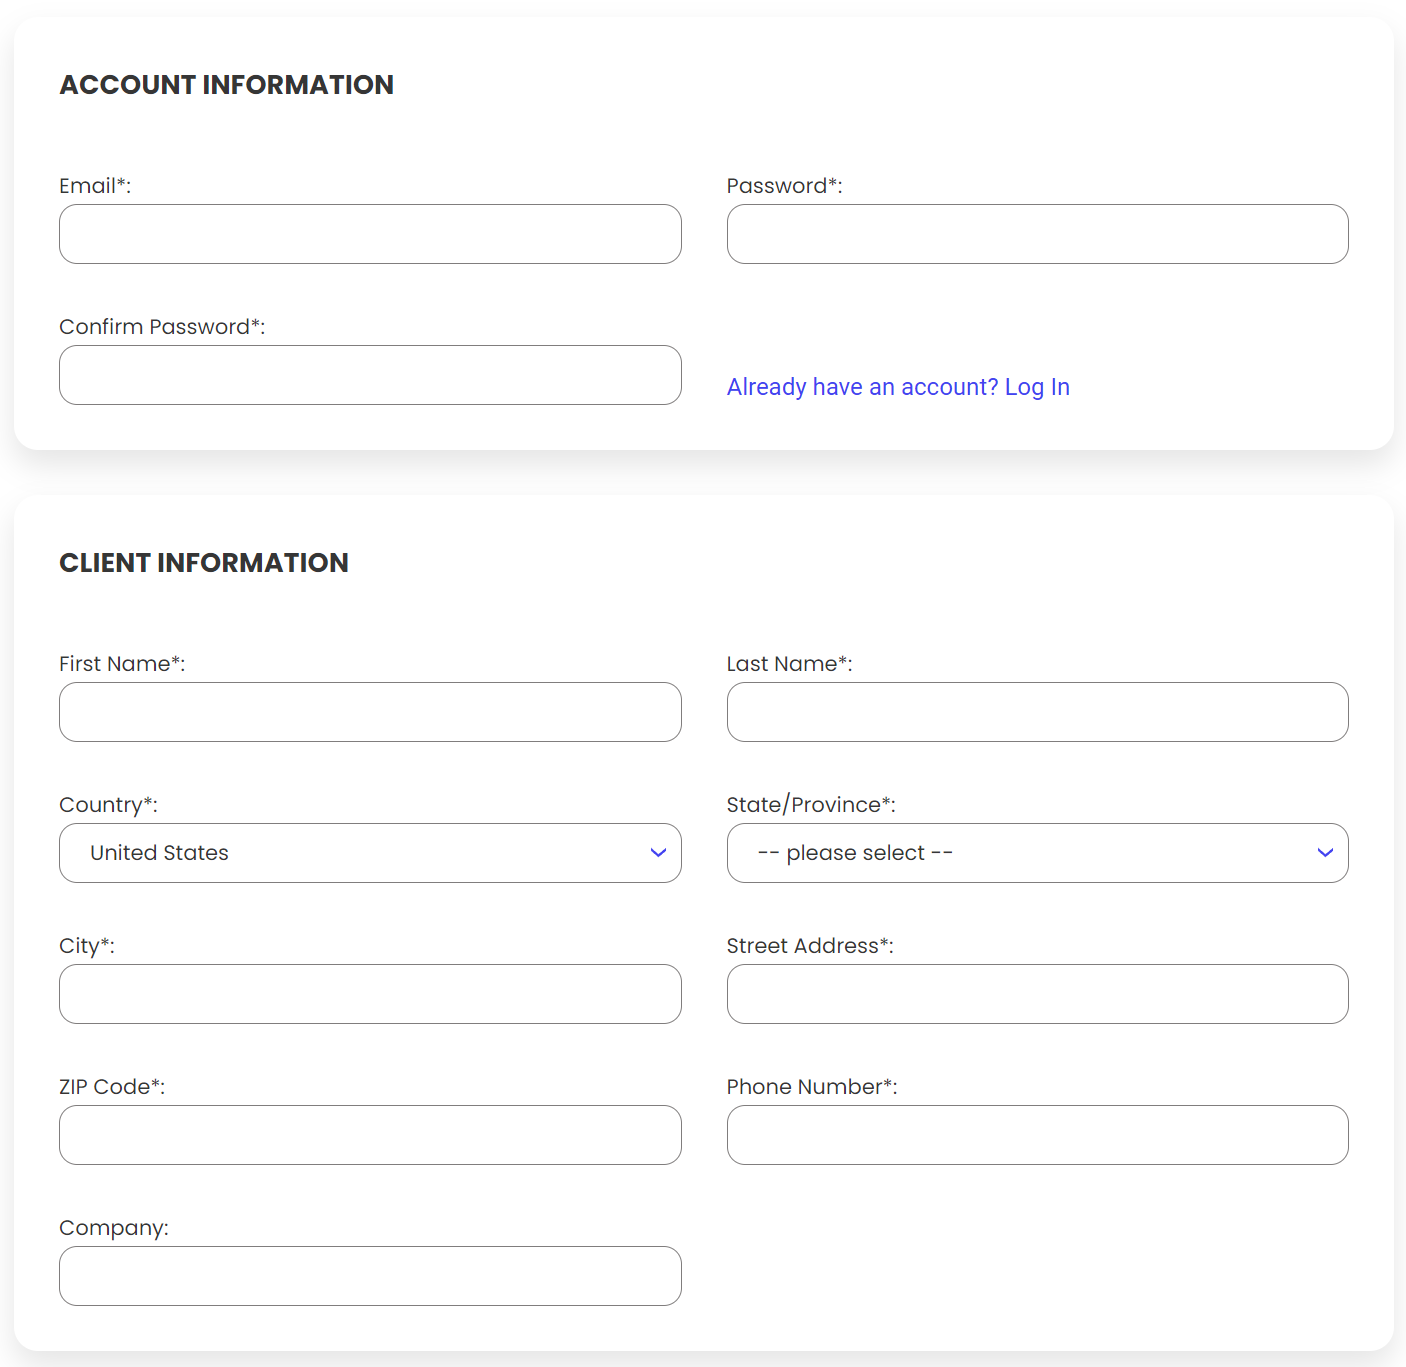
Step 4: Enter the required information for your hosting account creation and location details.
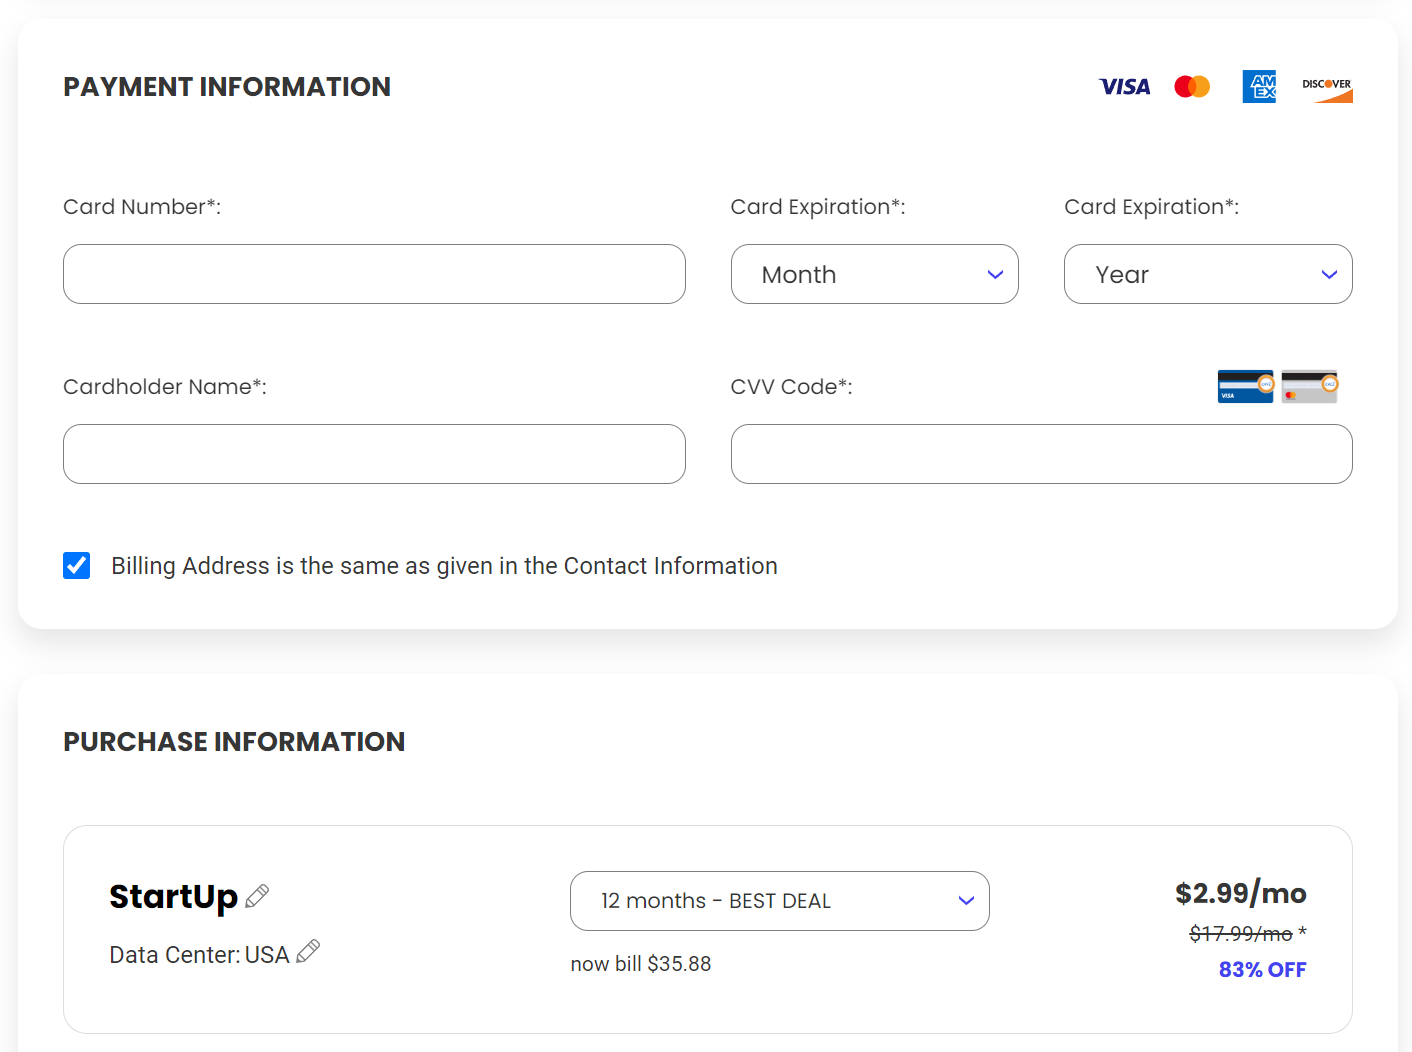
Step 5: Add your payment information and choose a subscription period. The 12-month hosting plan offers the best deal.
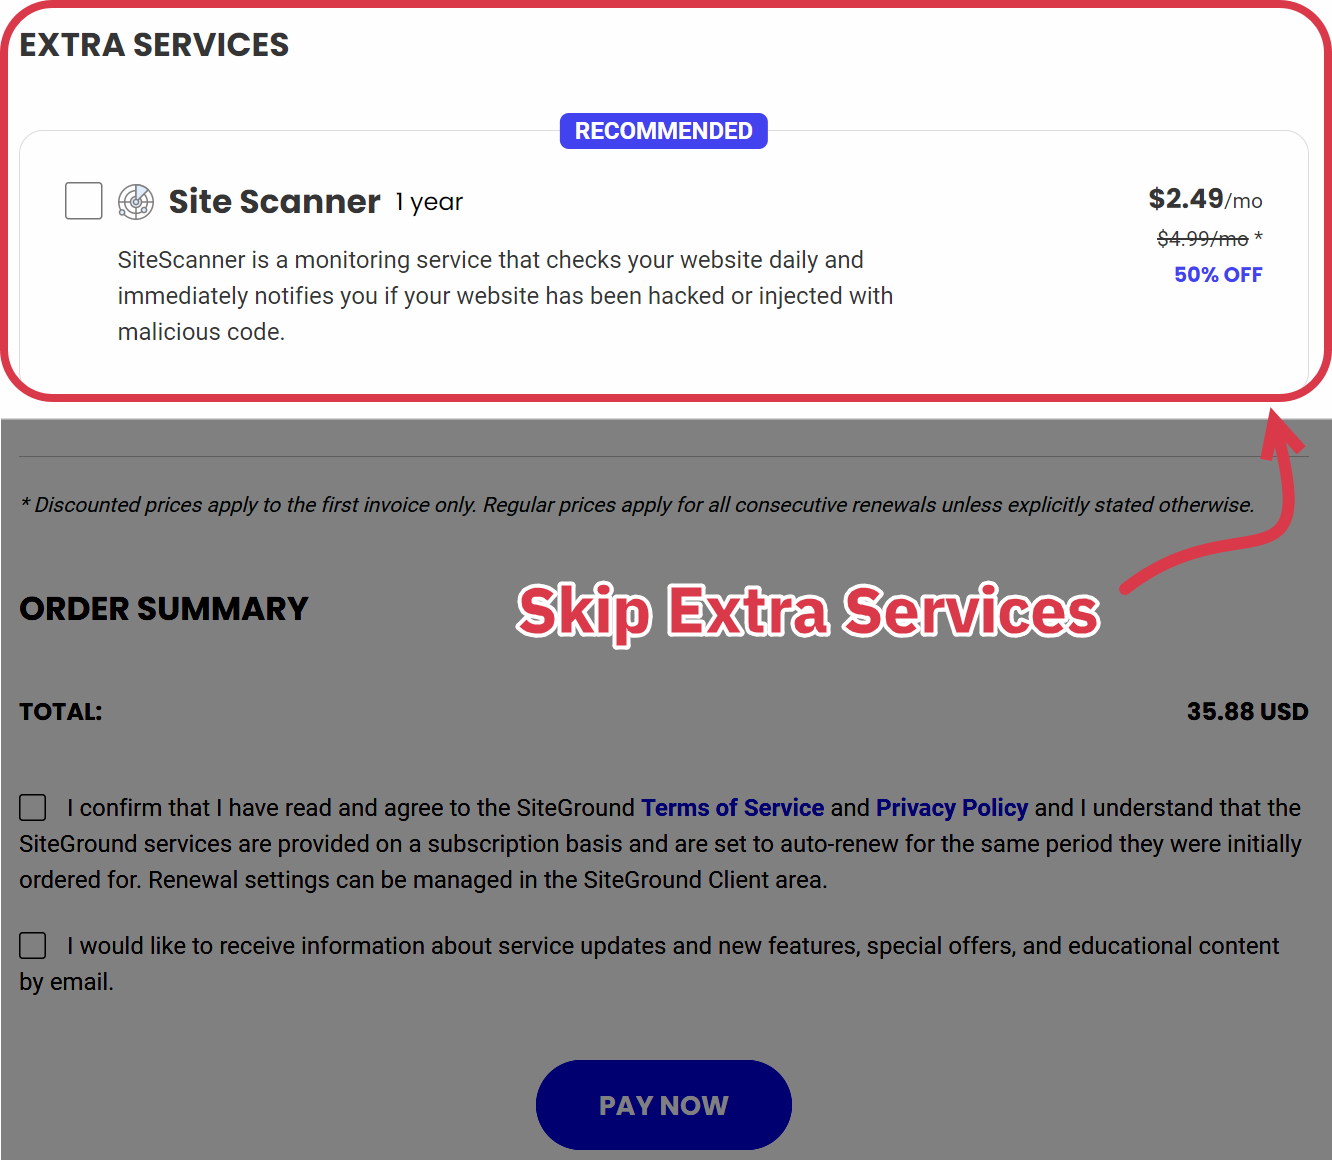
Step 6: Make sure all the extra services are unchecked. You don’t need any of these for a new blog.
Step 7: Point your domain to Siteground. Since you registered your domain with Namecheap, you’ll need to update your DNS settings to point it to Siteground. You can contact Siteground support if you need help with this step.
And that’s all there is to it!
5 Choose a Theme for Your Photography Blog
Now that you’ve gotten a domain name and web hosting, it’s time to choose a WordPress theme for your photography blog.
A theme is a pre-made visual framework that lets you customize the design and layout of your website without needing to code anything.
It’s important to choose a good WordPress theme for your photography blog. While many themes perform the same basic functions, some offer more customizability, customer support, and speed than others.
While you can use a free theme, I only suggest using one that has a premium upgrade option. Many free themes lack customization options and functionality you may need as your blog grows. You don’t want to limit your blog’s growth, and a free theme with a premium version you can upgrade to later gives you the best of both worlds.
There are three free themes that I recommend for new bloggers — Astra, Kadence, and GeneratePress.
All of these themes have premium options you can upgrade to later as your photo blog grows. They also come with useful features like template libraries so you can easily customize your blog.
Once you’ve chosen a theme, installing it in WordPress is a breeze. Here’s exactly how to do it:
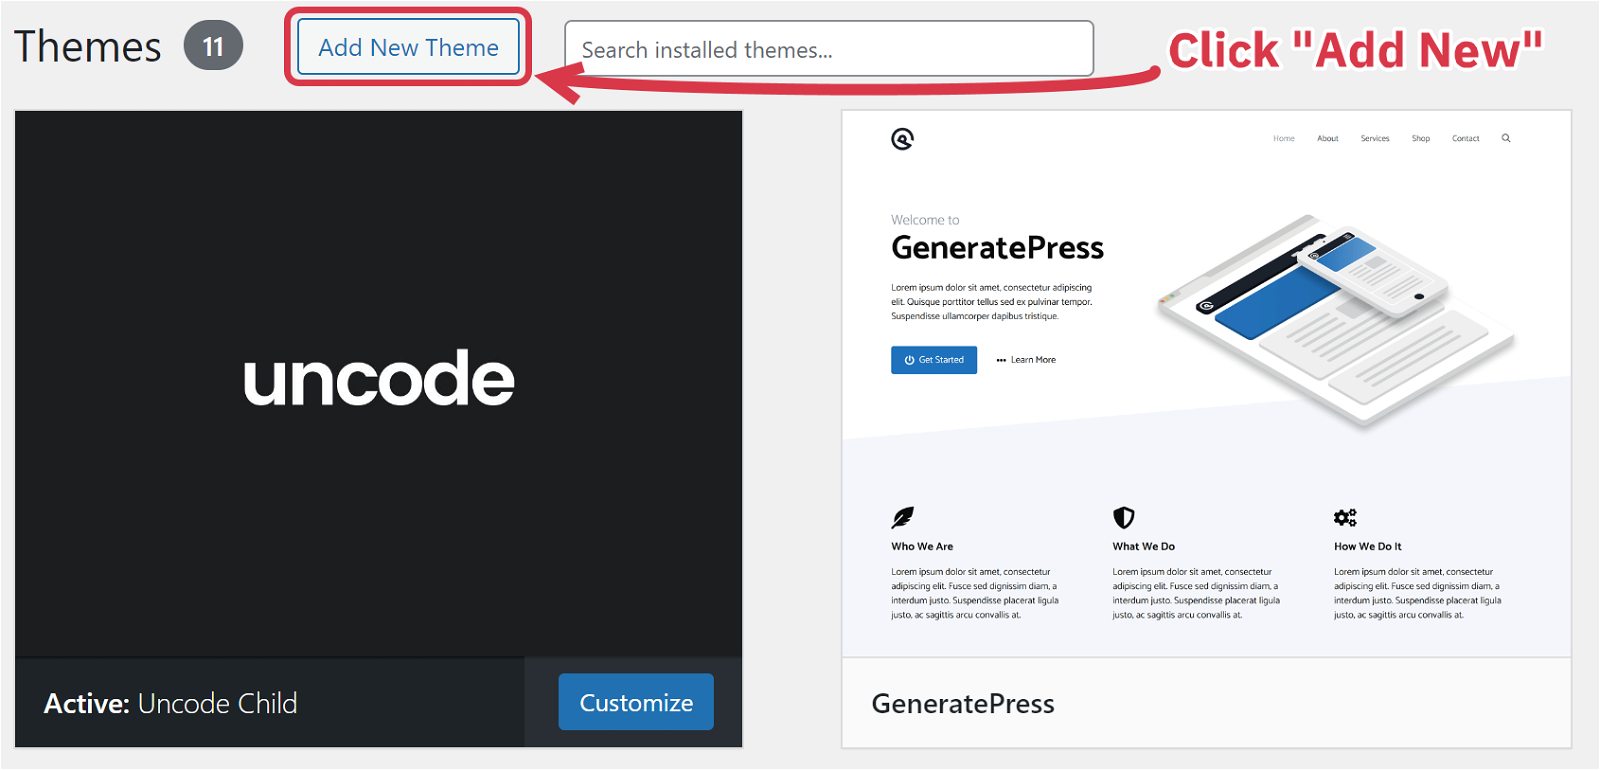
Step 1: Go to your WordPress dashboard.
Step 2: Go to the left sidebar and select Appearance > Themes

Step 3: Click “Add New”
Step 4: Search for your theme and click “Activate”
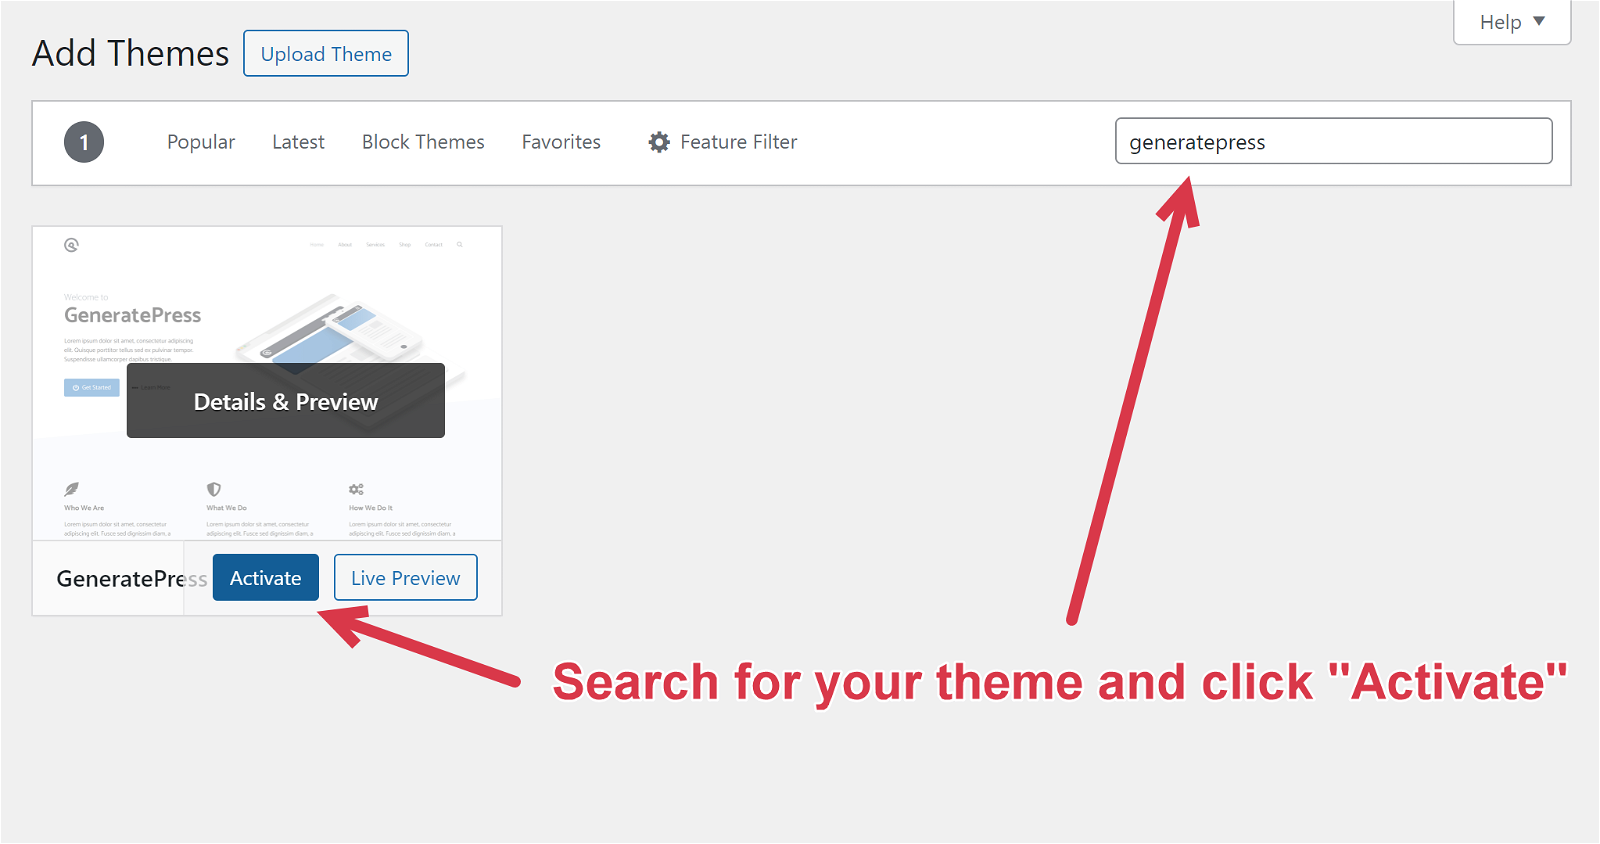
Voila! Your theme is now active. Now it’s time for the fun part — check out your theme settings and start customizing your fonts, colors, layout, and other design options on your photography blog.
6 Decide on Design & Branding
Now that you’ve set up your theme, it’s time to focus on the design and branding of your photography blog.
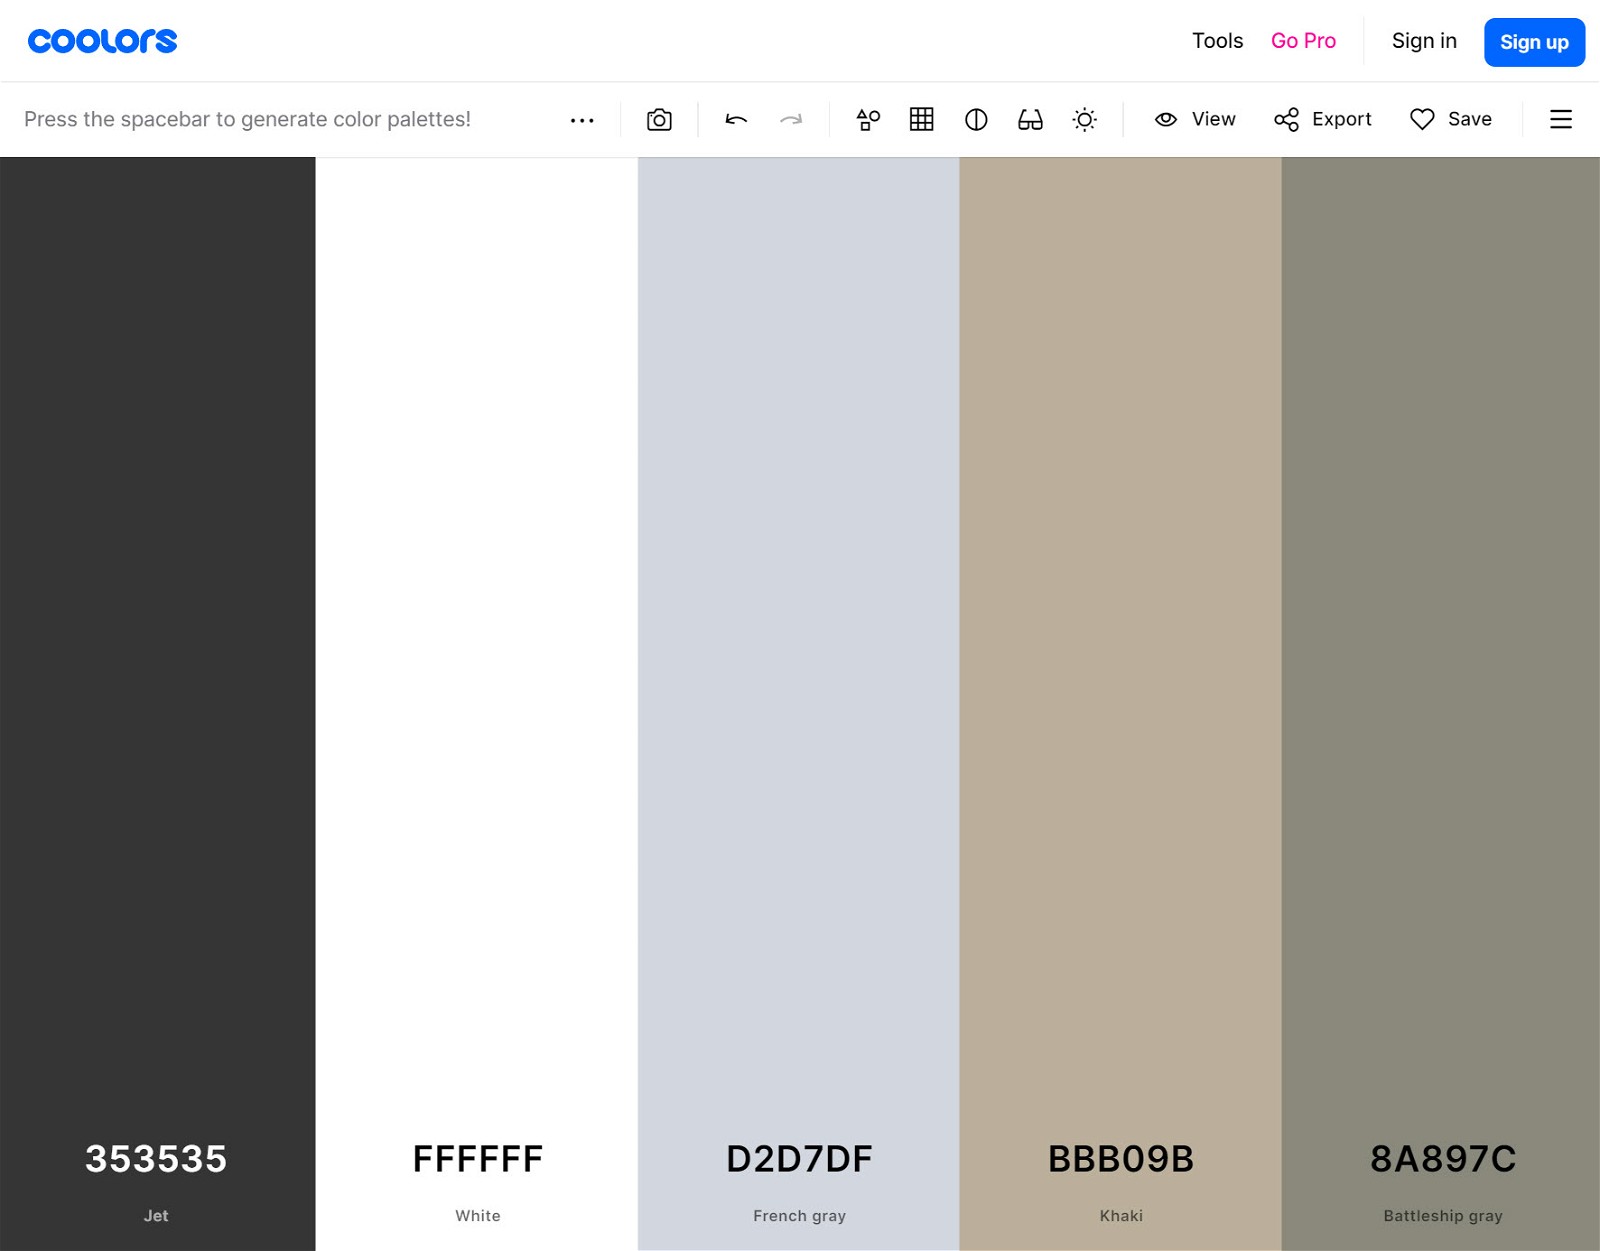
A cohesive color palette is a key design element that will define the aesthetic of your website. For a photography blog, you may want to select colors that evoke your sub-niche. Think pastels for wedding photography, bright colors for food photography, and monochrome for film photography.
If you need help creating a color palette, use Coolors — this tool helps you find aesthetically pleasing color combinations you can use for your blog.
Beyond a color palette, another design element your blog needs is a logo. Your logo is one of the first things a visitor will see on your website, so it’s important to design one that is eye-catching and harmonious with your color palette and theme.
If you’ve never created a logo before, you can use Canva to make one in minutes. Canva has many logo templates you can choose from, including logos for photography websites.
Once you find a template you like, you can customize the colors and fonts to match your own branding.
7 Create Essential Pages
After you have settled on your blog’s design and branding, it’s time to add some essential pages. These are pages that every new blog needs to have.
Homepage
The homepage is the first page visitors will land on when they visit your blog. This page should clarify what your website is about and who it’s for. Your homepage should highlight your best content and make it easy for visitors to find what they’re looking for.
About Page
This is where you introduce yourself and share your reasons for starting your blog. Include a photo of yourself and some stories about your experience with photography to make this page more relatable.
Contact Page
A contact page is essential so visitors to your website can get in touch with you. At a minimum, this page should include a contact form and an email address. You can also add links to your social media channels here.
Privacy Policy + Terms and Conditions
These two pages are legally necessary to outline how your website handles user data and what information you collect from users. You can generate both pages in a few clicks on PrivacyPolicies.com.
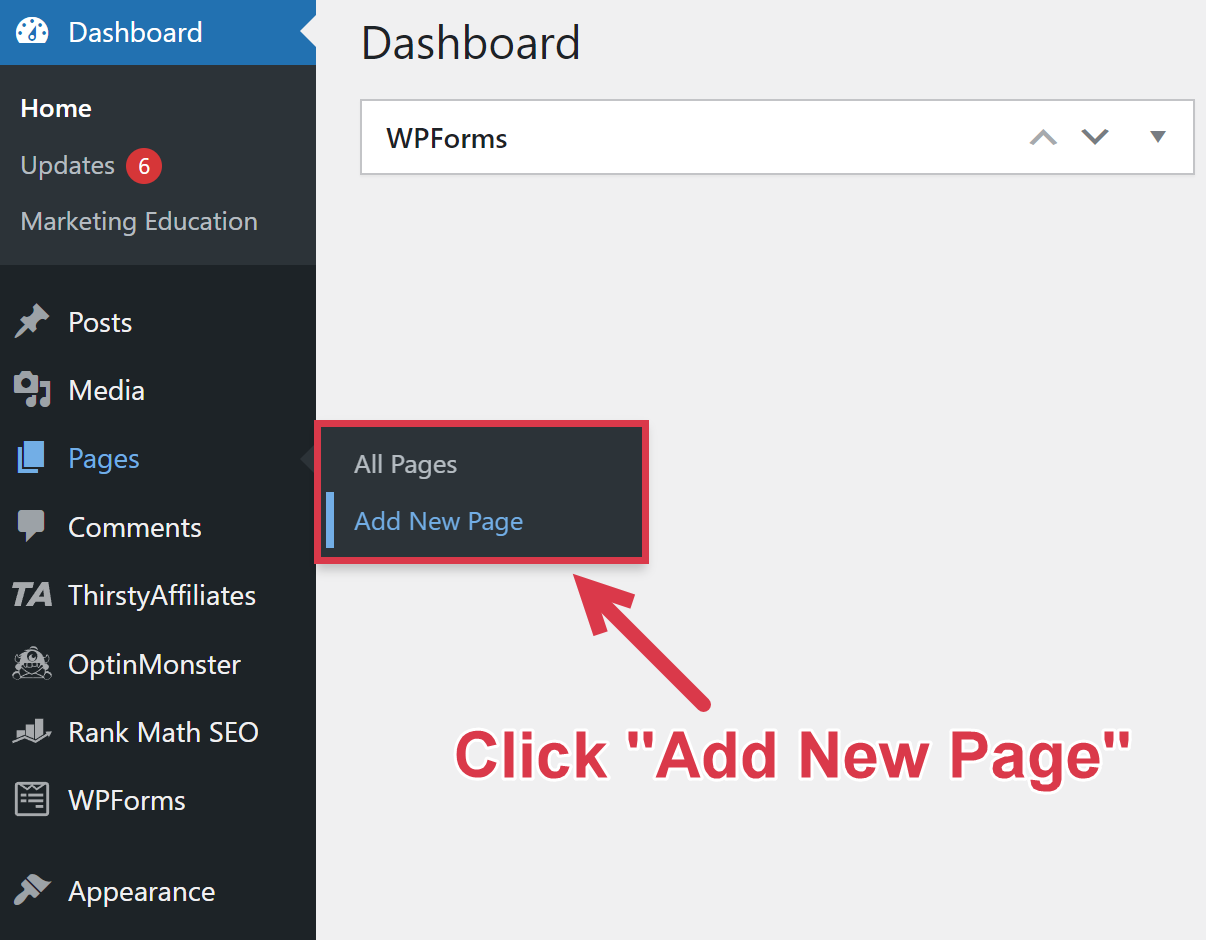
Creating pages in WordPress is simple. Just log in to your WordPress dashboard, open the “Pages” menu, and click “Add New.”
8 Start Creating Content
Now that we’ve covered the basics of starting your photography blog, it’s time for the fun part: writing blog posts.
Before you start writing just anything, keep in mind that writing keyword-focused content is what will help you get traffic and earn money from your blog.
A keyword-focused content strategy means writing blog posts about keywords that people are searching for in search engines like Google. If you do this well, Google will show your blog post at the top of the search results, driving traffic to your website.
With a brand-new website, though, you won’t be able to rank in the search results for just any keyword, no matter how good your content is. The more people searching for a keyword, the more competitive it is, and it will be difficult for a new, unestablished blog to rank.
That’s why it’s important to find low-competition keywords that still have a decent monthly search volume. This is the kind of low-hanging fruit you should target as a new blogger.
You can use Ahrefs to find low-competition keywords that still get many monthly searches.
For example, searching “food photography” in Ahrefs Keyword Explorer yields the following terms:
| Keyword | Search Volume | Keyword Difficulty |
|---|---|---|
| food photography backdrops | 800 | 17 |
| best camera for food photography | 400 | 3 |
| best lens for food photography | 350 | 4 |
| creative food photography | 300 | 10 |
You can use this process to plan out your first ten blog posts. Some example blog posts you can write based on these keyword ideas include:
- “10 Best Lenses for Food Photography”
- “Creative Food Photography: A Complete Guide”
- “5 Reasons Why This Is the Best Camera for Food Photography”
Now that you understand keyword research and coming up with topics, here are some tips for writing the perfect blog post:
- Understand search intent. Before you start writing, consider the “why” behind the keyword. Make sure you understand why users are searching for something so you can address the topic fully in your blog post.
- Outline your blog post. It helps to make a brief outline of your blog post before you start writing, even if it’s just outlining the headers of the main topics you want to cover. This helps you organize your thoughts before you start writing.
- Write for your audience. The way you’ll address newbie photographers in a beginner’s guide to understanding your camera settings is different from how you would write for seasoned photographers looking for advanced tips.
- Let your personality shine. Don’t be afraid to share relevant personal anecdotes and let your personality shine through in your blog posts. People want to read blogs that sound like there’s a real person behind them, not a robot.
- Use lots of images. On a photography blog, images are extremely important! Include your own photos to illustrate the points you are making in your blog posts.
- Make tutorials. Create step-by-step guides for photography techniques, such as lighting setups, post-processing tips, or camera settings for specific scenarios.
- Link to your other blog posts. Where relevant, include links to other content on your blog. Not only does this keep readers on your website for longer, but it’s also good for SEO.
If you feel overwhelmed by all of this, keep one thing in mind — write the content you wish you’d had as a beginner photographer. Think about what would have helped you succeed when you were first starting out, and aim to create that helpful and valuable content for your readers.
9 Promote Your Photography Blog
Writing SEO-focused content is the first step to getting your blog out there, but there are steps you can take to promote your blog further and start getting traffic.
Here are some ways you can promote your photography blog:
- Get involved in online photography communities. Join online groups and forums for photographers, and when relevant, share your blog content to answer a member’s question or provide a helpful resource for the community.
- Start an email list. Include an opt-in form on your website to collect email subscribers. Offer a small freebie (like a PDF guide of your best photography tips) in exchange for signing up. You can then send newsletters to drive traffic back to your site or sell products down the road.
- Host a workshop for photographers. Plan an in-person or virtual workshop for photographers teaching a particular skill, directing attendees back to your blog.
- Guest posting. Reach out to other photography bloggers and websites and offer to write a guest post. This expands your audience and establishes your expertise while also boosting SEO.
Whatever you do, make sure your approach is genuine and not spammy. If you’re not providing value, people aren’t going to be interested.
10 Monetize Your Photography Blog
You’ve learned how to create amazing content, but how can you actually monetize that and start earning money from your blog?
Here are the top three ways to make money from a photography blog:
Affiliate Marketing
Recommend photography gear like cameras, lenses, camera bags, and photo editing software, and earn a commission when a reader purchases through your affiliate link.
Why It’s Great: Your readers get personal recommendations from you, and you earn money sharing the products you already use and love.
Get Started: Check our complete guide to affiliate marketing and our list of the best photography affiliate programs.
Display Ads
Show ads on your blog and get paid based on the number of impressions and clicks your ads receive.
Why It’s Great: You earn money just from having readers engage with your content. The more traffic your blog gets, the more money you can make.
Get Started: Sign up for an ad network like Ezoic. This is a beginner-friendly option that will allow you to start earning money from ads in no time.
Selling Your Own Products
Sell your own products, such as online photography education courses, digital guides, photo editing presets, or prints of your work.
Why It’s Great: You can earn money directly from your own photography or by teaching other photographers your skills.
Get Started: First, brainstorm product ideas that will be a good fit for your audience. Then, determine which platform you’ll use. For example, platforms like Etsy for photo editing presets or Teachable for online courses.
Summing Up
Starting a standout photography blog requires patience, hard work, and a continuous drive to adapt and enhance.
Though this post provides a solid roadmap, the world of blogging is vast – there’s so much more you need to know to give yourself the best chance of success.
That’s why we’ve created a free training that shares the best strategies for starting a new blog.
Specifically, you’ll learn 7 crucial secrets that can elevate your new blog’s growth rate by 83%.
FAQs
Many photography websites make money by utilizing several income-earning strategies. You can run display ads, leverage affiliate marketing to earn money by recommending photography gear, create and sell online photography education courses, sell your own photo editing presets or photography prints, and use your website to book photography clients.
If you genuinely love photography and want to share your passion with the world, starting a photography blog is worth it. Not only can you build a platform that inspires and educates other photographers, but you can also make money by creating valuable content about photography, build your personal brand, and expand your professional network as a photographer.