Starting a review blog is a terrific way to earn money online.
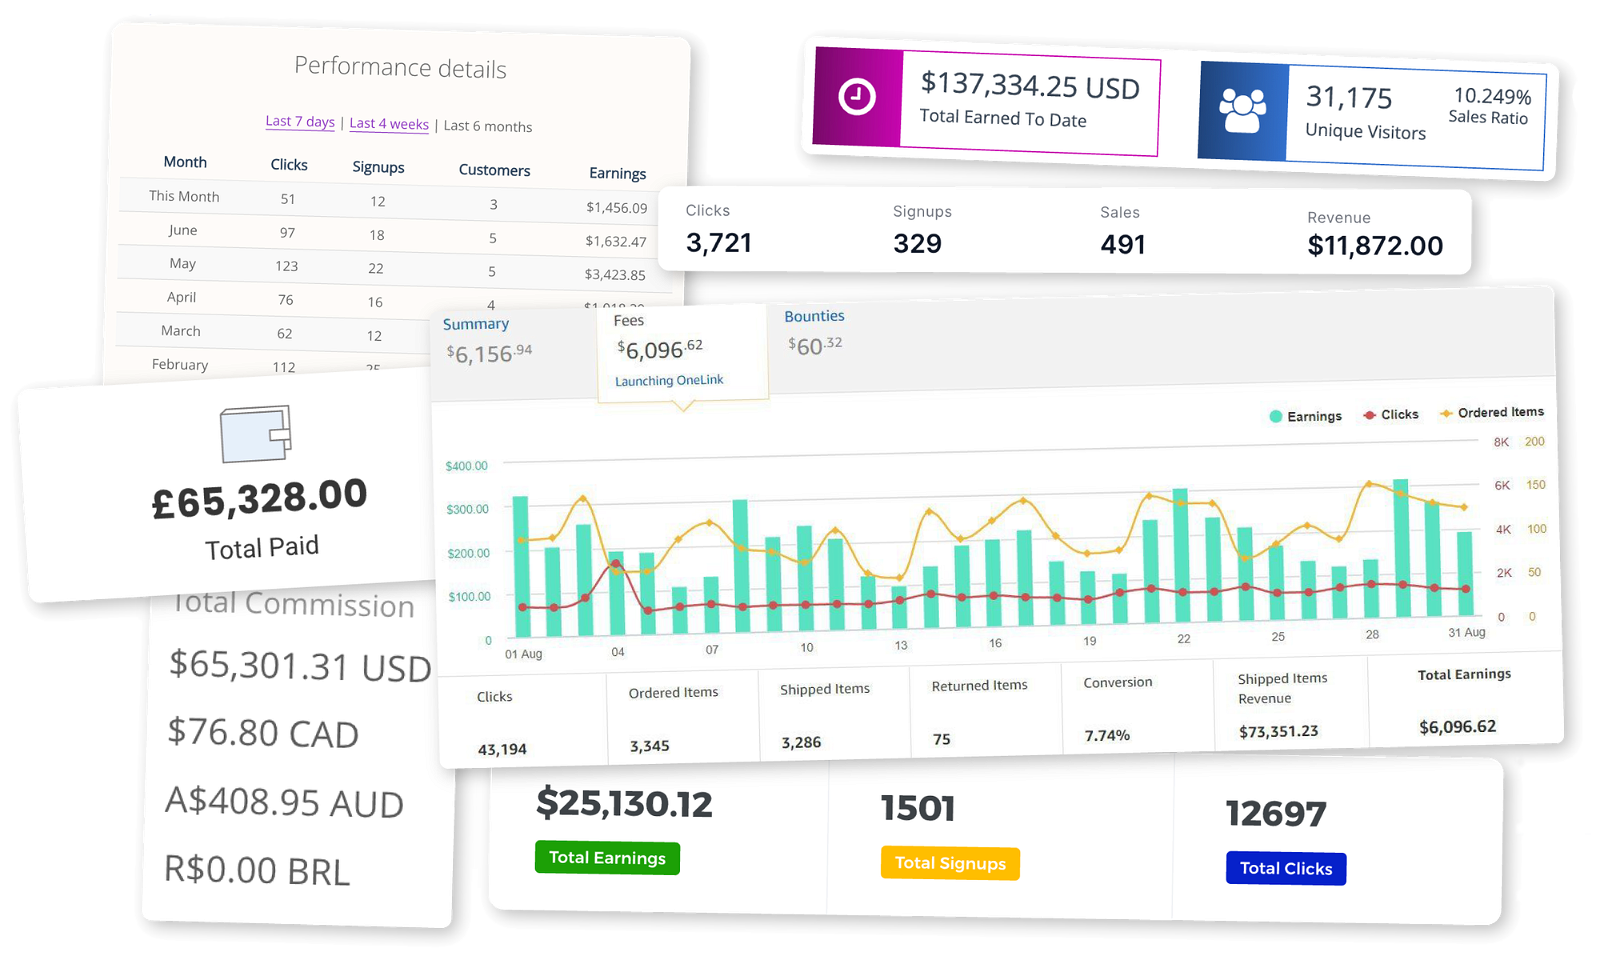
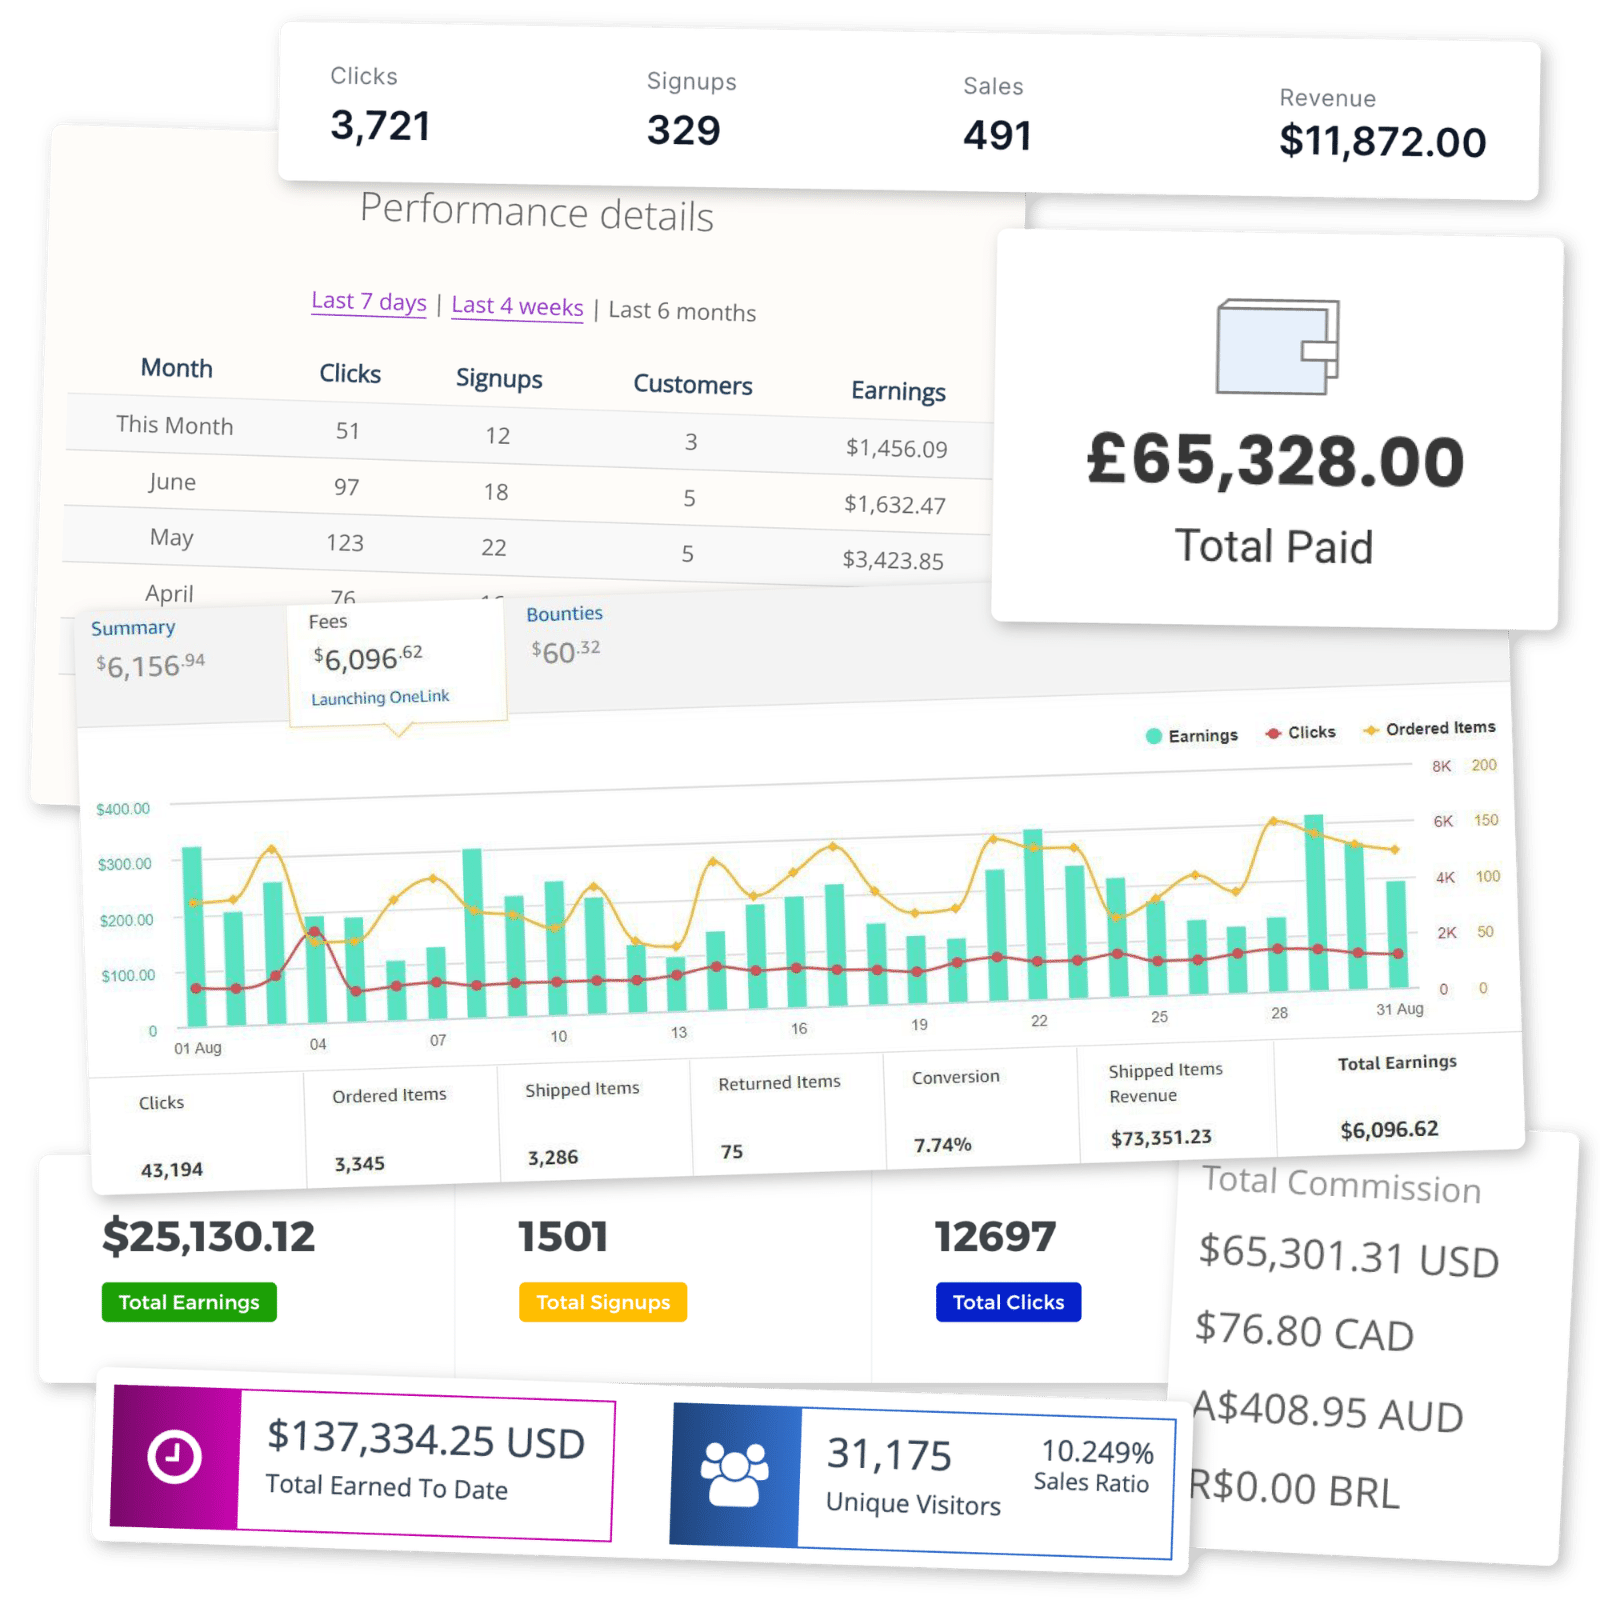
Take it from us – we’ve spent over 12 years creating review blogs and earned a lot of money in the process. Here’s a small sample of the affiliate commissions our review blogs have earned:
We’ve also taught more than 14,000 students how to build successful review blogs.
If you want to follow in their footsteps, read on to learn our 10-step process for creating a review blog that earns real money.
Why Start a Review Blog
There are many compelling reasons to start a review blog.
First of all, you can make a lot of money reviewing products and services. According to our affiliate marketing statistics, bloggers reviewing affiliate products earn $8,038 per month on average.
You can also enjoy early access to most products and services in your area of specialty.
Moreover, as your reputation grows as a reviewer, you’ll get invites to exclusive product launch events and connect with or interview the team who made it.
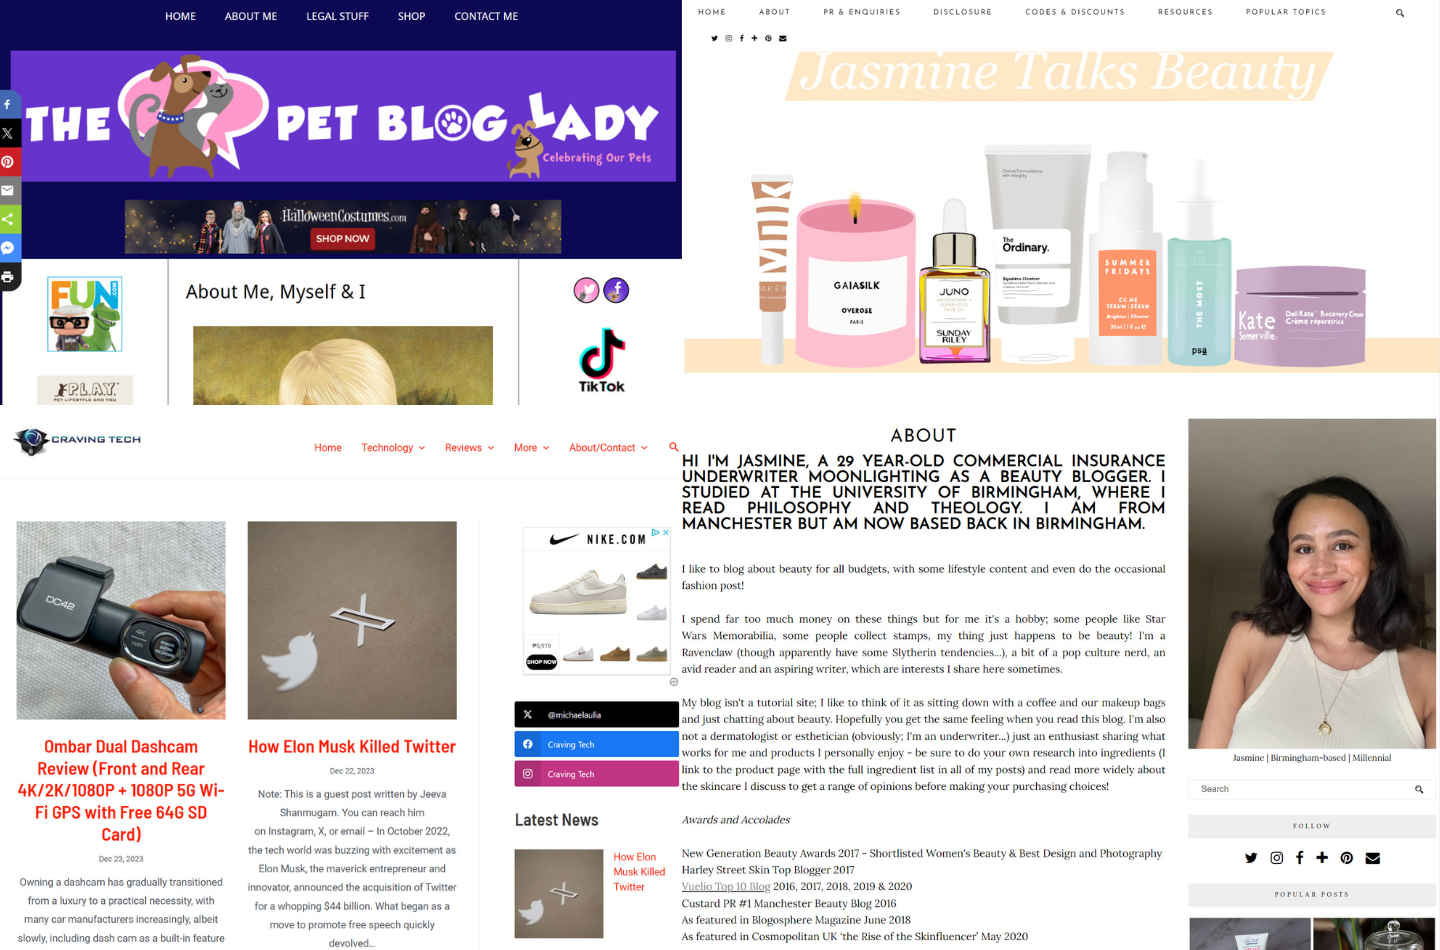
Examples of Successful Review Blogs
Before starting a review blog, it’s a good idea to check out how successful review blogs are designing their sites, writing content, and converting readers into dollars.
Here are a few great review blogs you can emulate.

HeadphonesAddict
HeadphonesAddict is a headphone review blog offering simplified, reliable reviews to help users find the perfect headphones tailored to their preferences and budget.
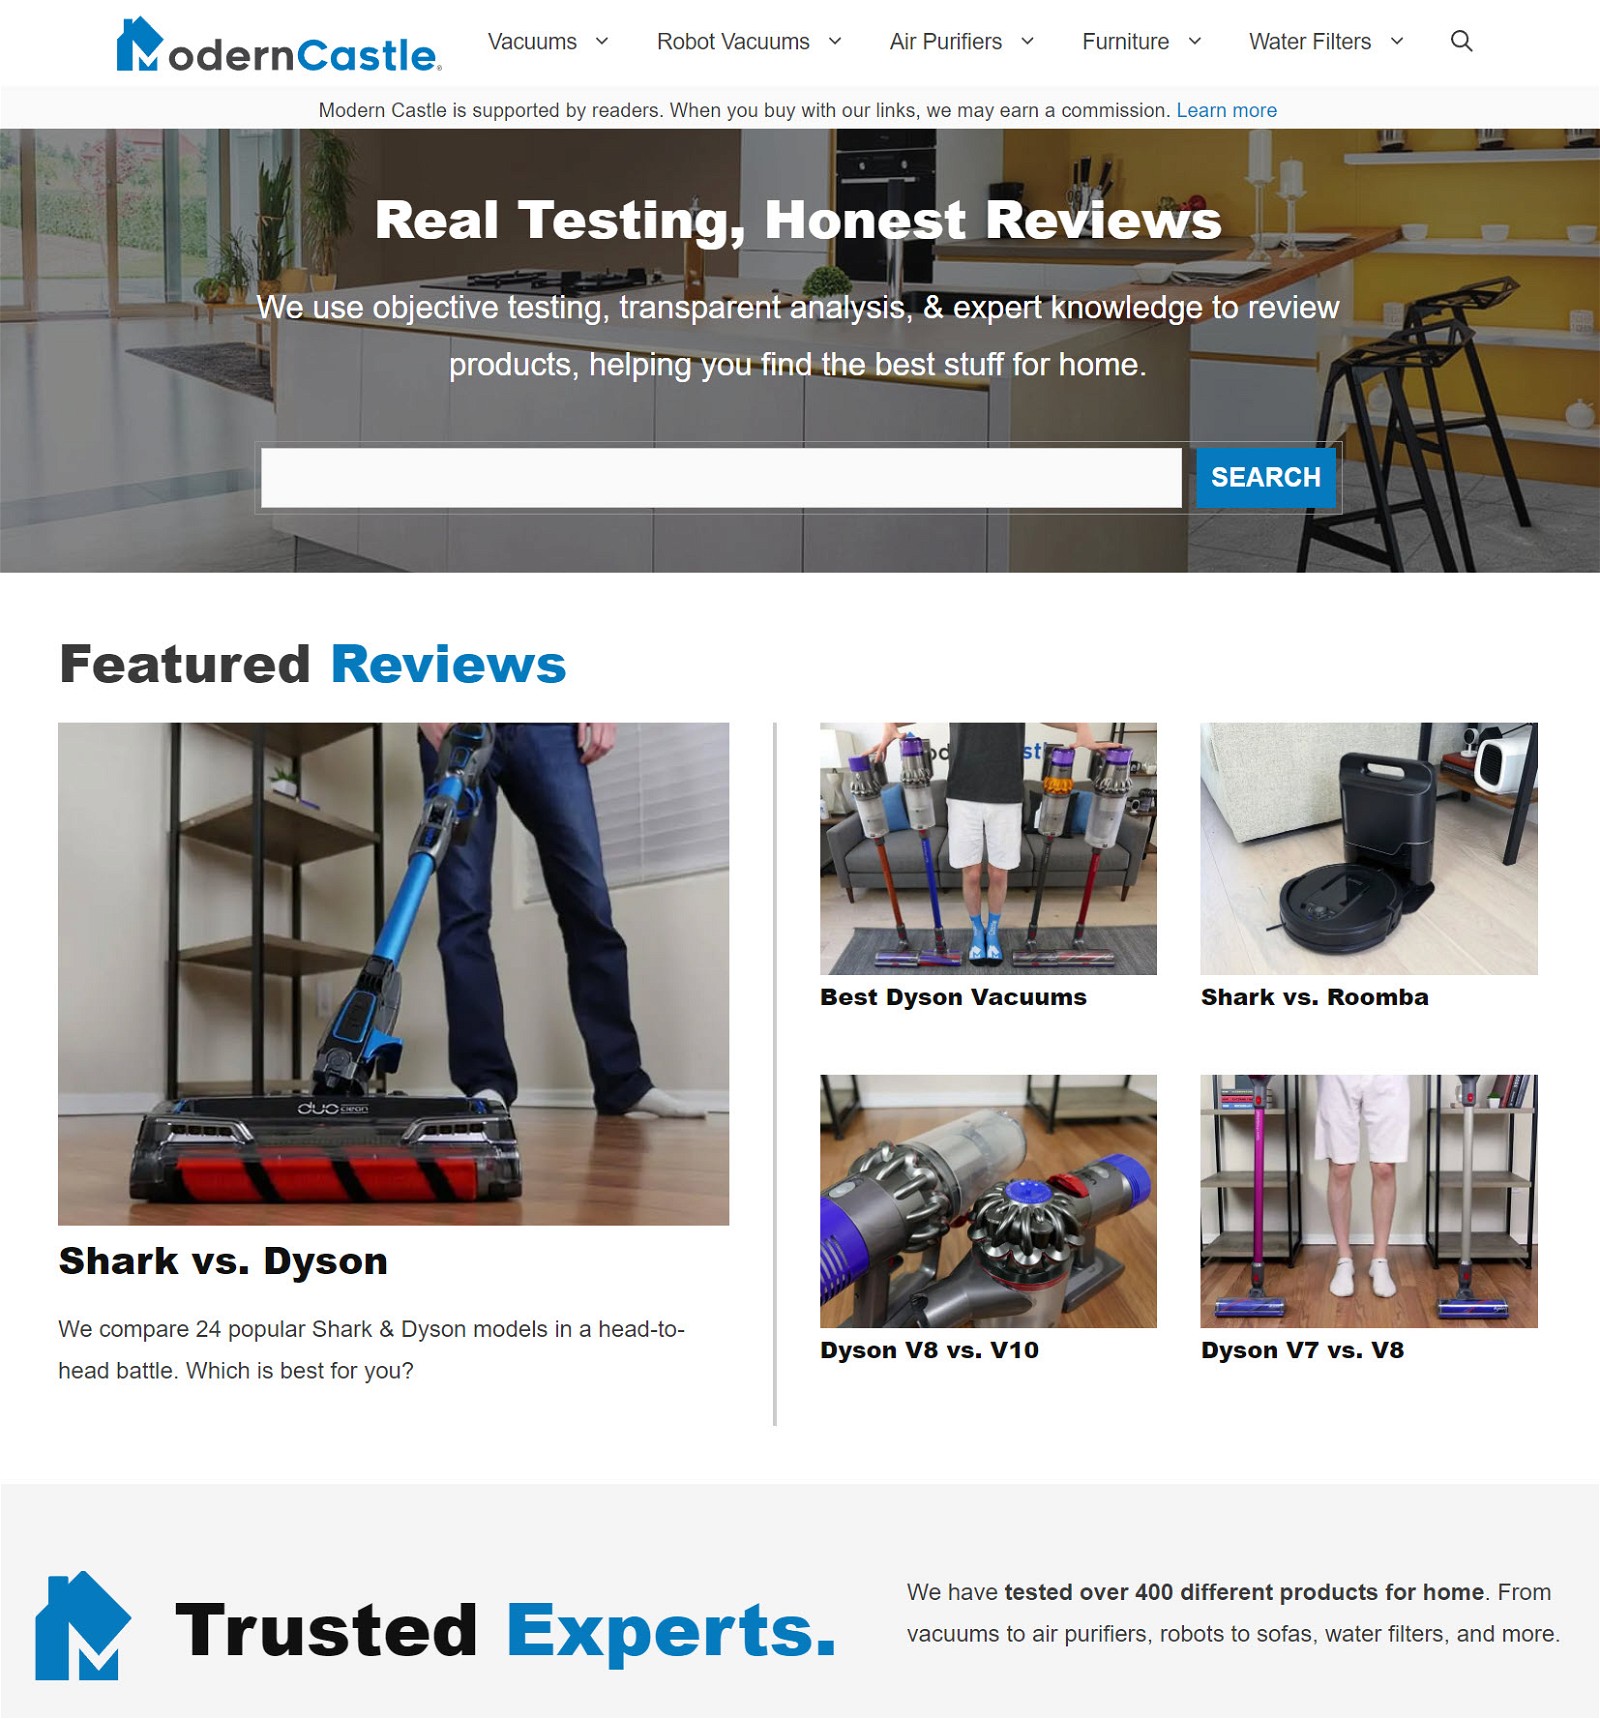
ModernCastle
ModernCastle is a review blog focused on covering home appliances. They offer detailed reviews after rigorously testing products to help you make informed buying decisions.
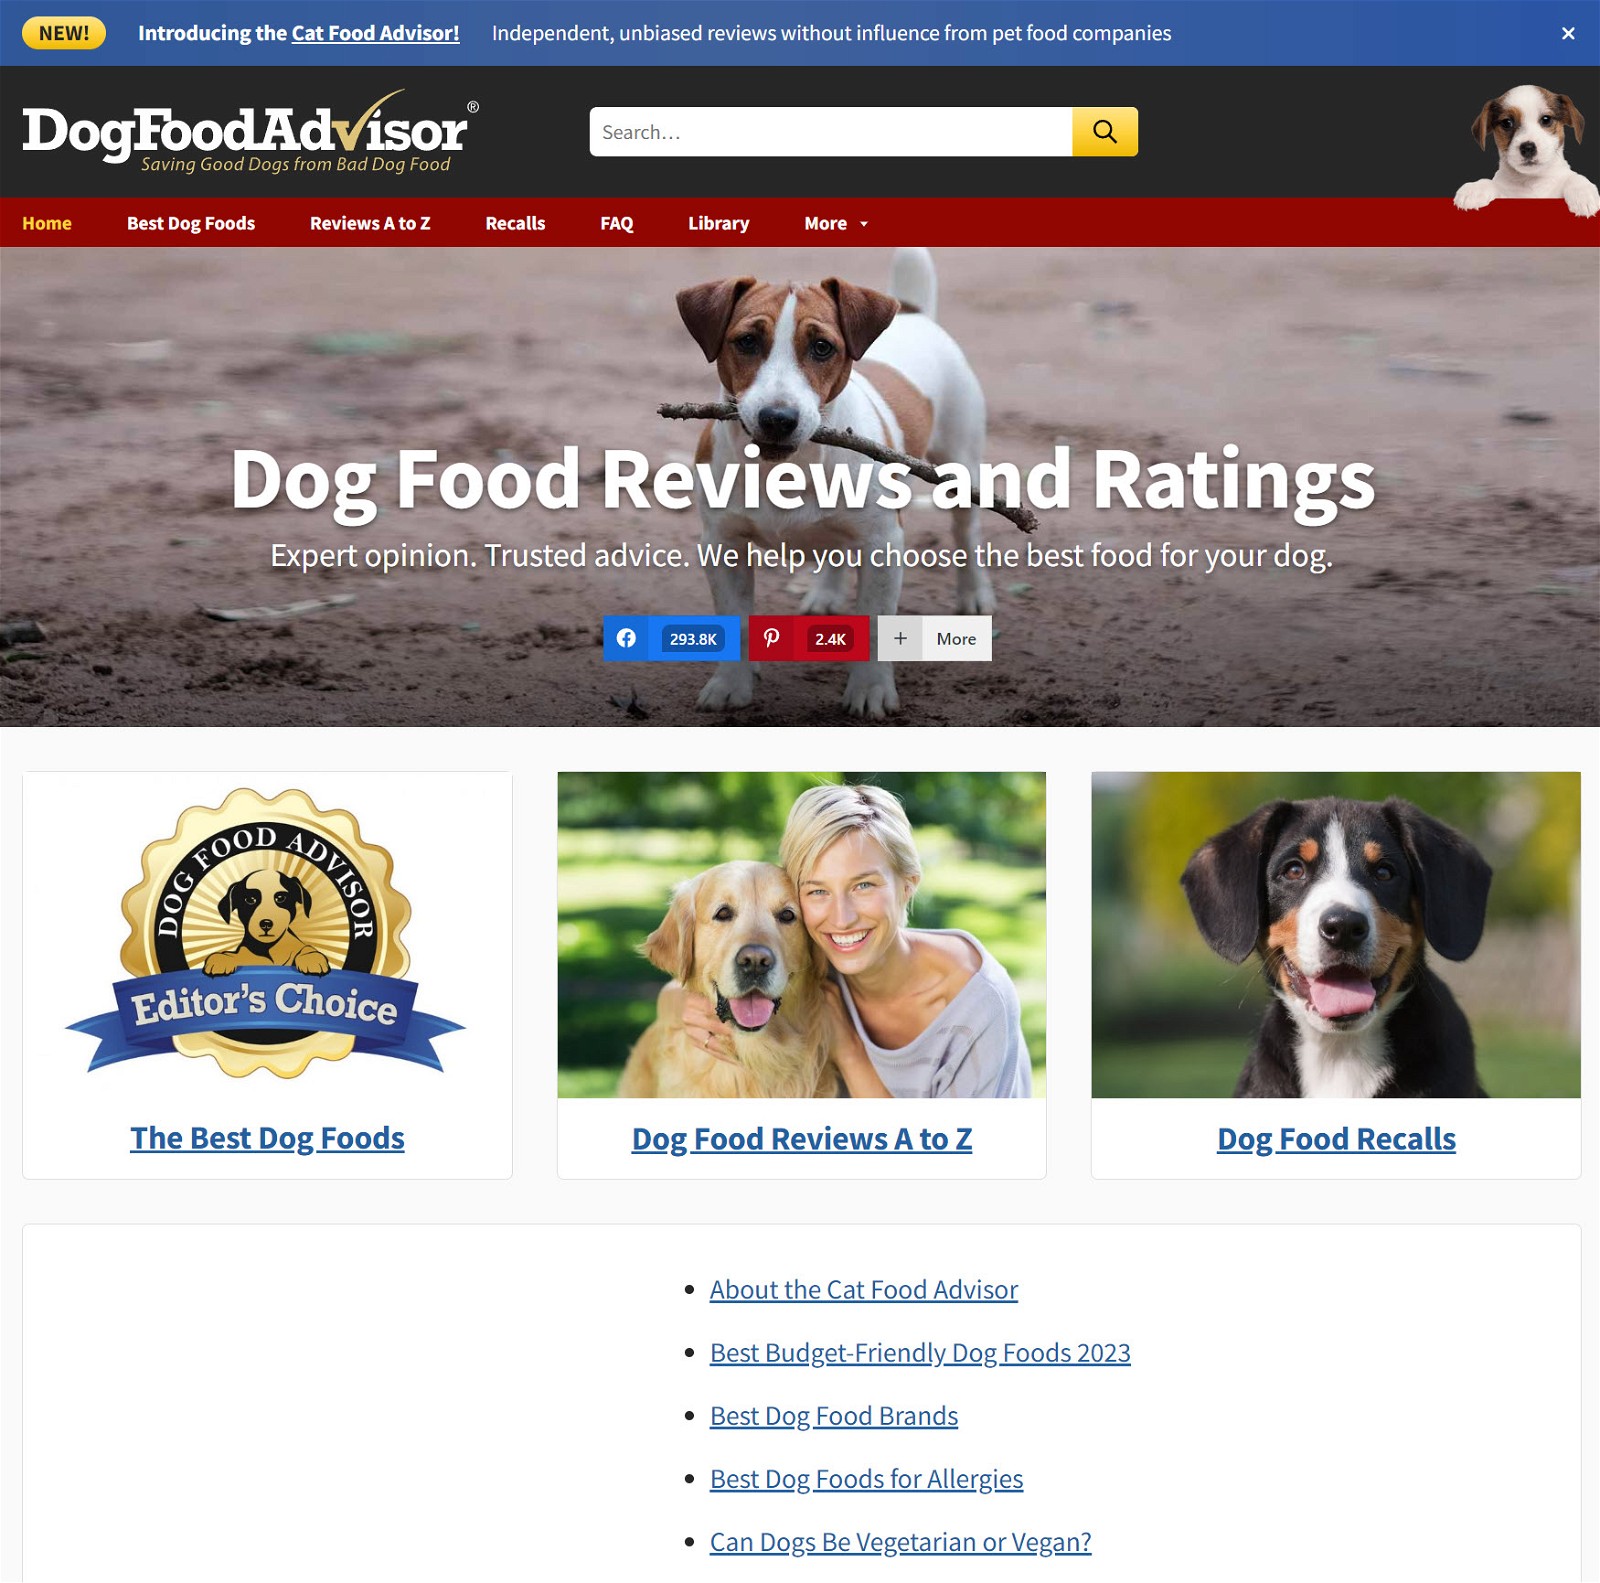
DogFoodAdvisor
Dog Food Advisor is a pet food review blog. They offer detailed reviews for various dog food brands, enabling dog owners to make informed nutritional choices for their beloved canines.
How To Start a Review Blog in 10 Steps
Now that you know what a successful review blog looks like, follow this step-by-step guide to build one yourself.
1 Narrow Down Your Review Blog’s Niche
Technically, you can create a blog to review a bunch of unrelated products, but that isn’t a recipe for success.
Think about it – which would you trust more?
- A lawnmower review from a website that only reviews lawnmowers
- A lawnmower review from a website that reviews everything from computers to toys to landscaping tools
Most people would trust the review from the lawnmower website more – that’s exactly why you should narrow your focus on a particular niche.
When picking your niche, go for a blend between your personal passion and market demand. Your love for the topic will drive consistent quality content while existing user interest ensures a steady stream of readers and commissions.
Here’s a simple guide to help you find a good niche for your review blog.
First, create a comprehensive list of topics you’re passionate about – at least 10-20 entries.
Identify existing blogs covering each of these topics. Using the headphone example, you can google for “best budget headphones” and list the top 10 ranking blogs.
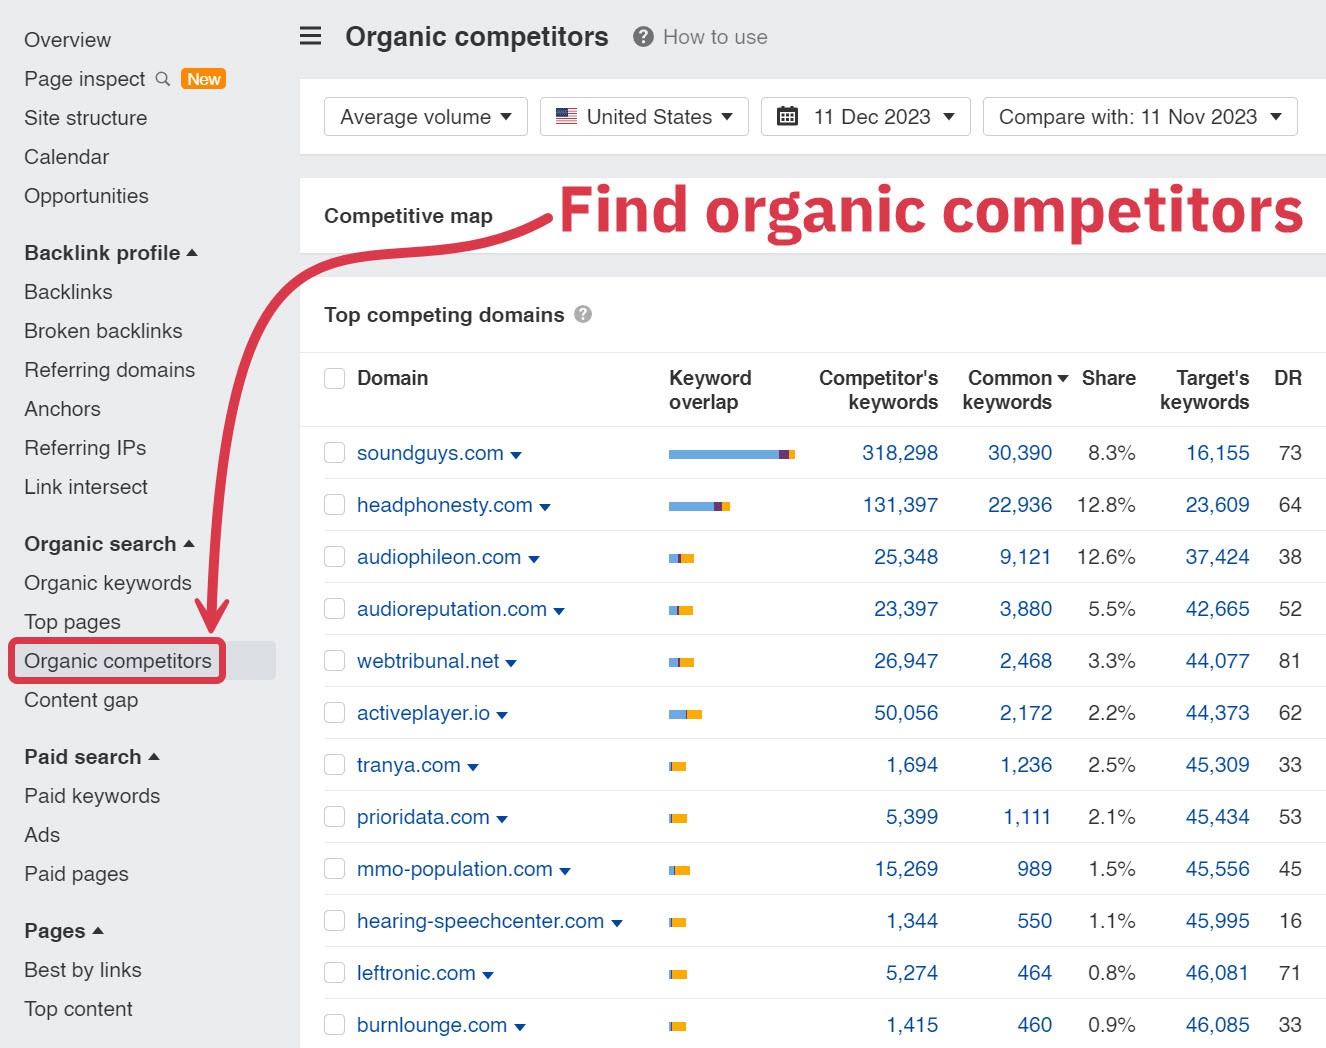
You can also use Ahrefs to streamline this process. Enter a blog’s name, click “Organic Competitors,” and get a list of similar blogs in that niche.
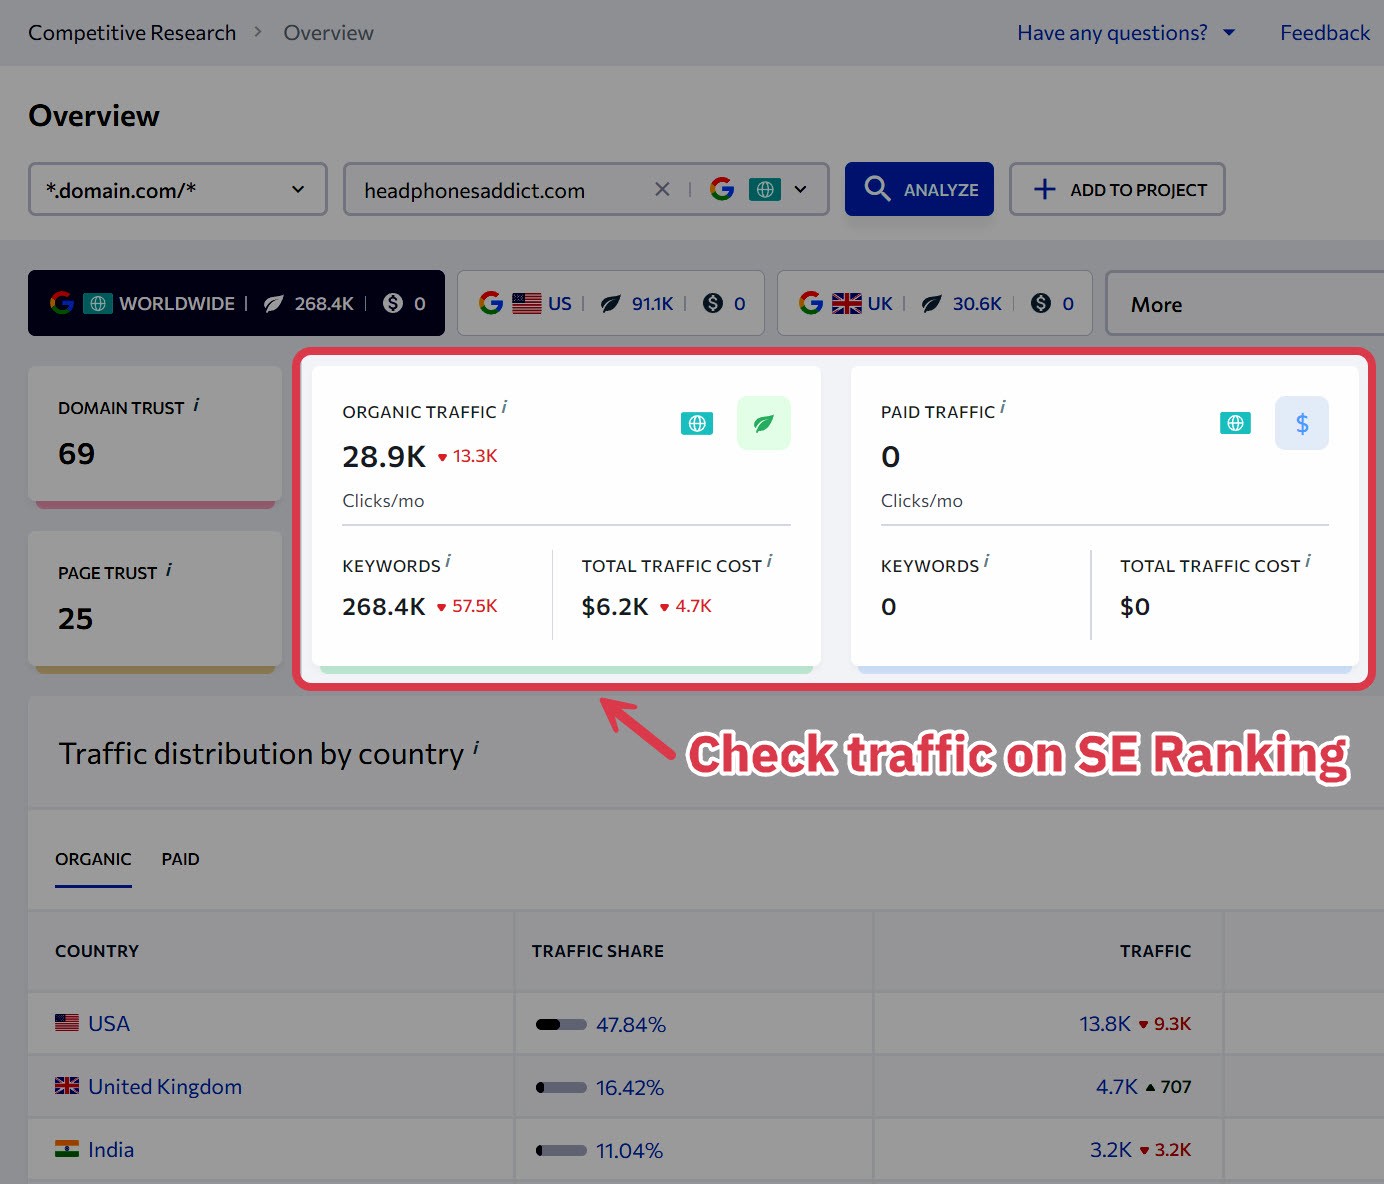
Check how much traffic is coming to each blog. You can do this for free using the 14-day trial from SE Ranking. Enter the blog names into the “Competitive Research” tool, and it’ll show you its monthly traffic.
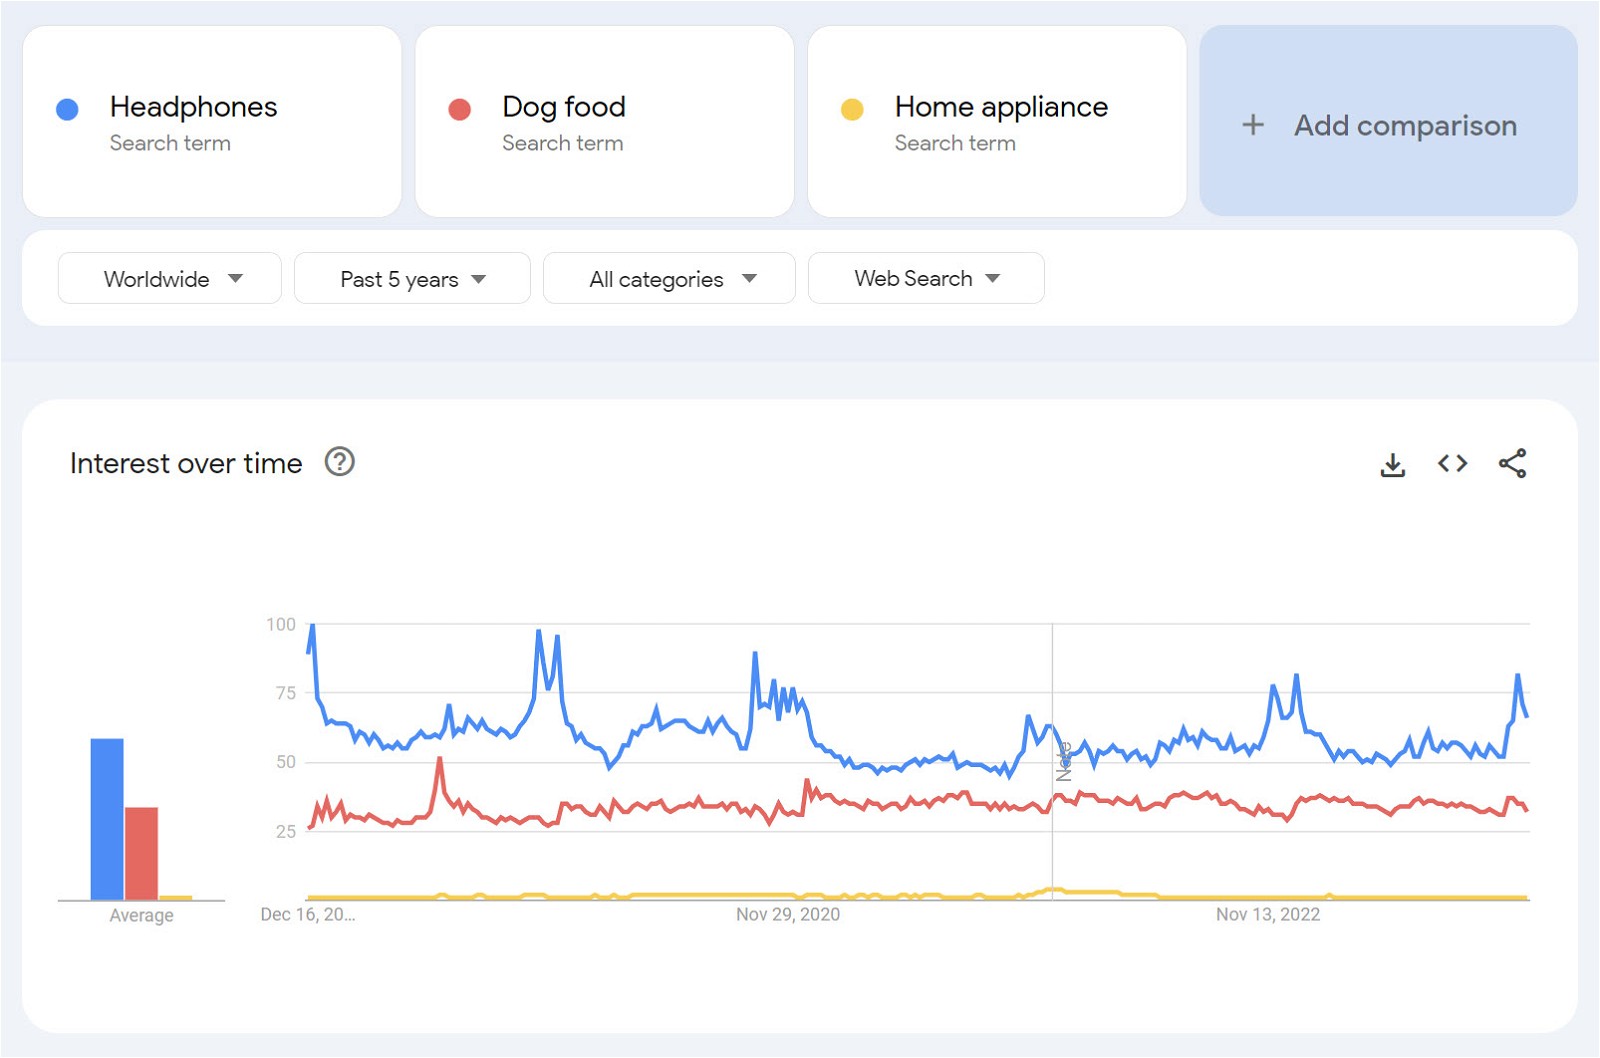
You can also compare user interest between niches using Google Trends. Enter up to 5 niches, and it’ll show you a graph of user interest in a given time period and location.
To help streamline your search, reference our affiliate marketing statistics to identify the most profitable review blog niches. Here are the top niches and their average monthly earnings:
- Education and eLearning – $15,551 per month
- Travel – $13,847 per month
- Beauty and Skincare – $12,475 per month
- Finance – $9,296 per month
- Technology – $7,418 per month
For more guidance, check out our detailed video on niche selection:
Choosing a niche for your review blog may seem overwhelming initially, but it’s essential for long-term success. Remember, a well-defined niche draws in a dedicated readership and establishes you as a trusted voice in that domain.
2 Choose a Blogging Platform
A blogging platform is a tool you’ll use to write, publish, manage, and share your reviews online.
Some bloggers use free blogging platforms like Medium or Blogger. But these have some serious limitations:
- The platform’s algorithms control your content’s visibility.
- Limited monetization options.
- Lacks flexibility in design and customization.
If you want to give your review blog the best shot at success, build your own website and use it as a blogging platform. Here are some benefits of taking this route:
- You have complete control over the content.
- Implement blog monetization options – the most popular being affiliate marketing and ads.
- Build a unique brand by tweaking the layout and color scheme in any way you like.
- Implement SEO best practices to get free organic traffic.
- Easily direct blog traffic to social channels and build your social media presence to keep in touch with fans.
- Add email subscription forms to capture visitors’ email IDs to directly contact audiences and reduce dependence on search engine visibility.
- Your blog is your asset, which you can potentially sell for a huge exit. We’ve sold multiple blogs for 6 figures.
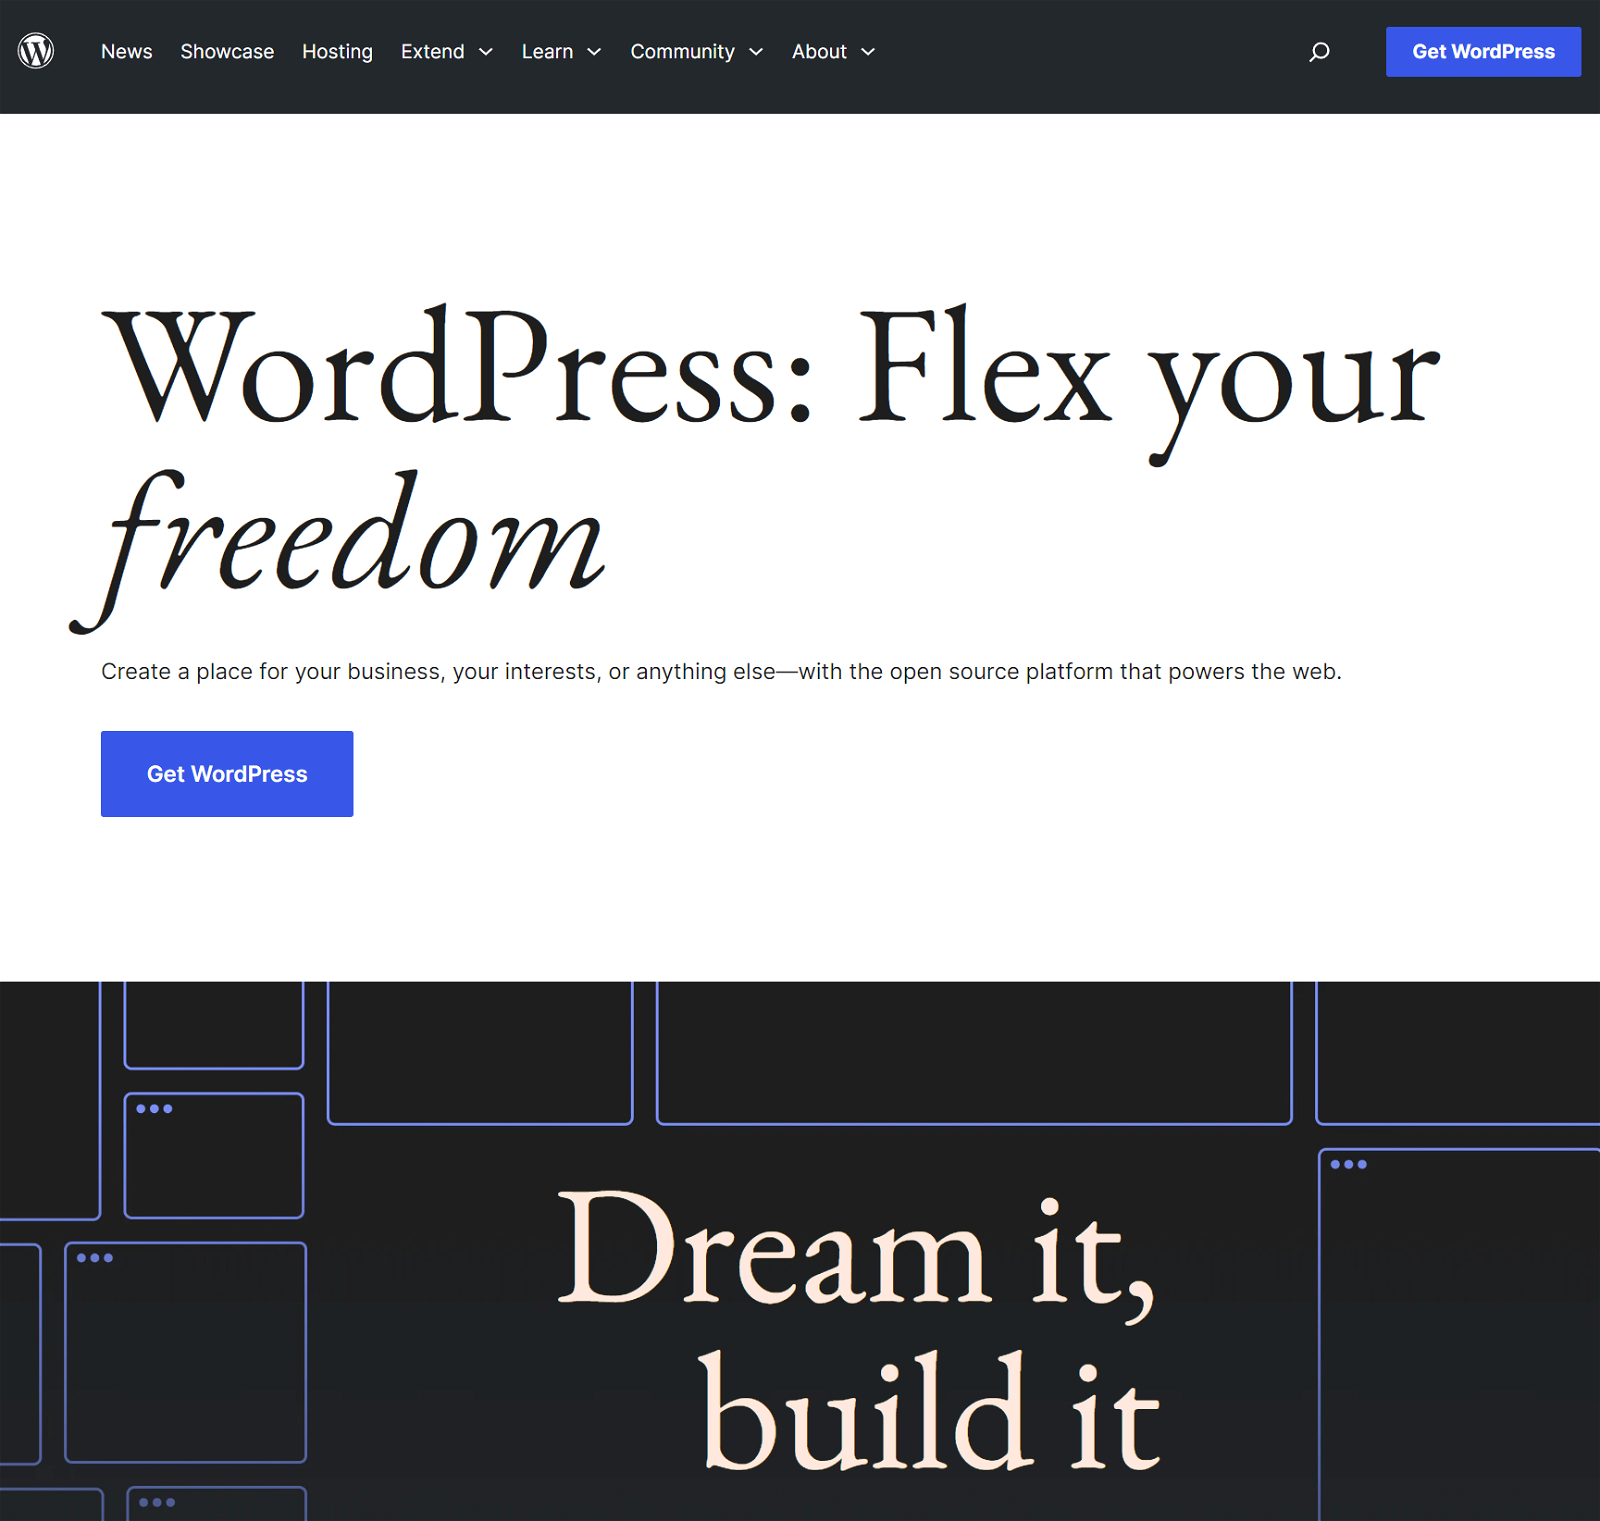
I recommend using WordPress.org (not WordPress.com) to build your review blog. It’s free to use and powers 43% of the internet, including the Authority Hacker website.
Although WordPress is the best platform, it’s not the only option. You can check out the alternatives on our list of blogging platforms.
3 Choose Your Domain Name
After choosing your platform, you’ll need a domain name. Your domain name is the address people will use to access your blog. It includes the website’s name followed by an extension like .com.

Because your domain will be central to your site’s brand, it’s important to pick a good name that’s easy to read and recall. Here are a few tips to help you pick a catchy and memorable domain name:
- Keep it short. 6-14 characters is ideal.
- Avoid hyphens, numbers, and consecutive letters. These make it hard to spell and read.
- Pick a name with a broad use case. A broader domain name will make it easier to expand to additional topics.
- Don’t overstuff with keywords. Generic review-focused domains like “BestReviews.com” look spammy and untrustworthy.
- Avoid trademarked names. Use this trademark search tool to check for availability.
- Prioritize getting a .com extension. People trust it more than other extensions.
Note: If you found an awesome domain name, but the .com extension is unavailable, you can consider some of the best .com alternatives.
If you need help brainstorming a good domain name, use an AI domain generator like Brandsnap.
Once you pick a good domain name for your review blog, it’s time to register it. We recommend using Namecheap for domain registration because of their affordable pricing. They only charge $10/year for a .com domain.
4 Buy Web Hosting
Web hosting is a service that provides server space for storing your website and making it accessible online.
There are many web hosting services, with Bluehost being particularly popular thanks to their affordable plans. But I recommend SiteGround instead. It’s slightly more expensive but offers considerably better performance and reliability, making it a better value for money.
Here’s a step-by-step guide on how to set up your hosting with SiteGround.
Step 1: Visit SiteGround’s WordPress hosting page.
Step 2: Select the StartUp Plan. It’s more than enough for a new review blog.

Note: SiteGround offers new customers a highly discounted rate for the first 12 months. After that, you’ll be rebilled at the standard higher rate.
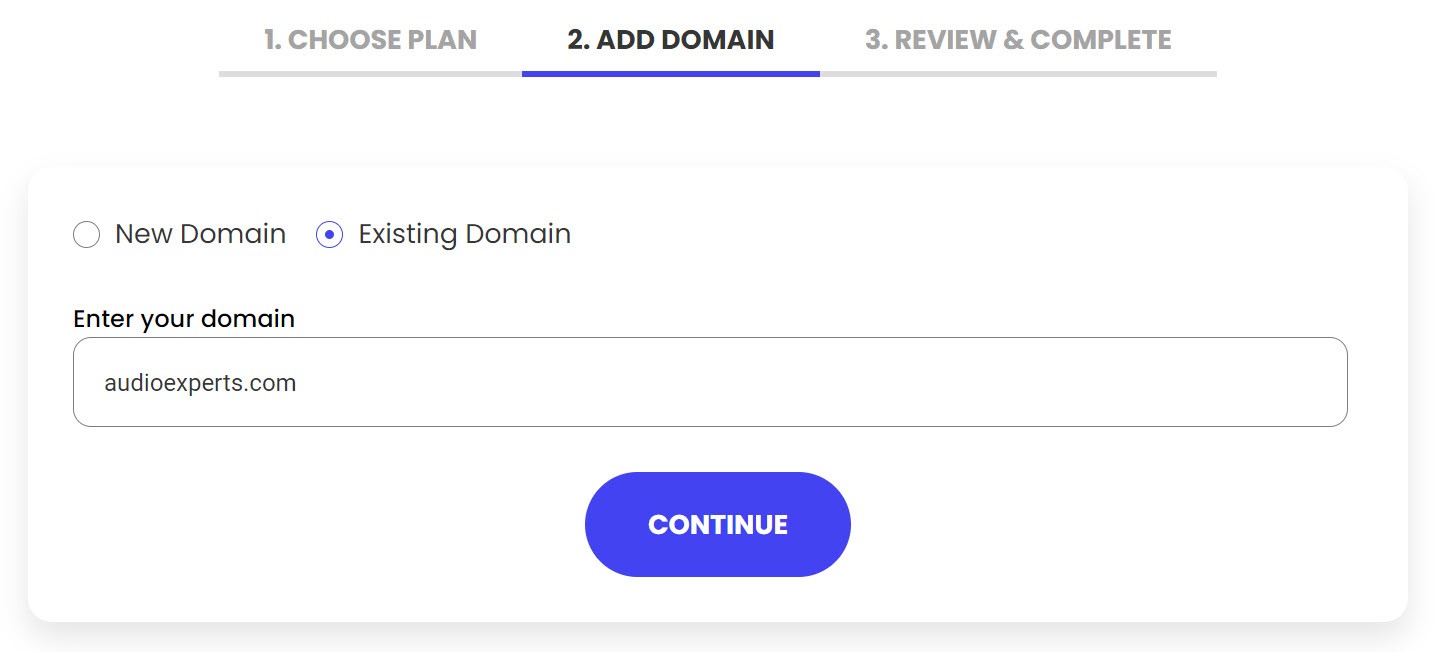
Step 3: Select the “Existing Domain” option and enter the domain you registered on Namecheap.
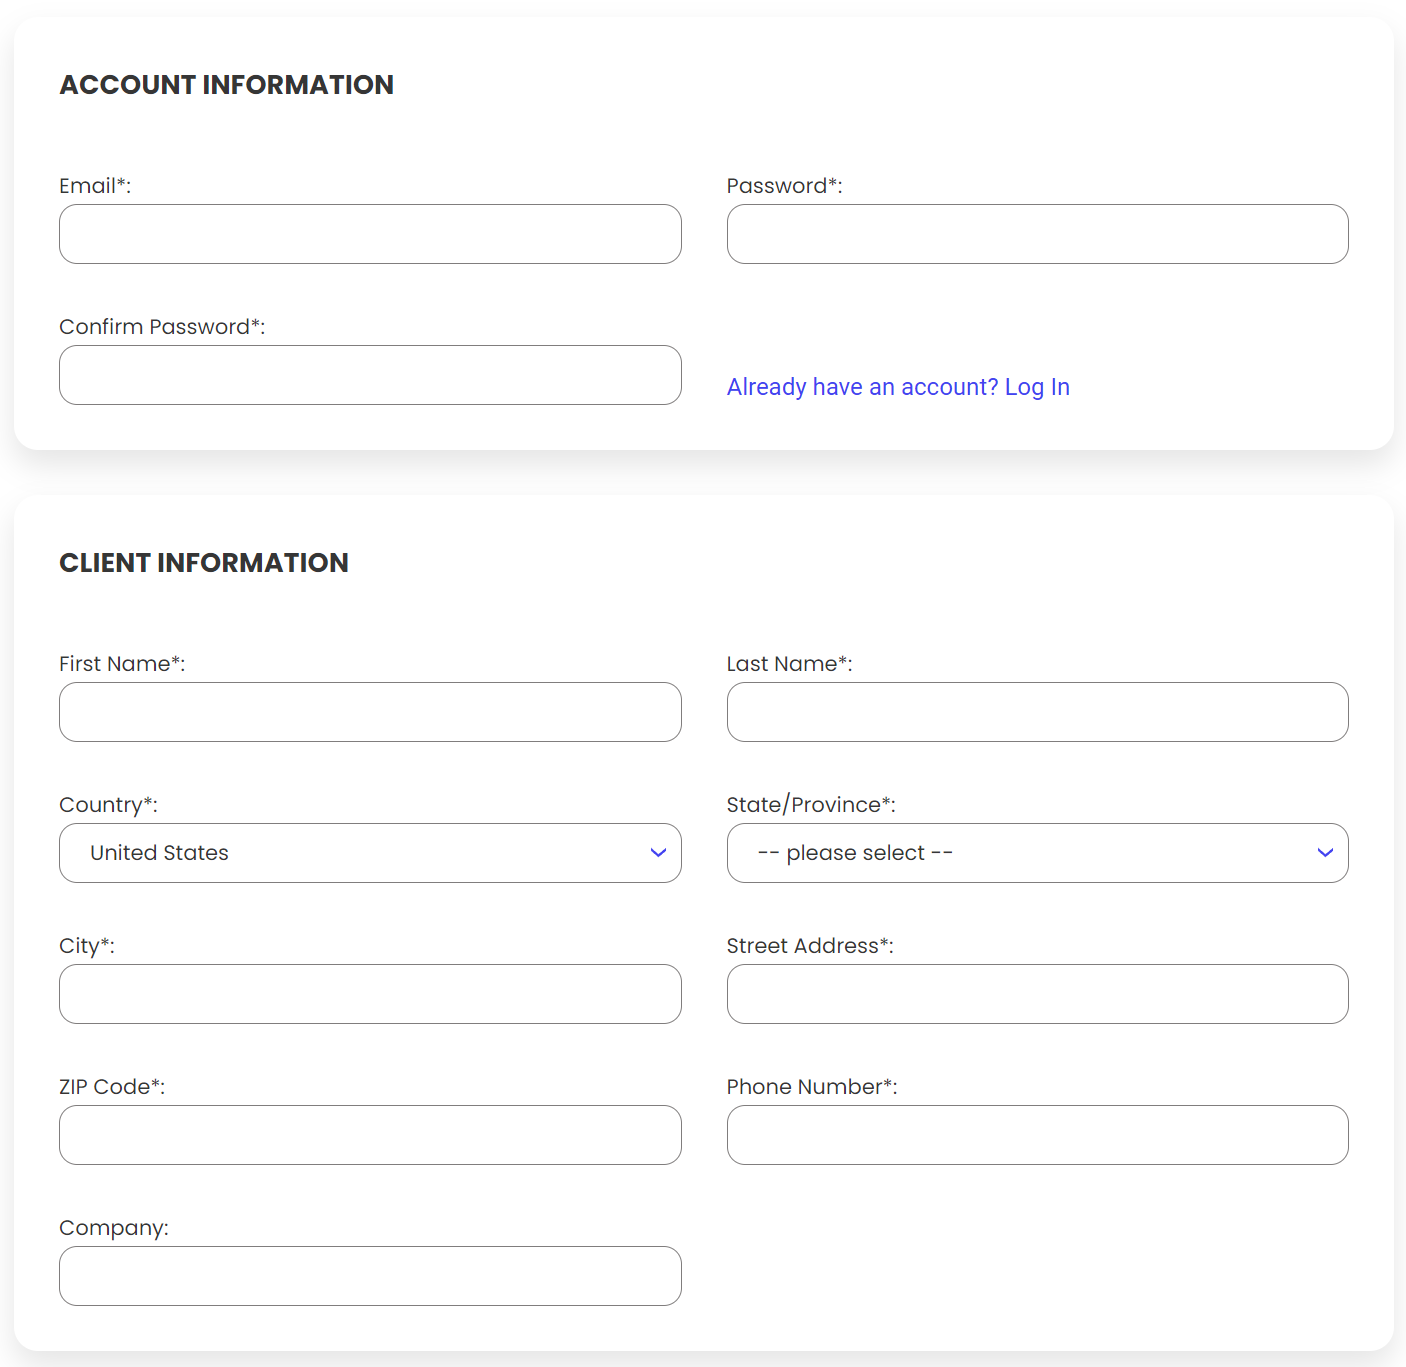
Step 4: Enter your Account and Location information
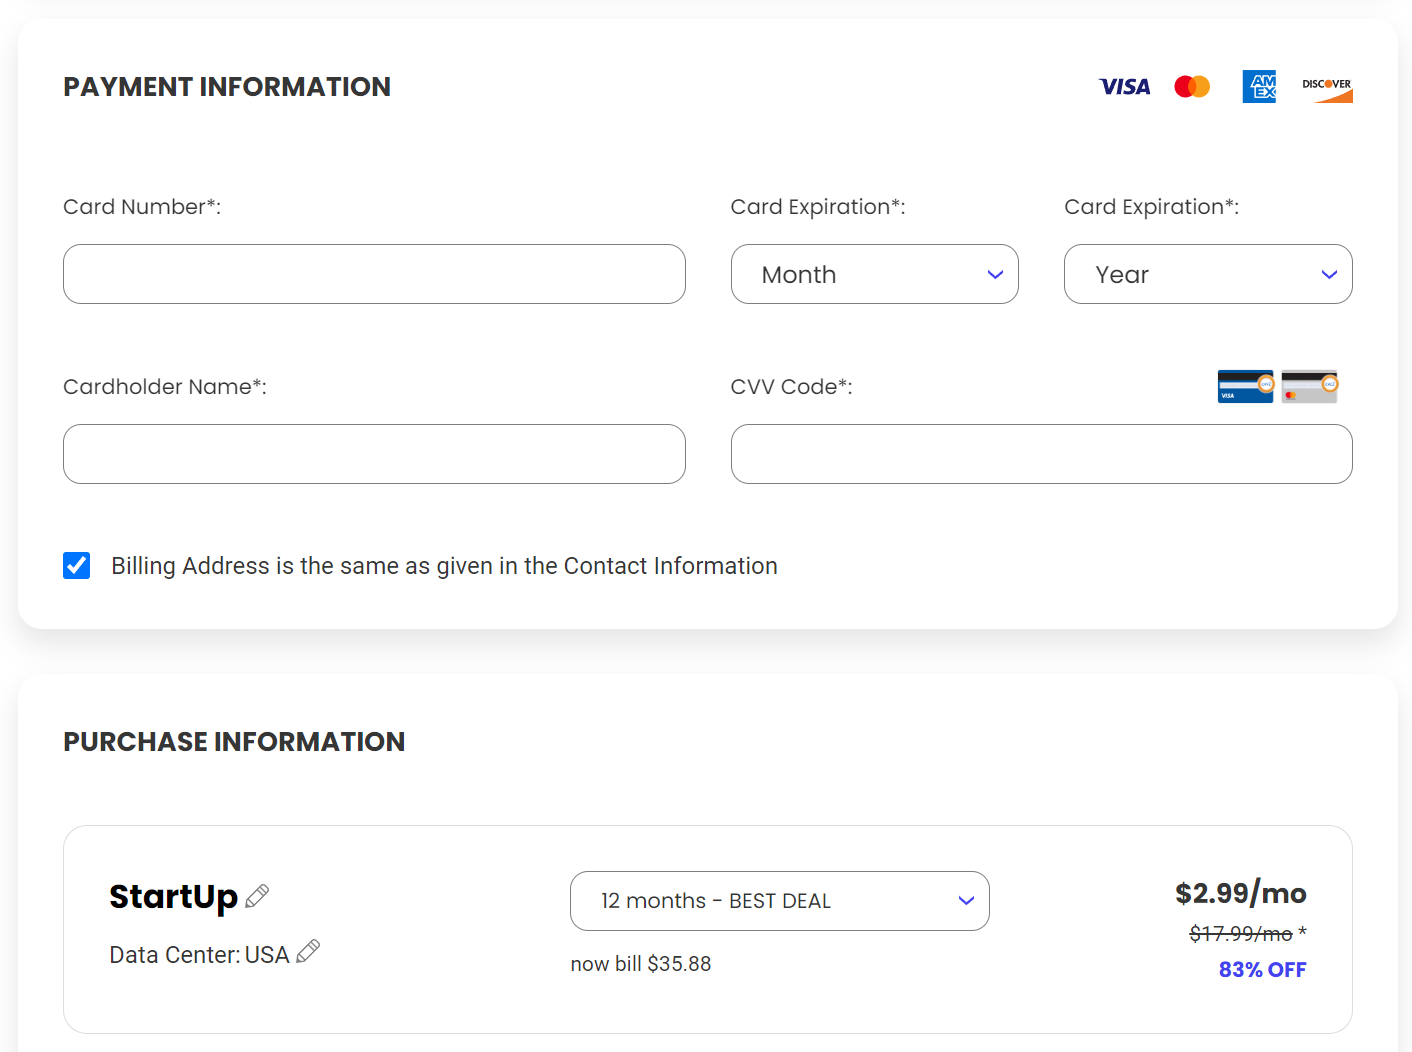
Step 5: Enter payment info and choose a subscription period. The 12-month plan is the best value for money.
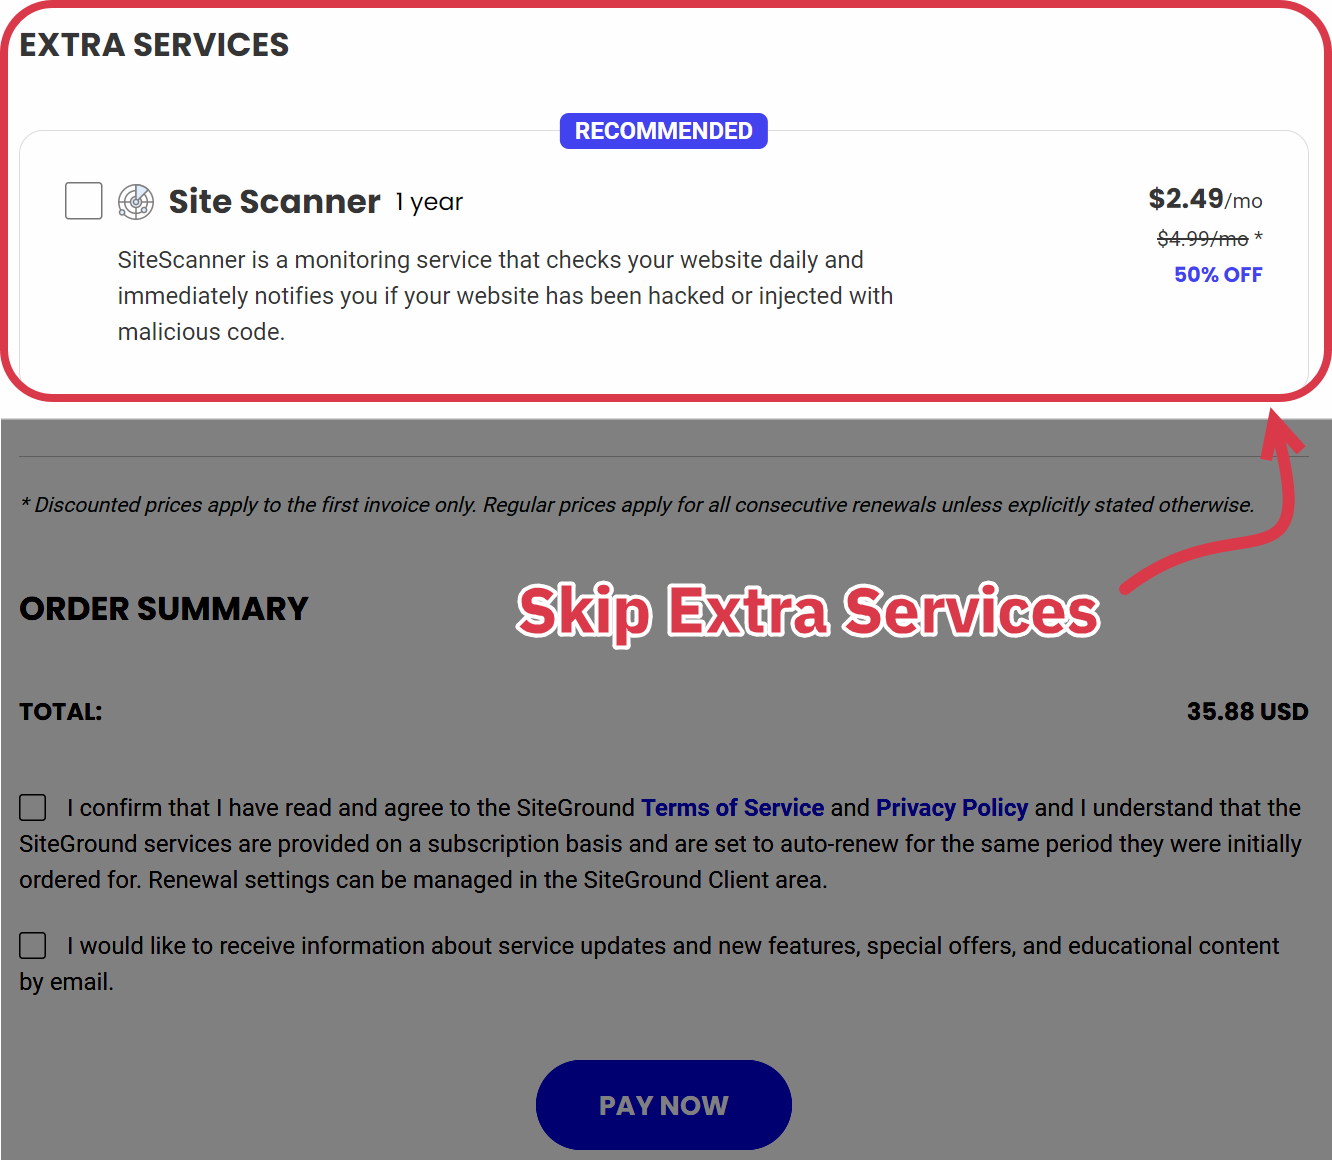
Step 6: Extra promotional services are unnecessary for a new blog, so feel free to skip them.
Step 7: Point your Namecheap domain to your new SiteGround server. Here’s a DIY guide to help you out. Alternatively, you can also contact SiteGround support for help.
And that’s it! Your review blog is now live and accessible to anyone searching for the domain name. Now, let’s install a theme so it looks presentable and professional to visitors.
5 Choose a Theme for Your Review Blog
A WordPress theme defines the visual layout and design of your website.
These plug-and-play tools give your website a professional look as soon as you install them. They also have many customization options to help you play around with these design settings.
You’ll have the option to choose between a free theme and a paid premium theme.
It’s okay to start with a free theme, but I recommend choosing a “freemium” option that lets you upgrade to a premium theme. This approach cuts costs early on and avoids frustrating theme changes when your growing blog needs the functionality of a premium theme.
These are some of the must-have features of a good WordPress theme:
- Fast loading speeds
- Mobile-friendly
- Clean and uncluttered design
- User-friendly navigation
- Intuitive customization options
- Quality after-sales support
To help streamline your search, here are 3 freemium themes that tick all the above boxes.
Tons of pre-built designs with modular UI elements that you can mix and match.
Get AstraDetailed customization options with a drag-and-drop header and footer builder.
Get KadenceBoasts a minimalistic design with a focus on performance and fast loading speeds.
Get GeneratePressAfter picking your theme, you must install it. Here’s a quick installation guide:
Step 1: Go to your WordPress dashboard.
Step 2: From the left-hand side, go to Appearance > Theme.
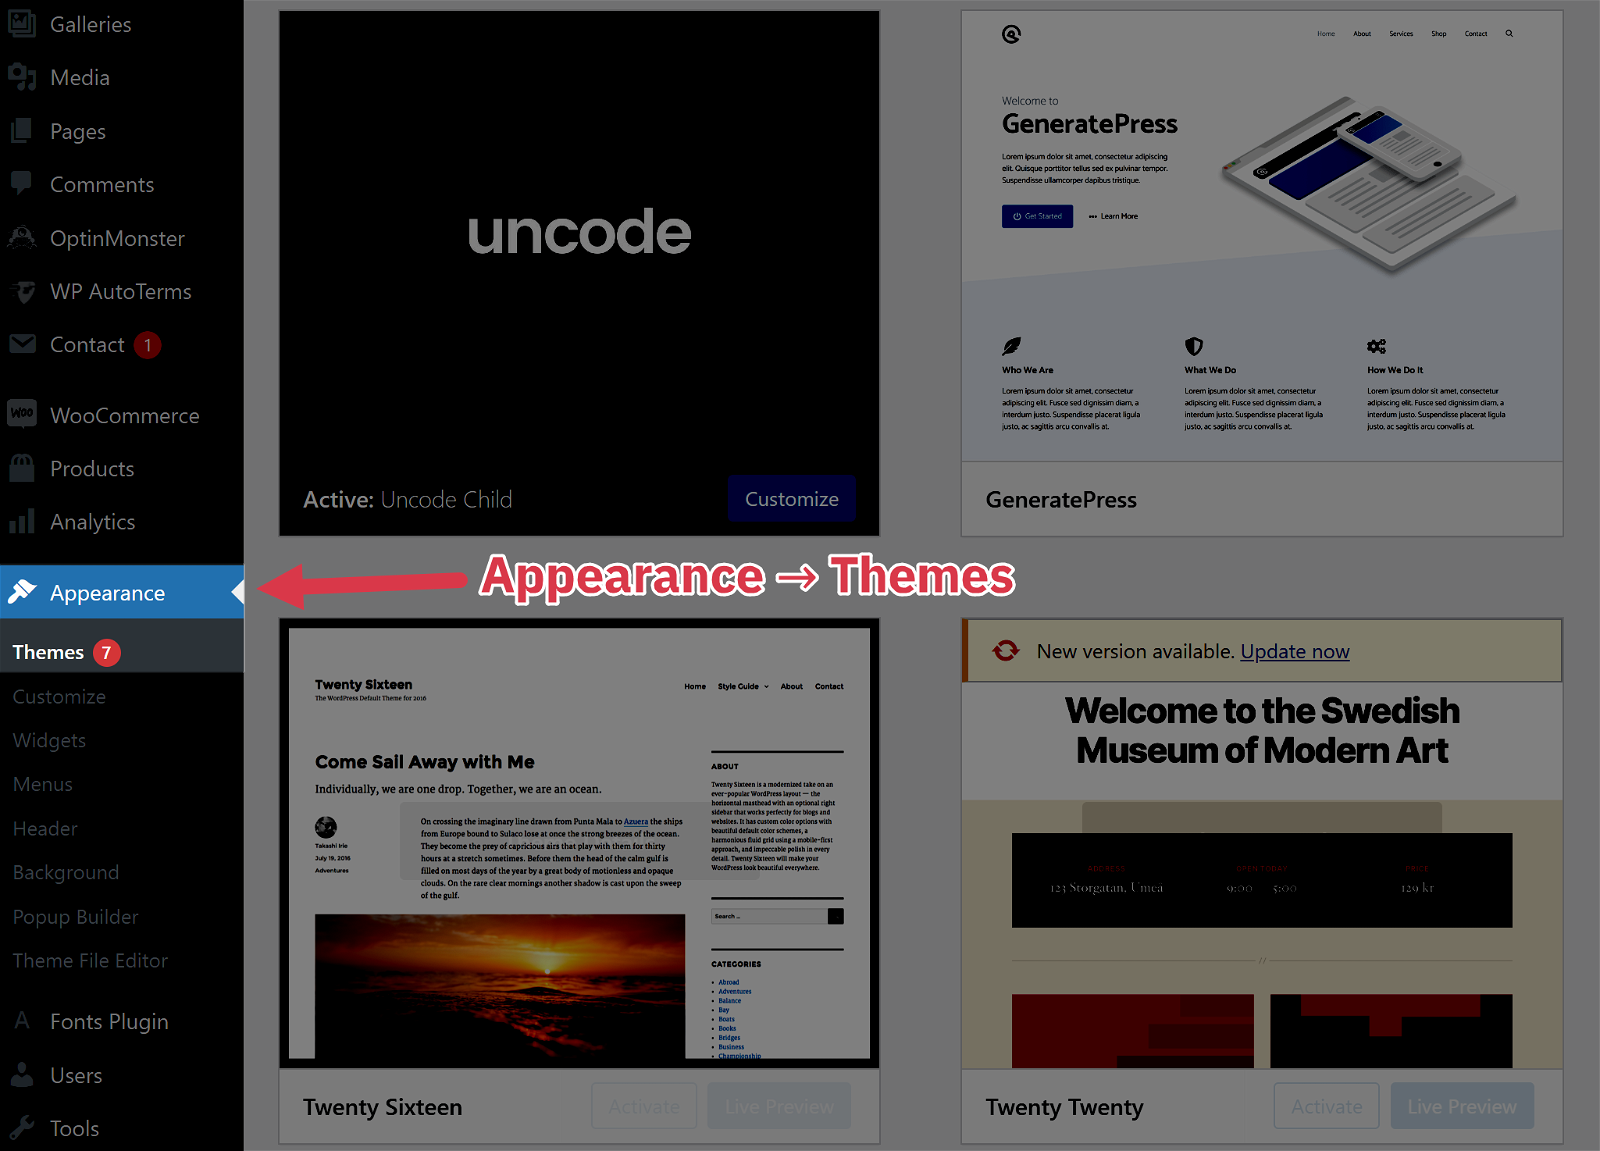
Step 3: Click “Add New.”
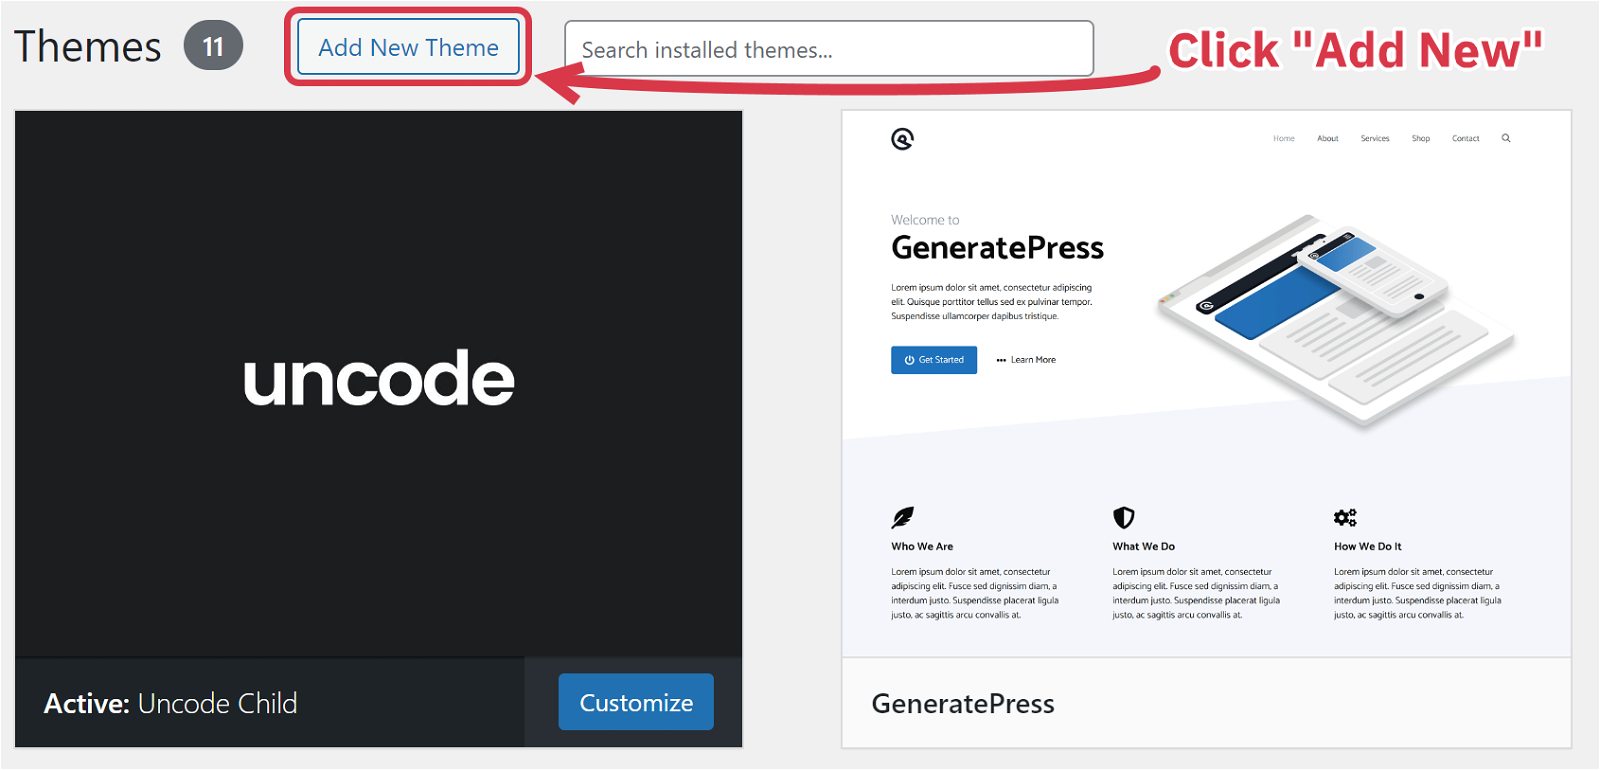
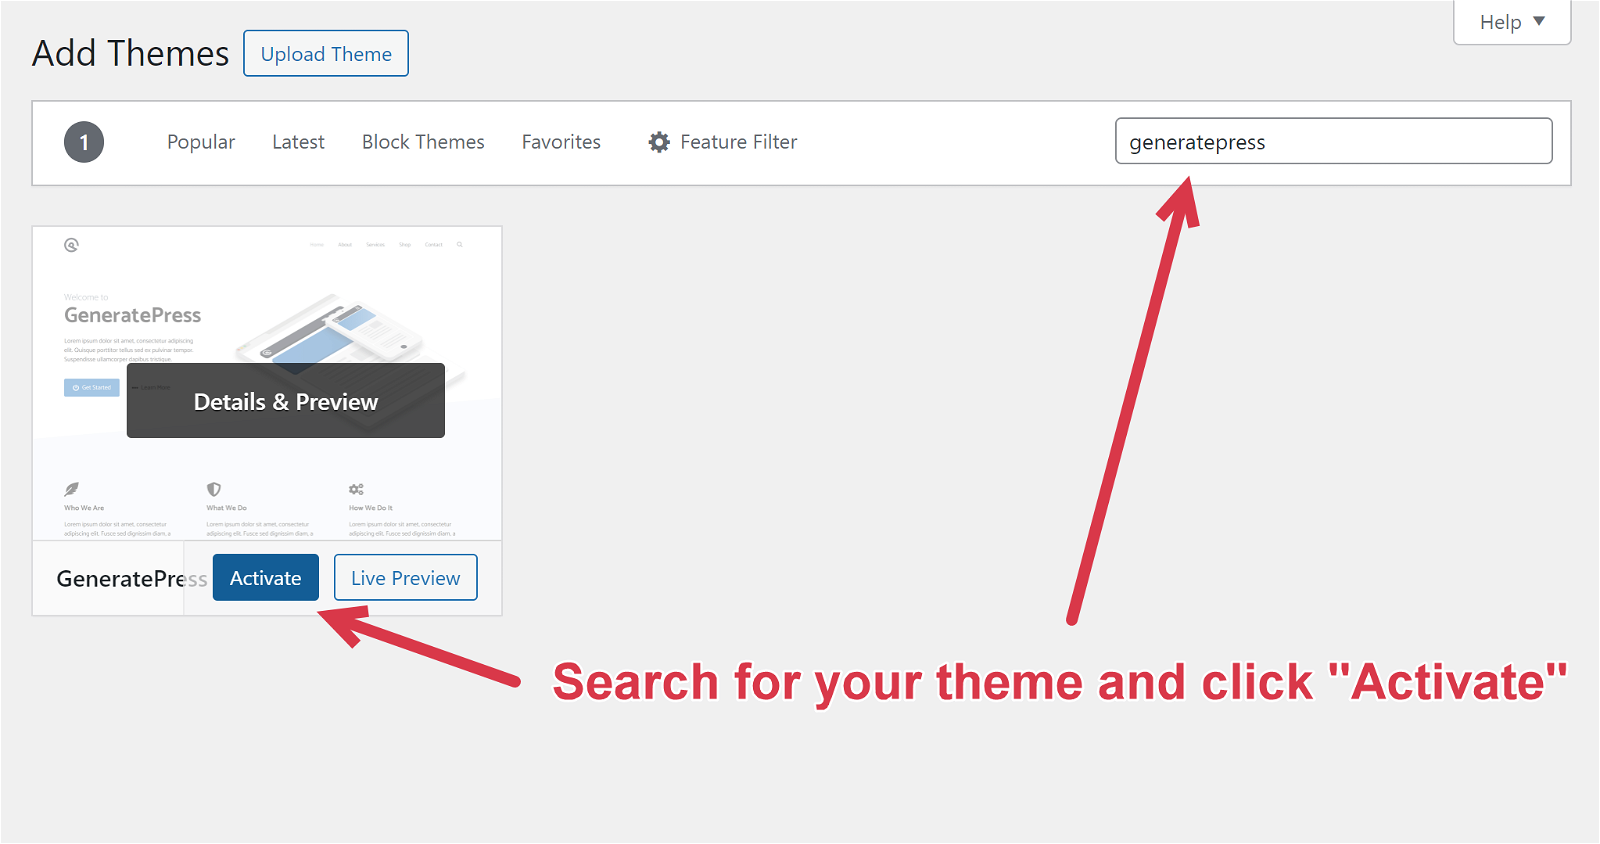
Step 4: Enter the theme’s name you want to install. (For example, I’m installing GeneratePress)
Step 5: Click Install Now > Activate.
With your new WordPress theme installed, it’s time to tweak it to reflect your unique branding.
6 Decide on Design & Branding
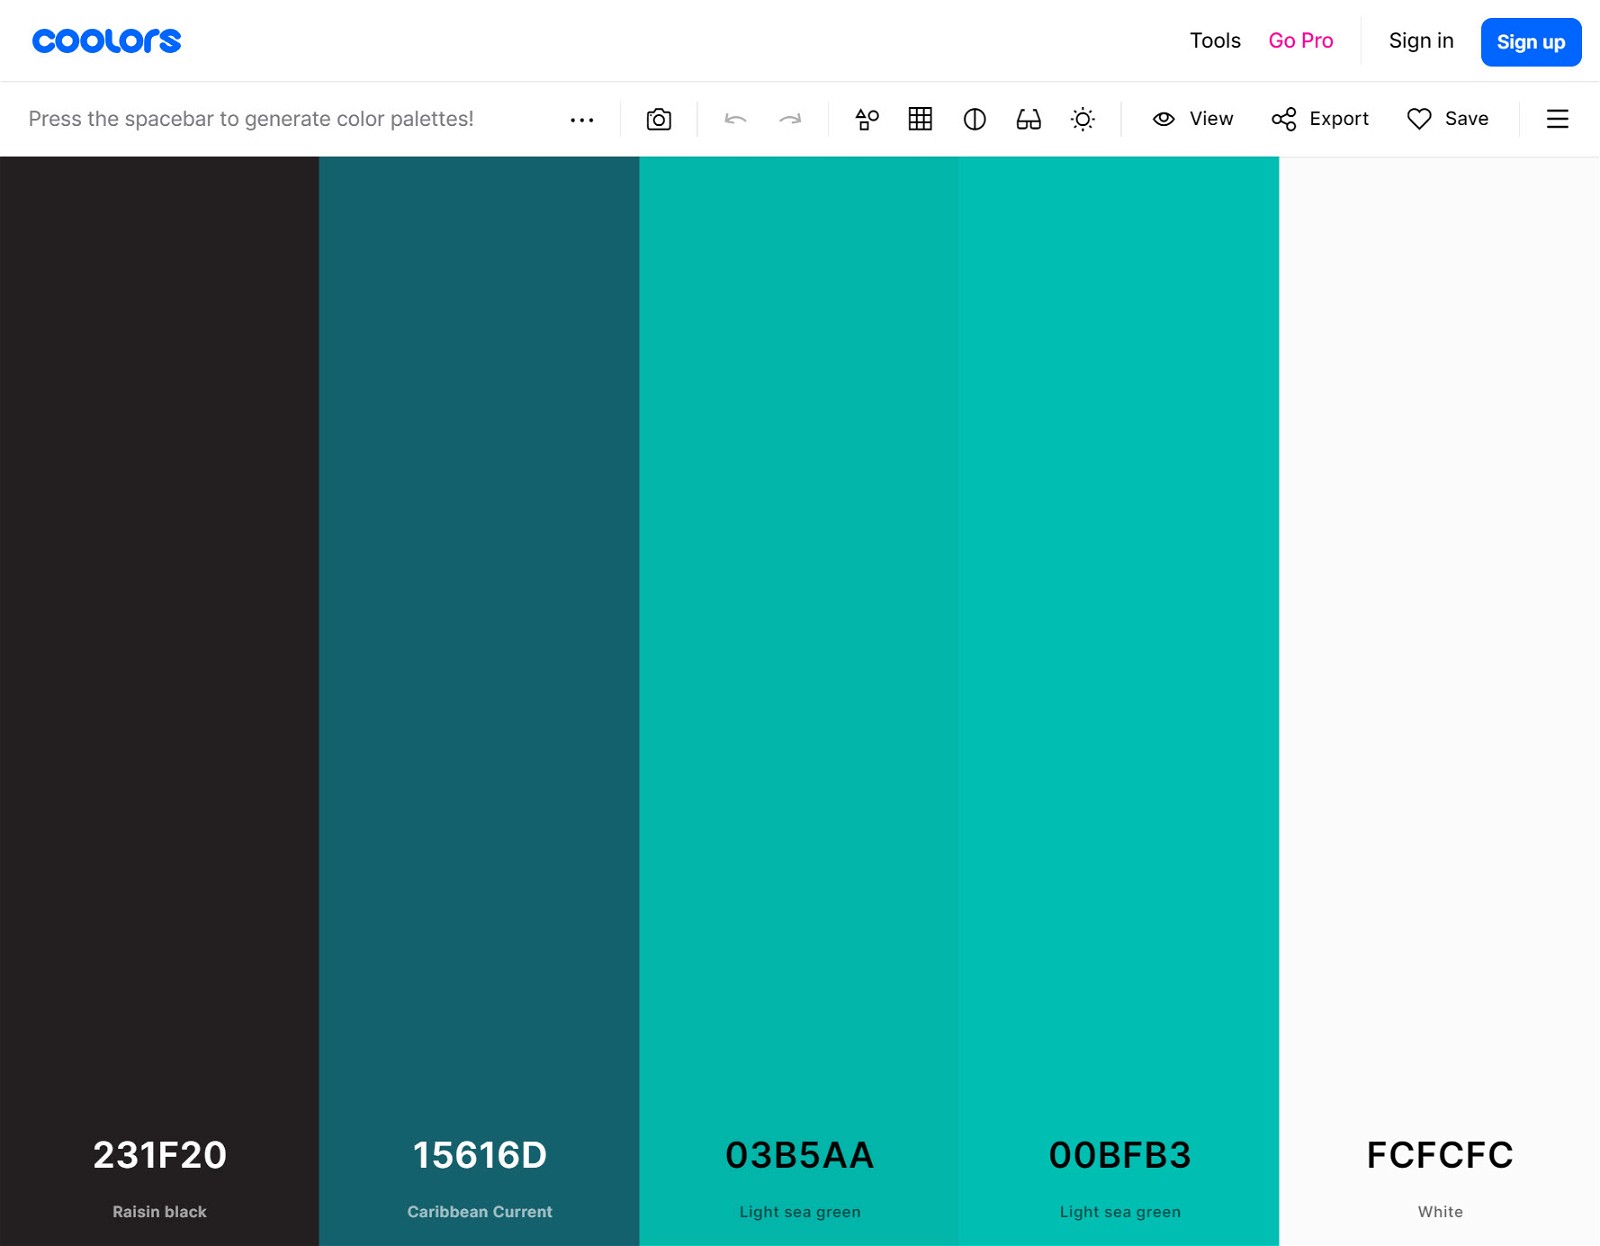
When designing your review blog, the two most important things are picking a color palette and a logo.
I’ve found Coolors very useful for selecting a color scheme. It’s a color palette generator that lets you visualize up to 5 colors side-by-side, streamlining the color selection process.
Next, it’s time to pick a logo. A good logo will help communicate your brand’s message, distinguish your site from the competition, and help your readers remember your review site.
You can create a stellar logo using Canva.
Search for “[your niche] logo” in Canva, and it’ll show you hundreds of awesome logos. You can easily add your brand name and customize the color scheme.
7 Create Essential Pages
Now that you’re done with the design, it’s time to create the essential pages every good review blog should have.
Homepage
The Homepage is the first thing visitors see after they land on your review blog. Showcase your latest reviews and most popular content, and make it easy for users to navigate your categories and other pages.
About Page
Your About page gives you a canvas to go personal and connect with your readers. Share why you started this review blog, your experience and areas of expertise, and what readers can expect from your content.
👉 For inspiration, check out these About Page examples.
Contact Page
This page should contain a contact form so your readers and potential sponsors can get in touch. You can also share your business address, phone number, and email address for an SEO boost.
Legal Pages
This includes your Privacy Policy, Terms of Use, and Disclosure. Make sure they’re easily accessible, usually at the footer. Use this to define the user rights, data handling practices, expected site behavior, etc.
You can use PrivacyPolicies.com to generate legal pages specific to your review blog.
Product Review Methodology Page
Use this page to share your product testing methodology. What are the exact tools, steps, and systems you use to test products or services? Sharing this information with your audience builds trust and makes your reviews more authoritative.
For inspiration, check out the How We Test page on HeadphonesAddict.
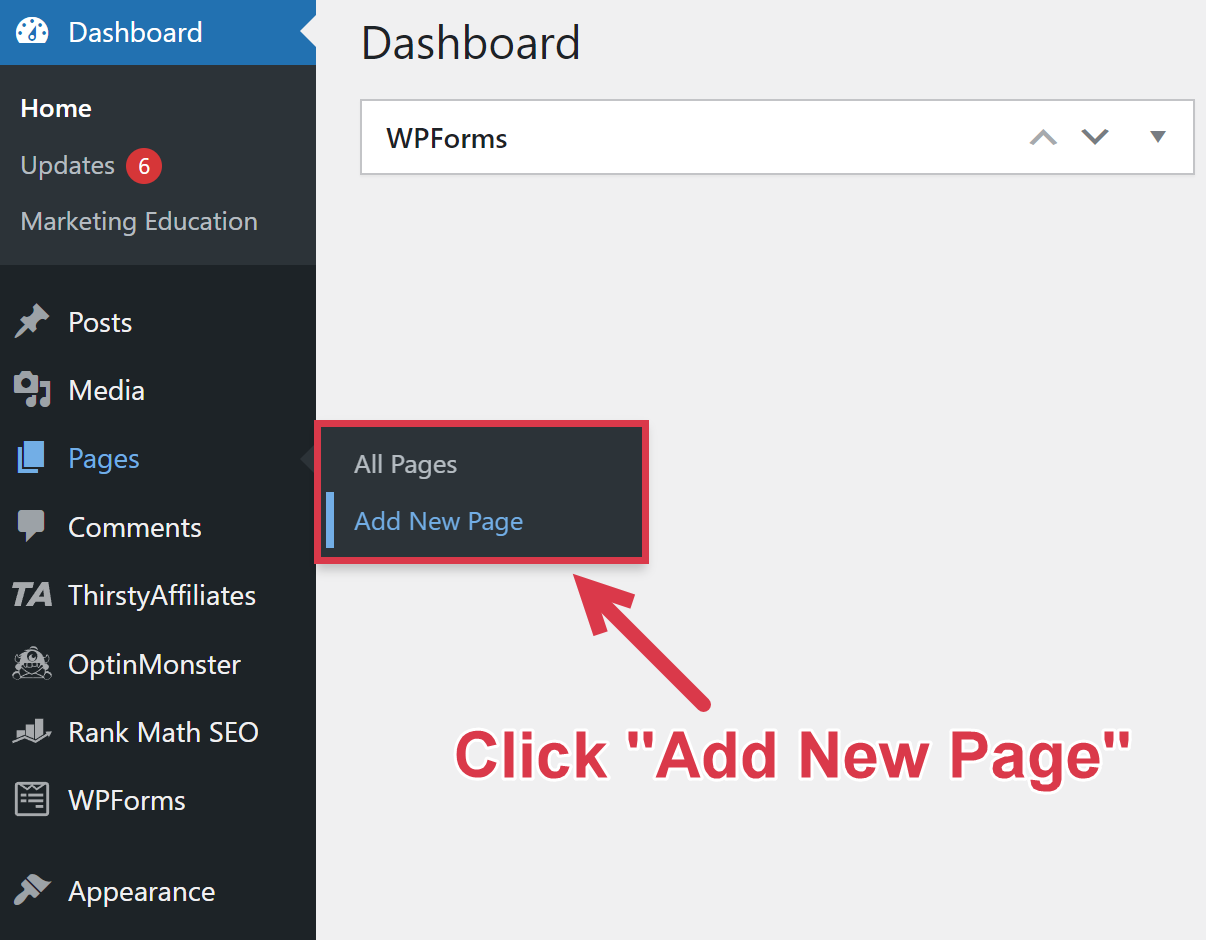
To create a new page in WordPress, login to your WordPress dashboard, and from the left sidebar, select Pages > Add New, give the page a title, and fill it with relevant content.
8 Start Creating Content
It’s finally time to start creating content. To engage your audience and provide value, you should fill your review site with different types of helpful and relevant content.
Here’s a look at the main content types for review blogs:
- Single Product Reviews
- Product Comparisons or Versus Articles
- Roundup Reviews – Best X for Y (e.g., Best Headphones for Air Travel)
- Product Alternatives (e.g., Best Alternatives to the Sony WH1000-XM5)
- Buying Guides
Now, before you start writing, you’ll need to build a keyword-focused content strategy.
This is when you create content focused on products or product types that people are searching for on Google. A keyword-focused approach ensures the content you publish already has an existing audience, which drives more traffic and increases earning potential.
It’s tempting to write about the most popular keywords in your niche is tempting, but this isn’t a good idea. Google prioritizes established blogs over new players, and the highest-traffic keywords have the most competition.
Therefore, as a new blogger, you should target keywords that are low-competition but have relatively high search volume.
SEO tools like Ahrefs can help you find keywords that meet this criteria.
For example, here’s a look at some keyword recommendations I got from the Ahrefs Keyword Explorer tool after searching for “best headphones.”
| Keyword | Monthly Search Volume | Keyword Difficulty |
|---|---|---|
| best workout headphones | 12,000 | 20 |
| best gym headphones | 5,300 | 14 |
| best headphones for sleeping | 2,400 | 12 |
| best headphones for ps5 | 1,400 | 13 |
| best headphone brands | 1,300 | 16 |
Here are some blog post ideas that come to mind using those keywords:
- Best Workout Headphones for the Gym
- 10 Best Bass Headphones in 2023
- 20 Best DJ Headphones for Live Shows
Input different seed keywords into Ahrefs until you have at least 10 awesome review post ideas. After that, start writing.
Here are a few tips to help you craft the best review content:
- Get hands-on experience so you can share your unique personal perspective in your reviews. Readers don’t want the opinions of a non-user.
- Add original photos or videos of the product. Take close-ups or shoot from different angles to show more detail than what’s covered by marketing materials.
- Explain the various features and benefits to paint a comprehensive image.
- Be objective and present both pros and cons so readers can make an informed (not emotional) purchase decision.
- Draw comparisons with popular products in the segment to help readers contextualize the differences.
- Use product recommendation boxes to aid in the buying process. You can use GenerateBlocks for this purpose.
👉 For more information, check out our detailed guide on how to write a product review.
I know it’s a lot to keep in mind, so if I could boil it down to a single piece of advice, it’d be this – make your content as helpful and honest as possible.
If you prioritize honesty over making a quick buck, you’ll develop a devoted following of people who trust you – which is worth far more than a single affiliate commission.
9 Promote Your Review Blog
After publishing your reviews, it’ll take time for Google to index and rank them. Meanwhile, you can use these promotional tactics to attract traffic:
- Join niche-relevant communities and forums. Share your content when members seek advice on which product to purchase.
- Share with friends and family groups. Friends and family members will love supporting you, especially if you review products they are interested in.
- Collaborate with other bloggers in your niche or a related niche. Writing a guest post will introduce your content to their readers, which can expose you to a new audience.
- Attend niche-relevant events. Network with other attendees and encourage them to visit your blog.
- Make YouTube video reviews. Pair your written reviews with video reviews on YouTube to boost your credibility, get viewers from YouTube, and improve the SEO of your written review. Your videos can even rank in the Google search results!
Remember, focus on providing value. Don’t just spam links to your product reviews.
10 Monetize Your Review Blog
Once your review blog starts generating traffic, it’s time to consider monetization methods. Here are the best monetization strategies for a review blog.
Affiliate Marketing
When you review products and services, you’ll earn a commission if the reader decides to purchase it using your affiliate link.
Why It’s Great: Affiliate marketing goes hand-in-hand with review websites. As readers trust your content, it’s easier to get clicks on your recommended affiliate products.
Get Started: Read our detailed beginner’s guide on how to start affiliate marketing and check out our list of the best affiliate programs for beginners.
Display Ads
Show display ads on your blog and earn money when someone views or clicks on an ad.
Why It’s Great: It’s a passive income stream requiring zero investment from your audience. And our affiliate marketing statistics show that 82% of review bloggers earning 6 figures annually monetize with both display ads and affiliate products.
Get Started: You can use a display ad network like Ezoic on a new blog. But switch to better-paying ad networks like Mediavine (minimum 50,000 monthly visitors) and Raptive (100,000 monthly visitors) when possible.
Selling Your Own Products
Create products and sell them to your audience.
Why It’s Great: Selling products offers much higher returns than affiliate marketing.
Get Started: Take your most successful affiliate products and explore selling your own version of those products. If it’s a physical product, identify manufacturers and determine the logistics of storing and shipping your inventory. Software products may require the help of a developer, while info products can generally be created without professional help.
Summing Up
I’ve given you the essential steps for starting a review blog, but there’s much more to learn if you want to build a truly successful review website.
To put your blog on the fast track to success, we’ve created a free training that draws on our 10+ years of blogging experience. In this training, you’ll discover 7 actionable tips for making your new blog 83% more successful.
If you’re serious about starting a profitable blog, this training is the next step.
FAQ
What Is a Review Blog?
A review blog is a website that reviews and compares different products or services. Review blogs usually focus on a specific niche like travel, fashion, or technology. These blogs often provide detailed insights, ratings, and personal experiences to help readers make informed decisions or learn about new offerings.
Do Review Blogs Make Money?
Review blogs do make money. According to our affiliate marketing survey, bloggers reviewing affiliate products earn an average of $8,038 per month. You can also add to your earnings by including display ads, selling your own products, or utilizing other monetization methods.